Showing posts with label contact paper. Show all posts

8/3/22

Faux Stained Glass with Transparencies

When we visited Tacoma Art Museum, one of the prompts in the hands-on TAM Studio asked visitors to use colored transparencies to create faux stained glass. I didn't have time to create then and there, but I did once I got home. It was a lot of fun to play with patterns and colors!


I actually made three pieces of faux stained glass, using a different adhesive for each. I'd intended to make my project using spray adhesive (affiliate link here and throughout the post), but discovered that my can, which I hadn't used in years, wouldn't spray. I dug through my adhesives drawer to find some alternatives. My main goal was finding something that would dry clear without clouding the adhesive, but hold tight onto the slick acetate. Not an easy combination. 

The three adhesives I tested include: Glue Arts Decor Adhesive (no longer sold, but similar to these double-sided adhesive sheets), Mod Podge Ultra, and clear contact paper. As you can see below, the double-sided adhesive and the contact paper both worked well. The Mod Podge Ultra, while a fantastic product with many uses, did not hold onto the glossy transparencies as well. 
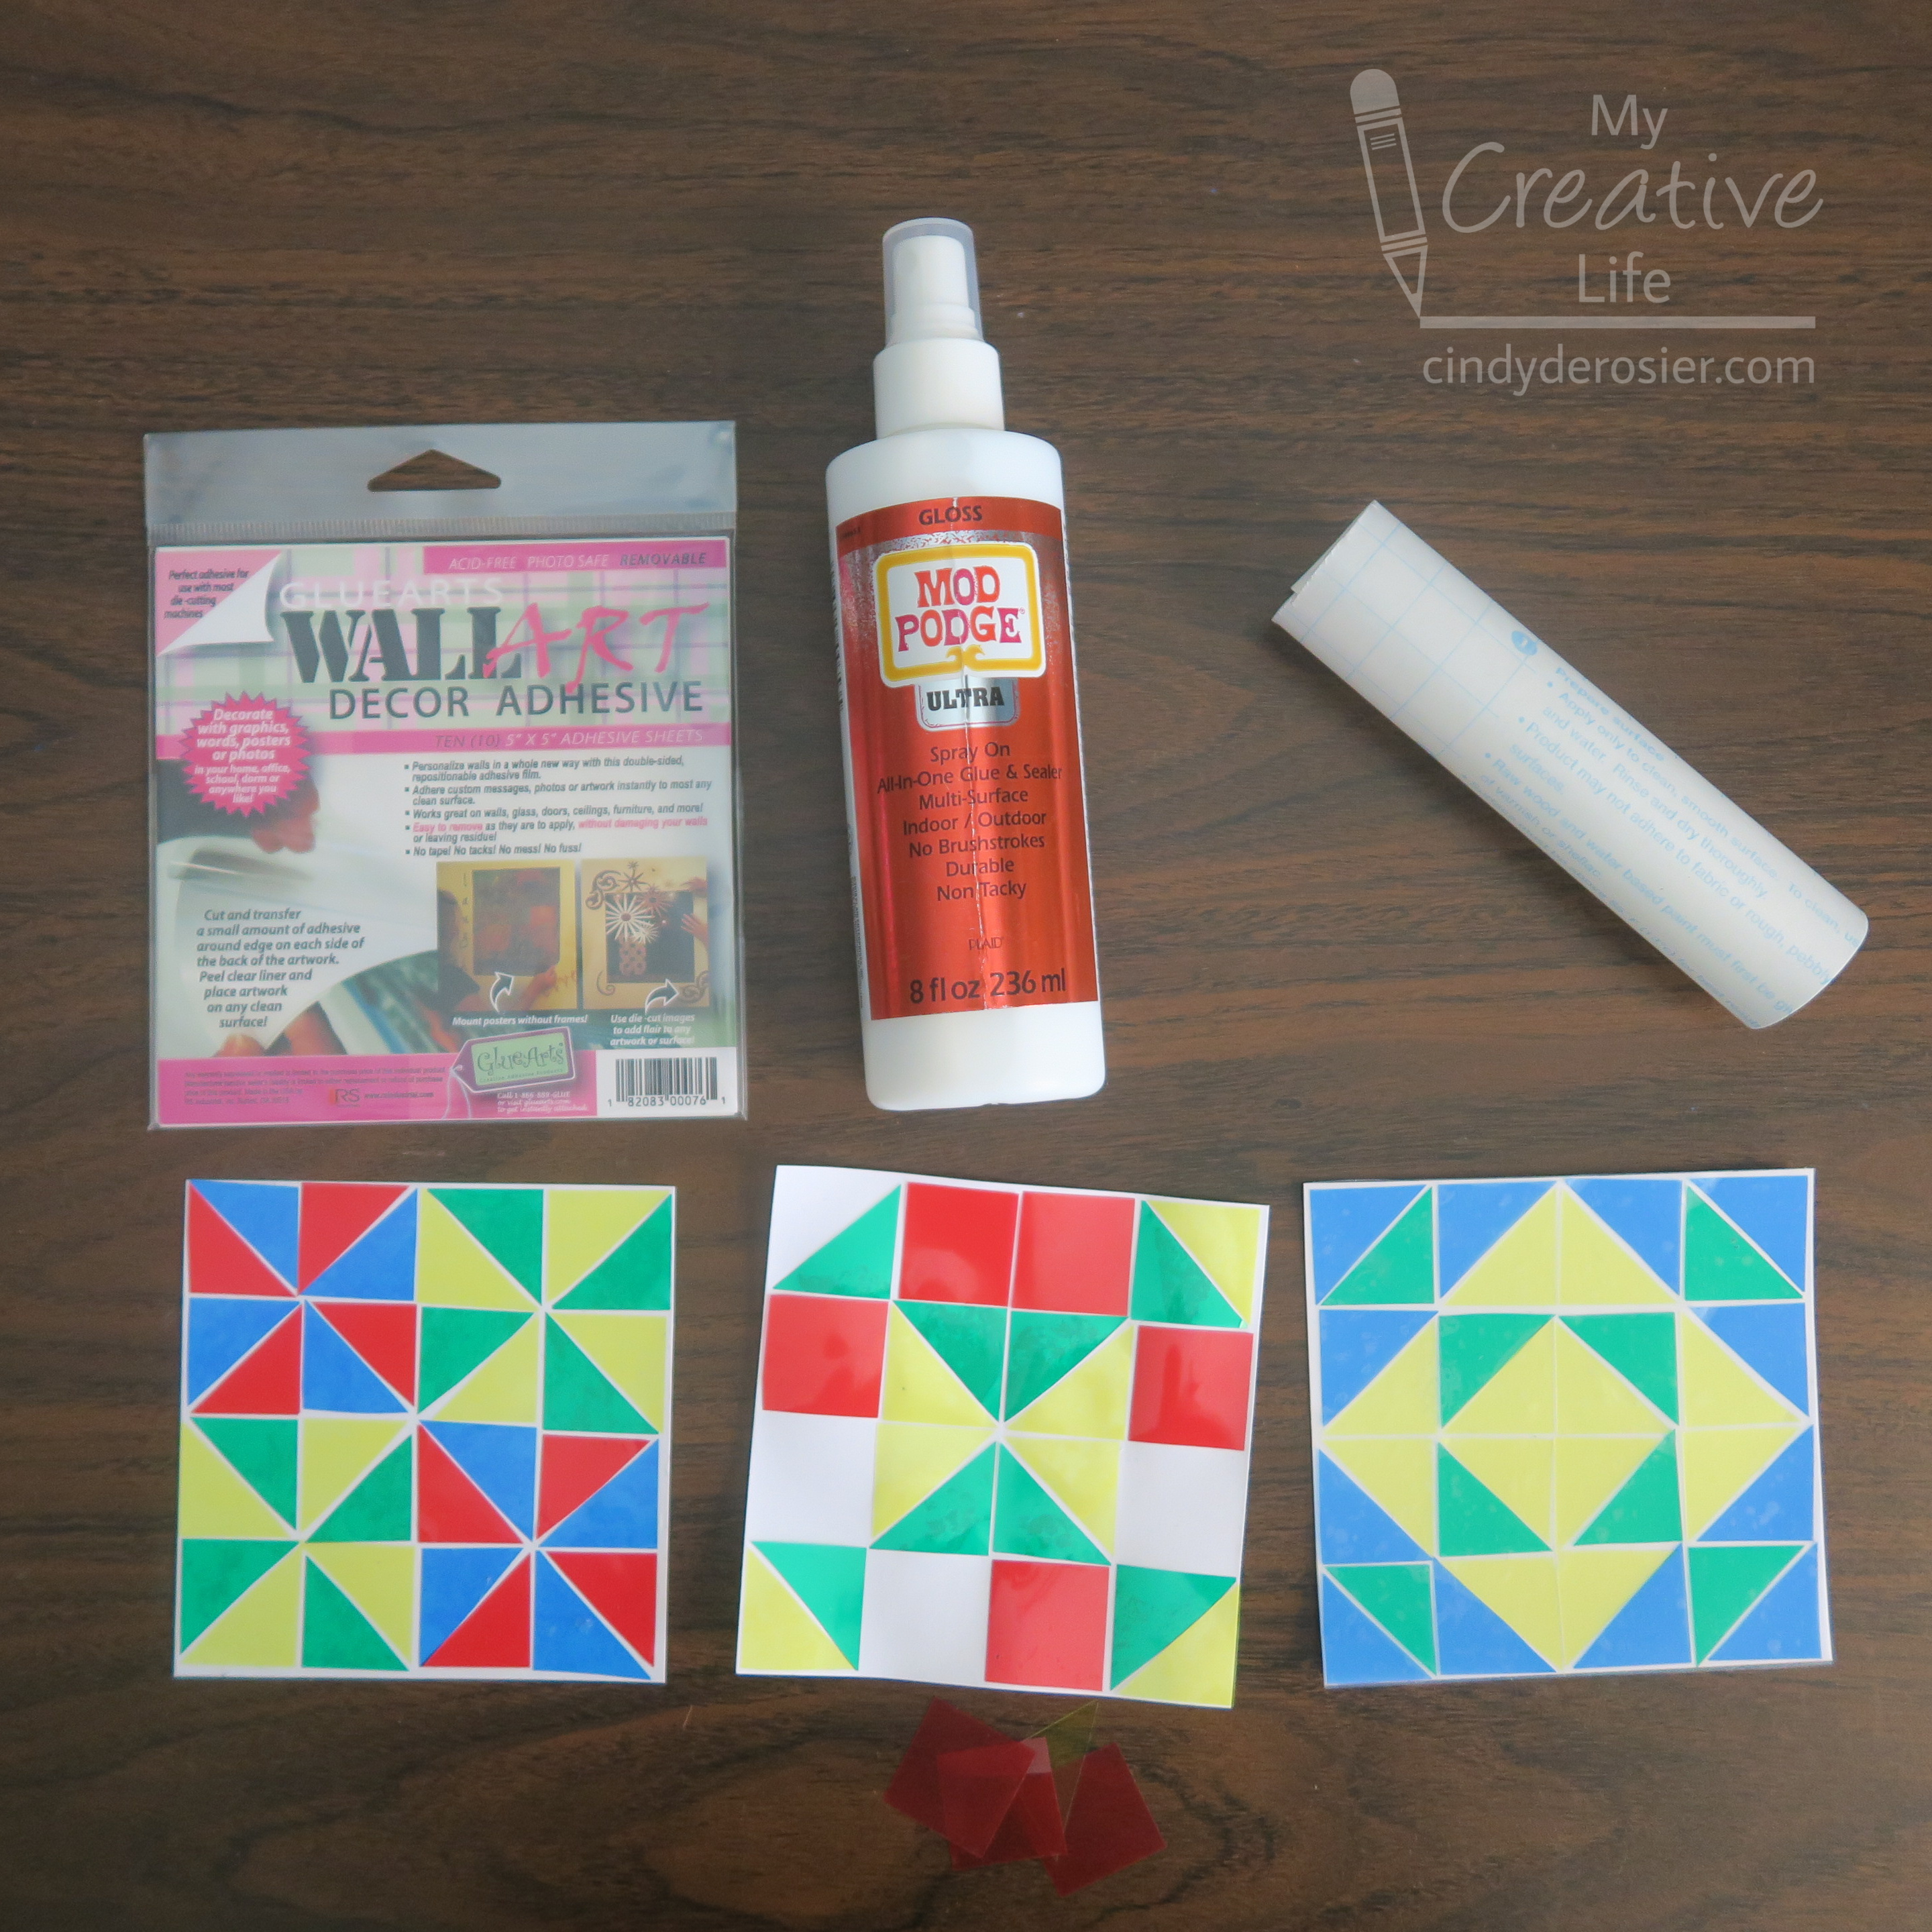

The double-sided adhesive held really well, but was more visible in the finished craft than the contact paper. It's especially visible under the green and not great under the blue. 
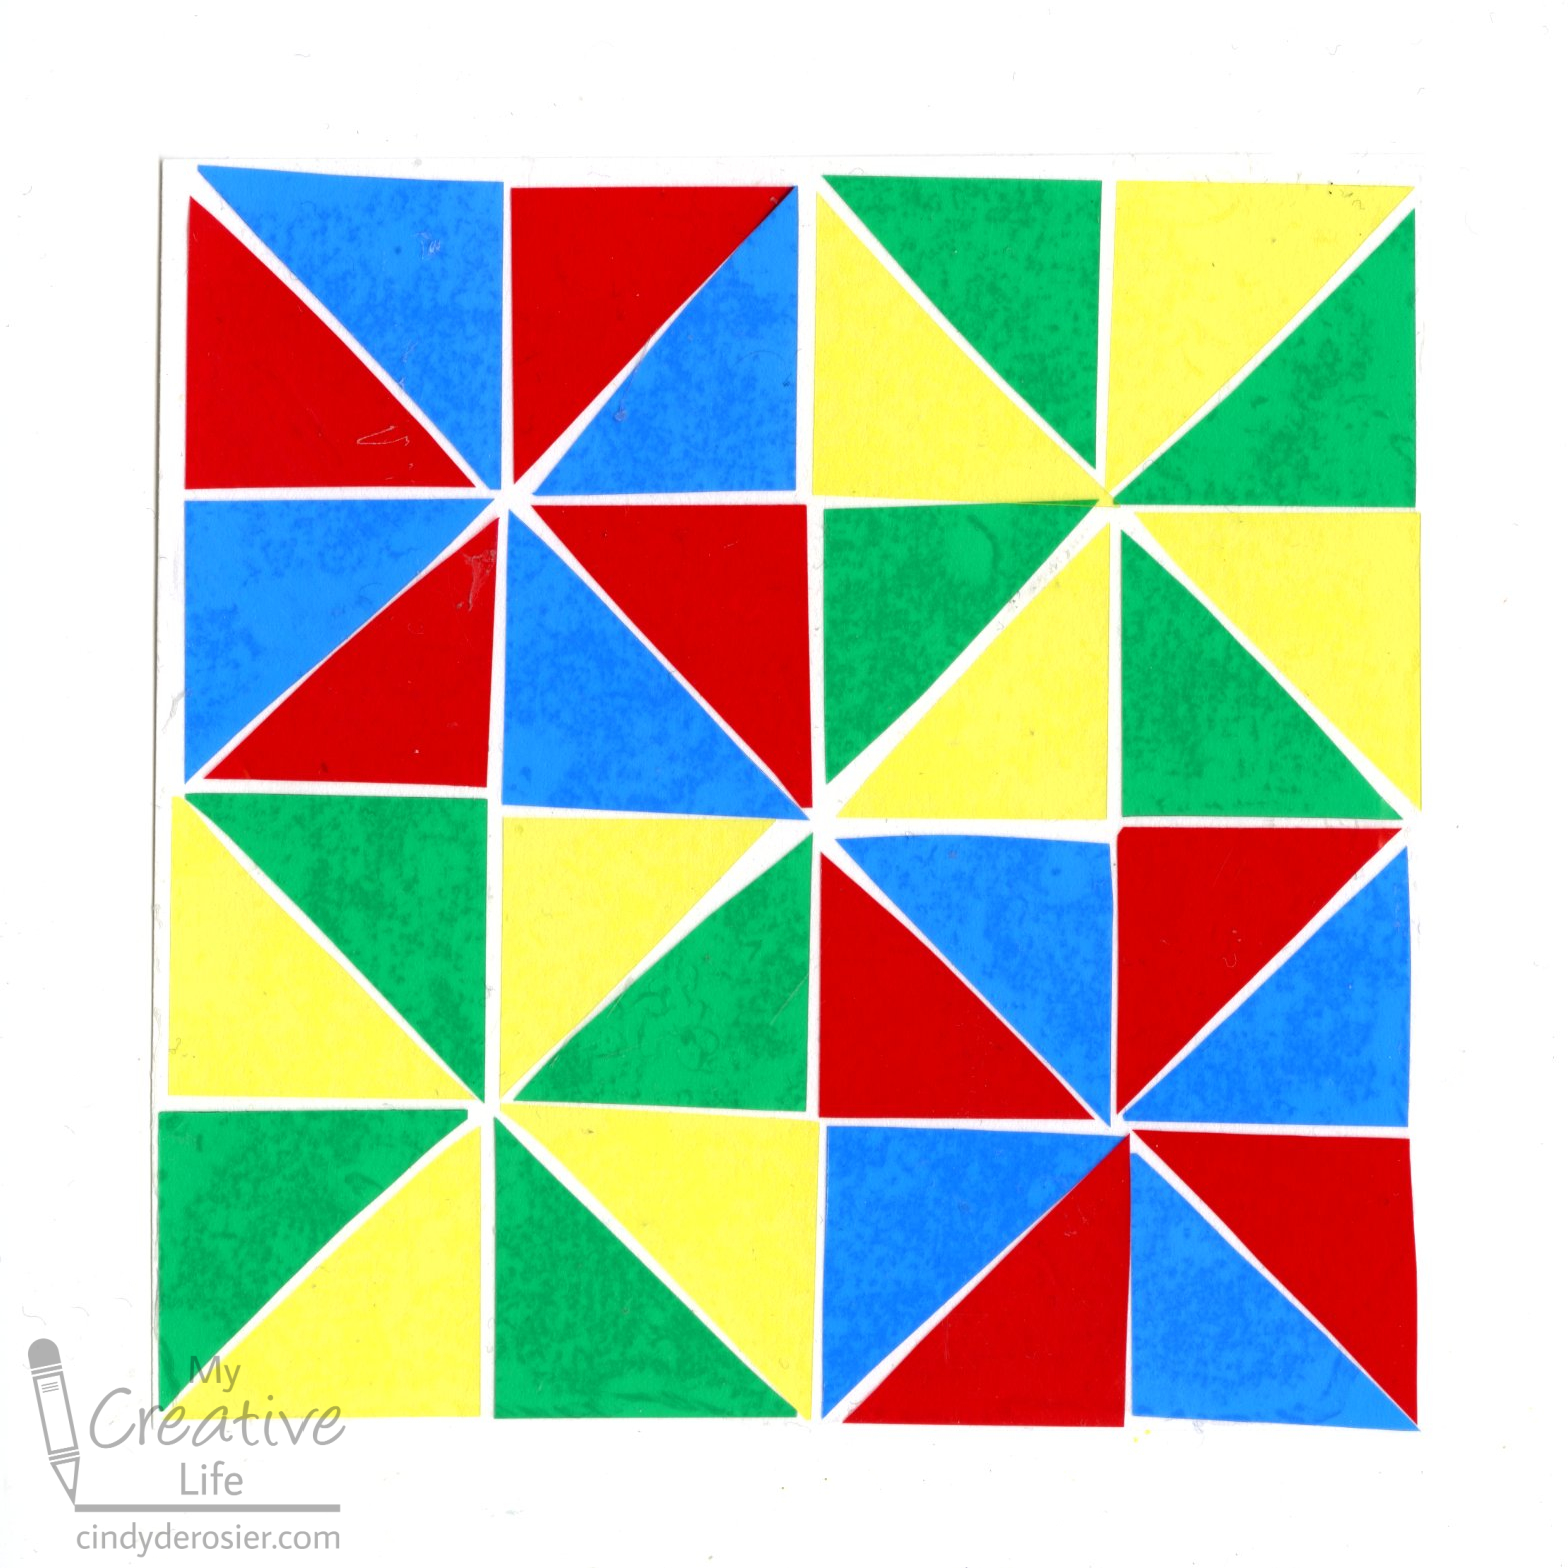

So I recommend using contact paper for this project. Start by cutting a piece of white cardstock into a 4.5" square. Then cut colored transparencies into 1" squares. I strongly recommend using the heavier lighting gels I linked to, as opposed to thin cellophane. The heavier weight cuts better, lays down more smoothly, and generally makes the project less frustrating. I actually had lightweight orange and purple transparencies in addition to the heavier red, yellow, green, and blue, but I ended up not using them. 
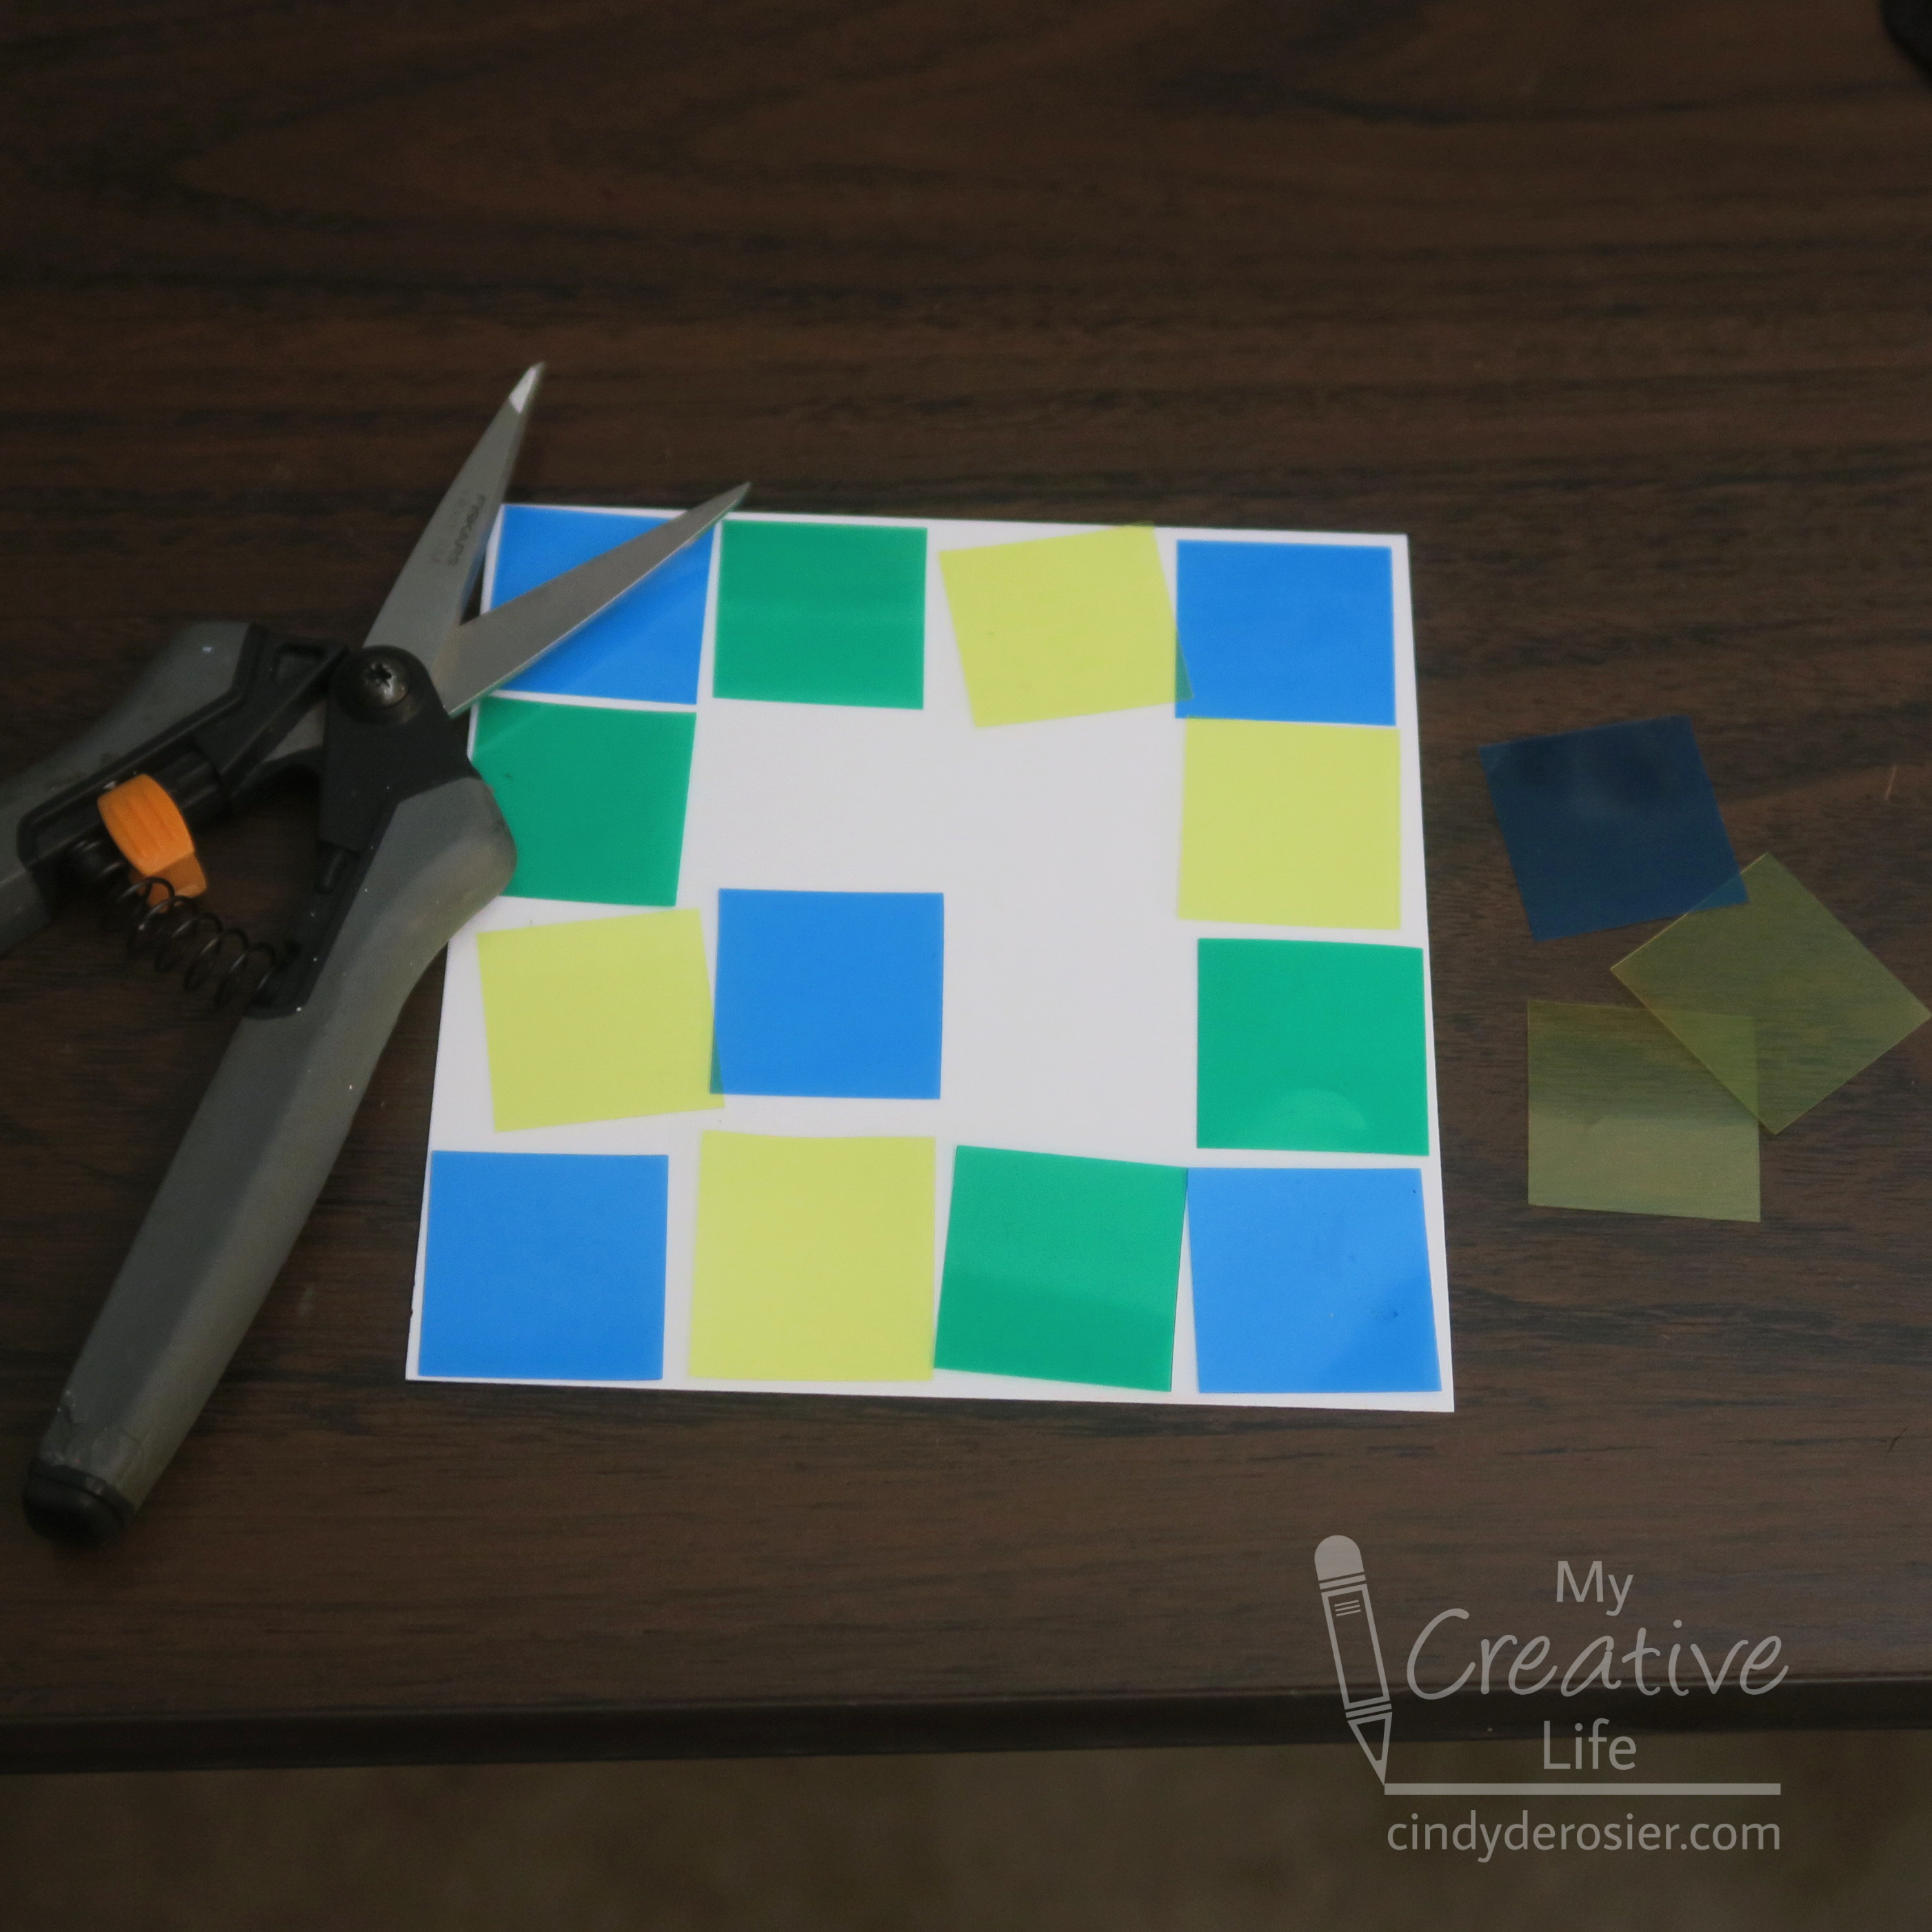

Arrange the squares on the white paper, then cut some (or all) on the diagonal to make triangles. Play with the pattern possibilities until you find one you like. 

Cut a second piece of white cardstock into a 4.5" square and set it on your workspace. Put a repositionable mounting square (indicated by the arrow below) onto the cardstock. Cut a piece of contact paper into a 5" square. Peel off the liner and place the contact paper STICKY SIDE UP onto the mounting square. Now transfer your design to the contact paper, one piece at a time. 
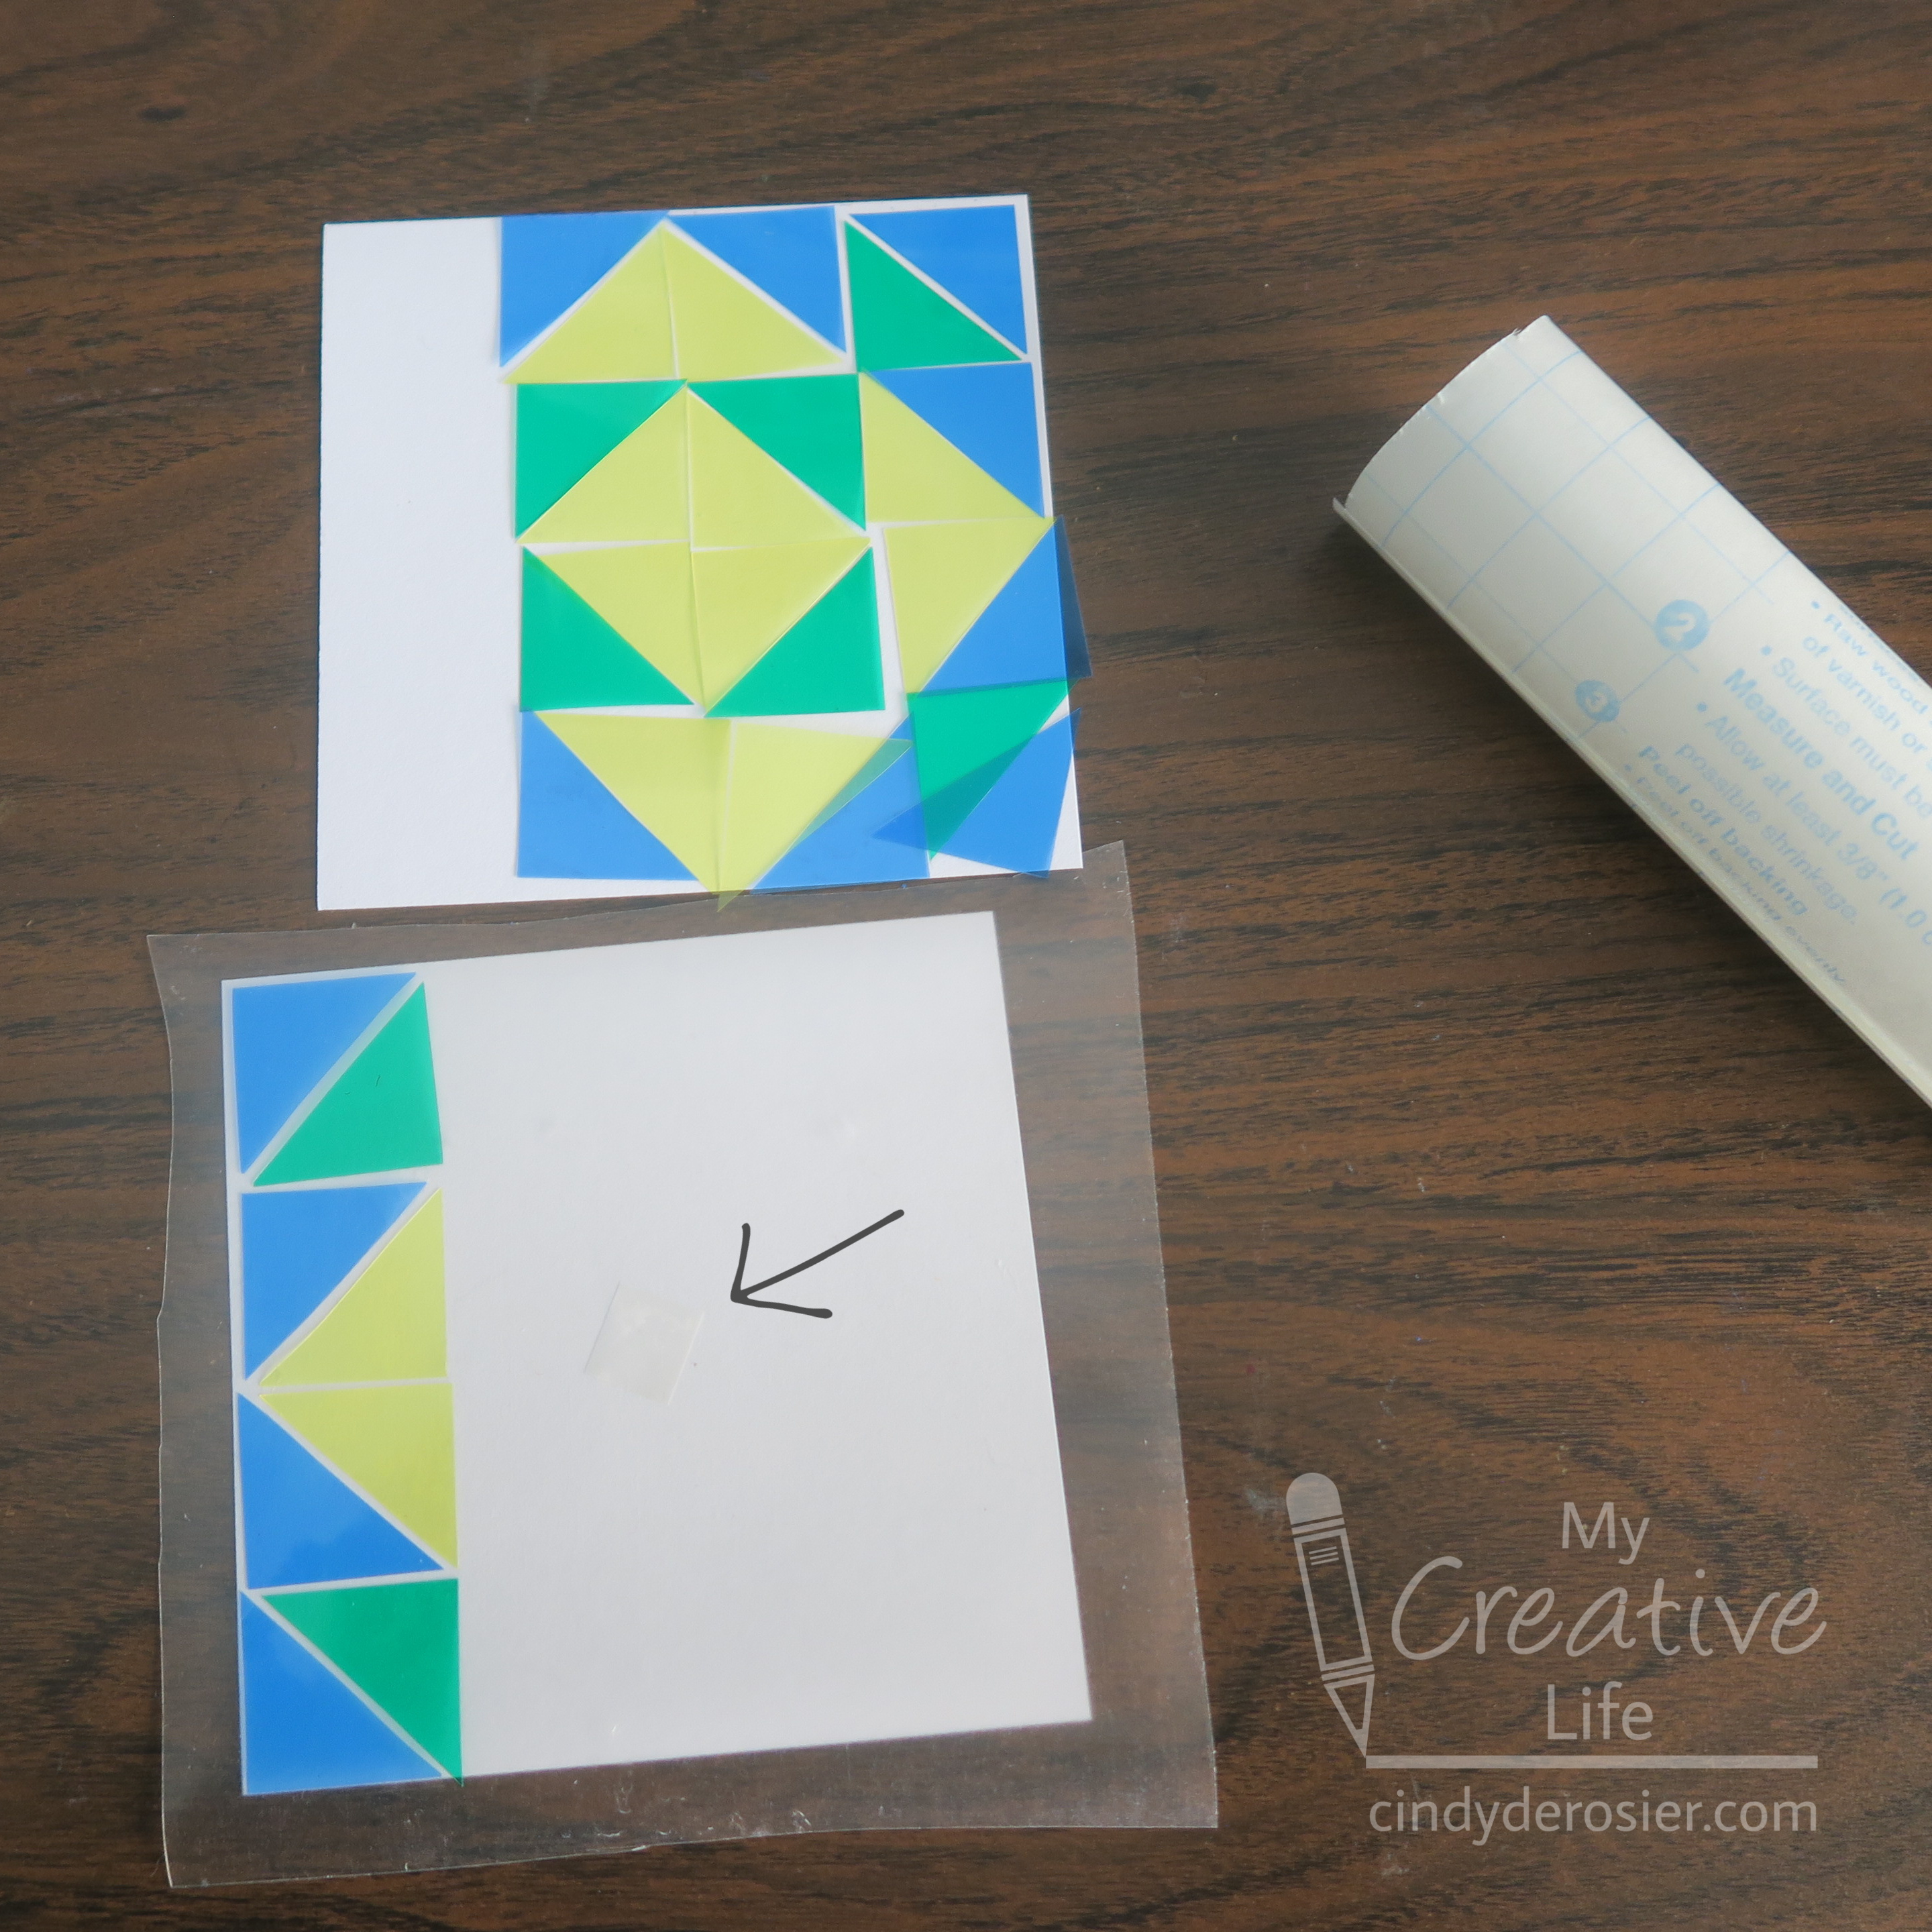

When the whole design is transferred, remove the mounting square and then place the contact paper STICKY SIDE DOWN onto the cardstock. Wrap the sticky edges around the sides of the cardstock to secure them together. 

The last step is burnishing the contact paper so that it lays perfectly flat against the transparency bits. Use a bone folder or craft stick to press them together. 

Unlike most sun catchers, this faux stained glass doesn't need to be displayed in a window to really shine. It looks just as good displayed on a wall or tabletop as it does in a window. Enjoy!

11/24/21

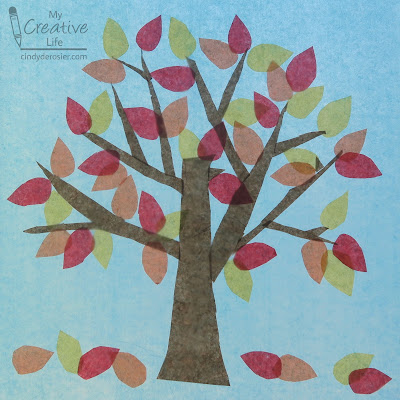
Fall Colors Tissue Paper Sun Catcher

I know we're two months into fall and thus it's a bit late for a fall craft, but we're just getting our fall color now here in northern California. Besides, fall technically lasts for another month. 

Anyway, I had a lot of fun making this tissue paper sun catcher. All of the tissue paper is reused. I'm that person at birthday parties stopping people from throwing away barely-crumpled tissue paper. If you're not that person, I've included affiliate links for tissue paper and other supplies below.


Fall Colors Tissue Paper Sun Catcher


Materials:


Steps: 


First, find a location. You'll be making your artwork directly on a window or glass door. It worked perfectly for me to sit on the floor by our back door to make my project, but it would work just as well standing at a window. 

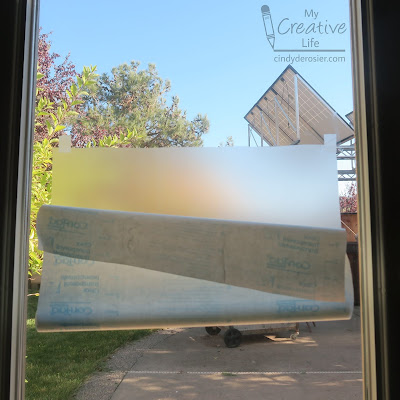
Cut a piece of contact paper that is slightly larger than you want your finished art to be. I used the width of the contact paper (18") by about 22" for mine. With the NON-sticky side against the glass, start peeling away the liner of the contact paper. Use two pieces of tape to hang the contact paper onto the glass. 


Continue peeling away the rest of the liner, then tape the bottom of the contact paper to the window. The sticky part of the contact paper is facing you. 

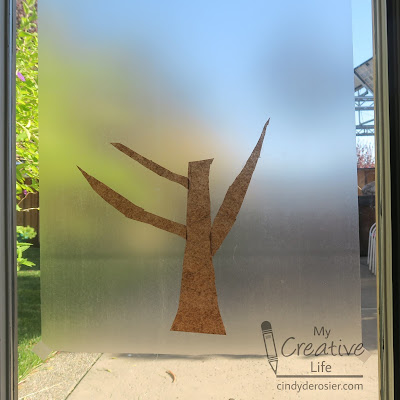
Cut a brown tree trunk and place it on the contact paper. Add a few limbs.   


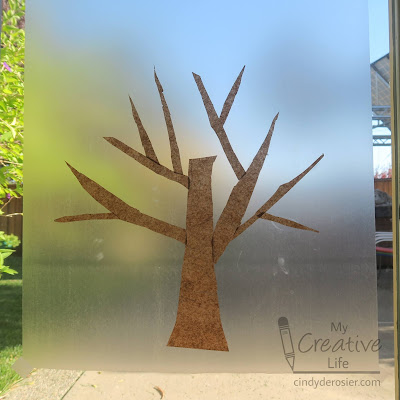
Continue adding smaller branches and twigs until you're happy with the shape of the tree. You'll notice my pieces are not cut evenly, which totally doesn't matter. You may also notice I got some fingerprints on the contact paper. That doesn't matter either. 


Layer red, orange, and yellow tissue paper and cut out stacks of teardrop-shaped leaves. Attach the leaves to the tree. Don't forget to add a few that have already fallen!


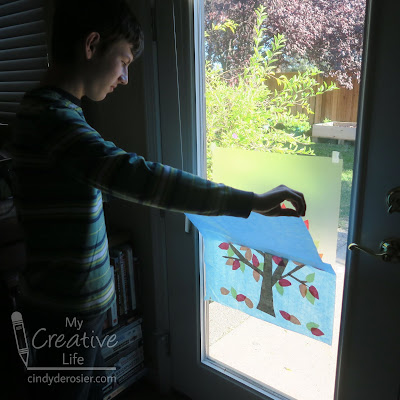
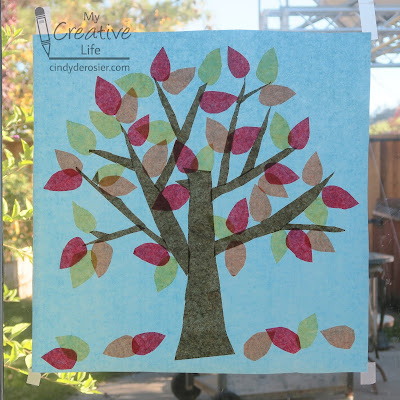
Next, layer a sheet of sky blue tissue paper over the entire design. I strongly recommend getting a helper for this. I had Trevor hold the top of the tissue paper taut while I smoothed the bottom section into place. I worked my way up, pausing halfway to snap this photo...


... then smoothed the rest of the tissue paper in place. This is how it looked, cropped to get rid of the door and surrounding glass. The fingerprints aren't visible. 


You can leave your artwork on the window as is, or you can take it down and trim the edges, which is what I did. When I hung it back up, I put the tissue paper side against the glass where it is protected. Did you notice it was mirrored from before?


I'm taking tomorrow and Friday off from blogging. I'll be back on Monday with another tissue paper craft tutorial. Happy Thanksgiving!

4/11/19

Tactile, High-Contrast Maze Placemat

Can you solve this maze? I'm pretty sure you can.


But can you solve it with your eyes closed? Not without using your eyes to memorize the path first!

As I was making my various projects using the leftover StickTogether stickers, I came across an extra sheet of green stickers where someone had used three of the stickers from the center instead of from an edge. I ran my finger over the opening and inspiration hit - I could remove more stickers to create a maze. As you know, Trevor LOVES mazes. I have so many wonderful memories of him filling in maze books over the years, drawing his own mazes, and creating maze-themed games. If Trevor had been born blind or visually impaired, would we ever have discovered his passion for mazes? The thought of him never doing mazes makes me so incredibly sad.

From there, my mind went to kids who do actually have visual impairments. So I set out to test ways I could use the StickTogether stickers to make a maze that you solve tactilely instead of visually. As I was working, I realized that by choosing the green stickers, I'd made a maze that was both tactile for blind children but also high-contrast for those with limited vision.

To make your own tactile and high-contrast maze, remove stickers from two opposite sides of a dark-colored sticker sheet to make a beginning and an end to the maze. Then remove stickers one at a time to create a winding pathway between them. I left two-sticker-wide walls between each path, testing frequently with my eyes closed to see if my fingers could follow the path. Then I added a dead end.

With the maze design complete, I experimented with ways to seal the maze so that the stickers wouldn't peel up. The easiest way was by simply smoothing clear contact paper over the top. When I did that, I realized that I'd made a placemat that could be enjoyed by any child, regardless of their visual abilities.

I'm happy to say that there are many tactile mazes available for purchase. Here are some interesting ones I found.


11/8/12

Fall Leaves Wall Hanging

We live near the beautiful San Francisco Bay Area, where fall arrives a bit later than in much of the rest of the country. Our leaves are just starting to fall around here. There have been years where our leaves didn't fall until mid-December. So even though I've been seeing fall leaf crafts around the Internet for about two months now, we're just starting ours!

Today we made a Fall Leaves Wall Hanging. 


Step one was to go for a nature walk. Trevor and I collected a large variety of leaves.

 
When we got home, we gathered clear contact paper (affiliate link), scissors, a hole punch, yarn, and our leaves.

 
Next, we cut a large piece of contact paper. We folded it in half, then peeled back the paper liner from one half. We carefully placed our leaves on the exposed sticky side of the contact paper.  


Next, we removed the paper liner from the rest of the contact paper and folded it over the leaves. Trevor carefully pressed out any air bubbles. Next, he punched holes at the top and tied a piece of yarn on to make a hanger. That's all there is to it!

This project looks absolutely gorgeous in a window.  I tried to photograph it, but eventually gave up and had Trevor hold it outdoors. This gives you a good idea of how it looks in a window. The colors and textures of the leaves are beautiful. 

 
It looks almost as pretty hanging on a wall.  

 
What a fun way to bring a bit of the outdoors in!