Showing posts with label owl. Show all posts

11/19/21

An Owl Sculpture, a Burrowing Owl Coloring Page, and Two Wildlife Rescues

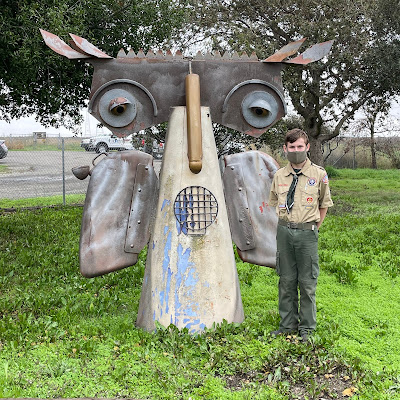
Last weekend, Trevor and I went to an open house at the Suisun Wildlife Center, a local animal rescue. It's been about five years since we'd visited, so it was interesting to see the changes. This giant owl sculpture wasn't there last time we were. I love it!


Unfortunately, not all of the changes at the Suisun Wildlife Center are positive. They suffered a devastating fire in June 2020, which took the lives of some of the non-releasable resident animals. Last weekend's open house was the first public event since the fire.  

Besides wanting to look around and support the center, we went so that Trevor could talk with the director about the possibility of doing his Eagle project there. We learned that the center will be closed to the public again in order to do a major rebuild (sponsored by the awesome local Rotary clubs) and that some of the ideas Trevor had as potential projects won't work during construction. He may still work with the Suisun Wildlife Center, but he's exploring other beneficiaries as well. 

One possibility is the California Raptor Center. Trevor has always loved birds (second only to rabbits) and has a particular fondness for raptors (though not necessarily the ones that eat rabbits). He is very interested in learning what needs the California Raptor Center might have. He is particularly delighted by the possibility that his Eagle project may involve actual eagles!

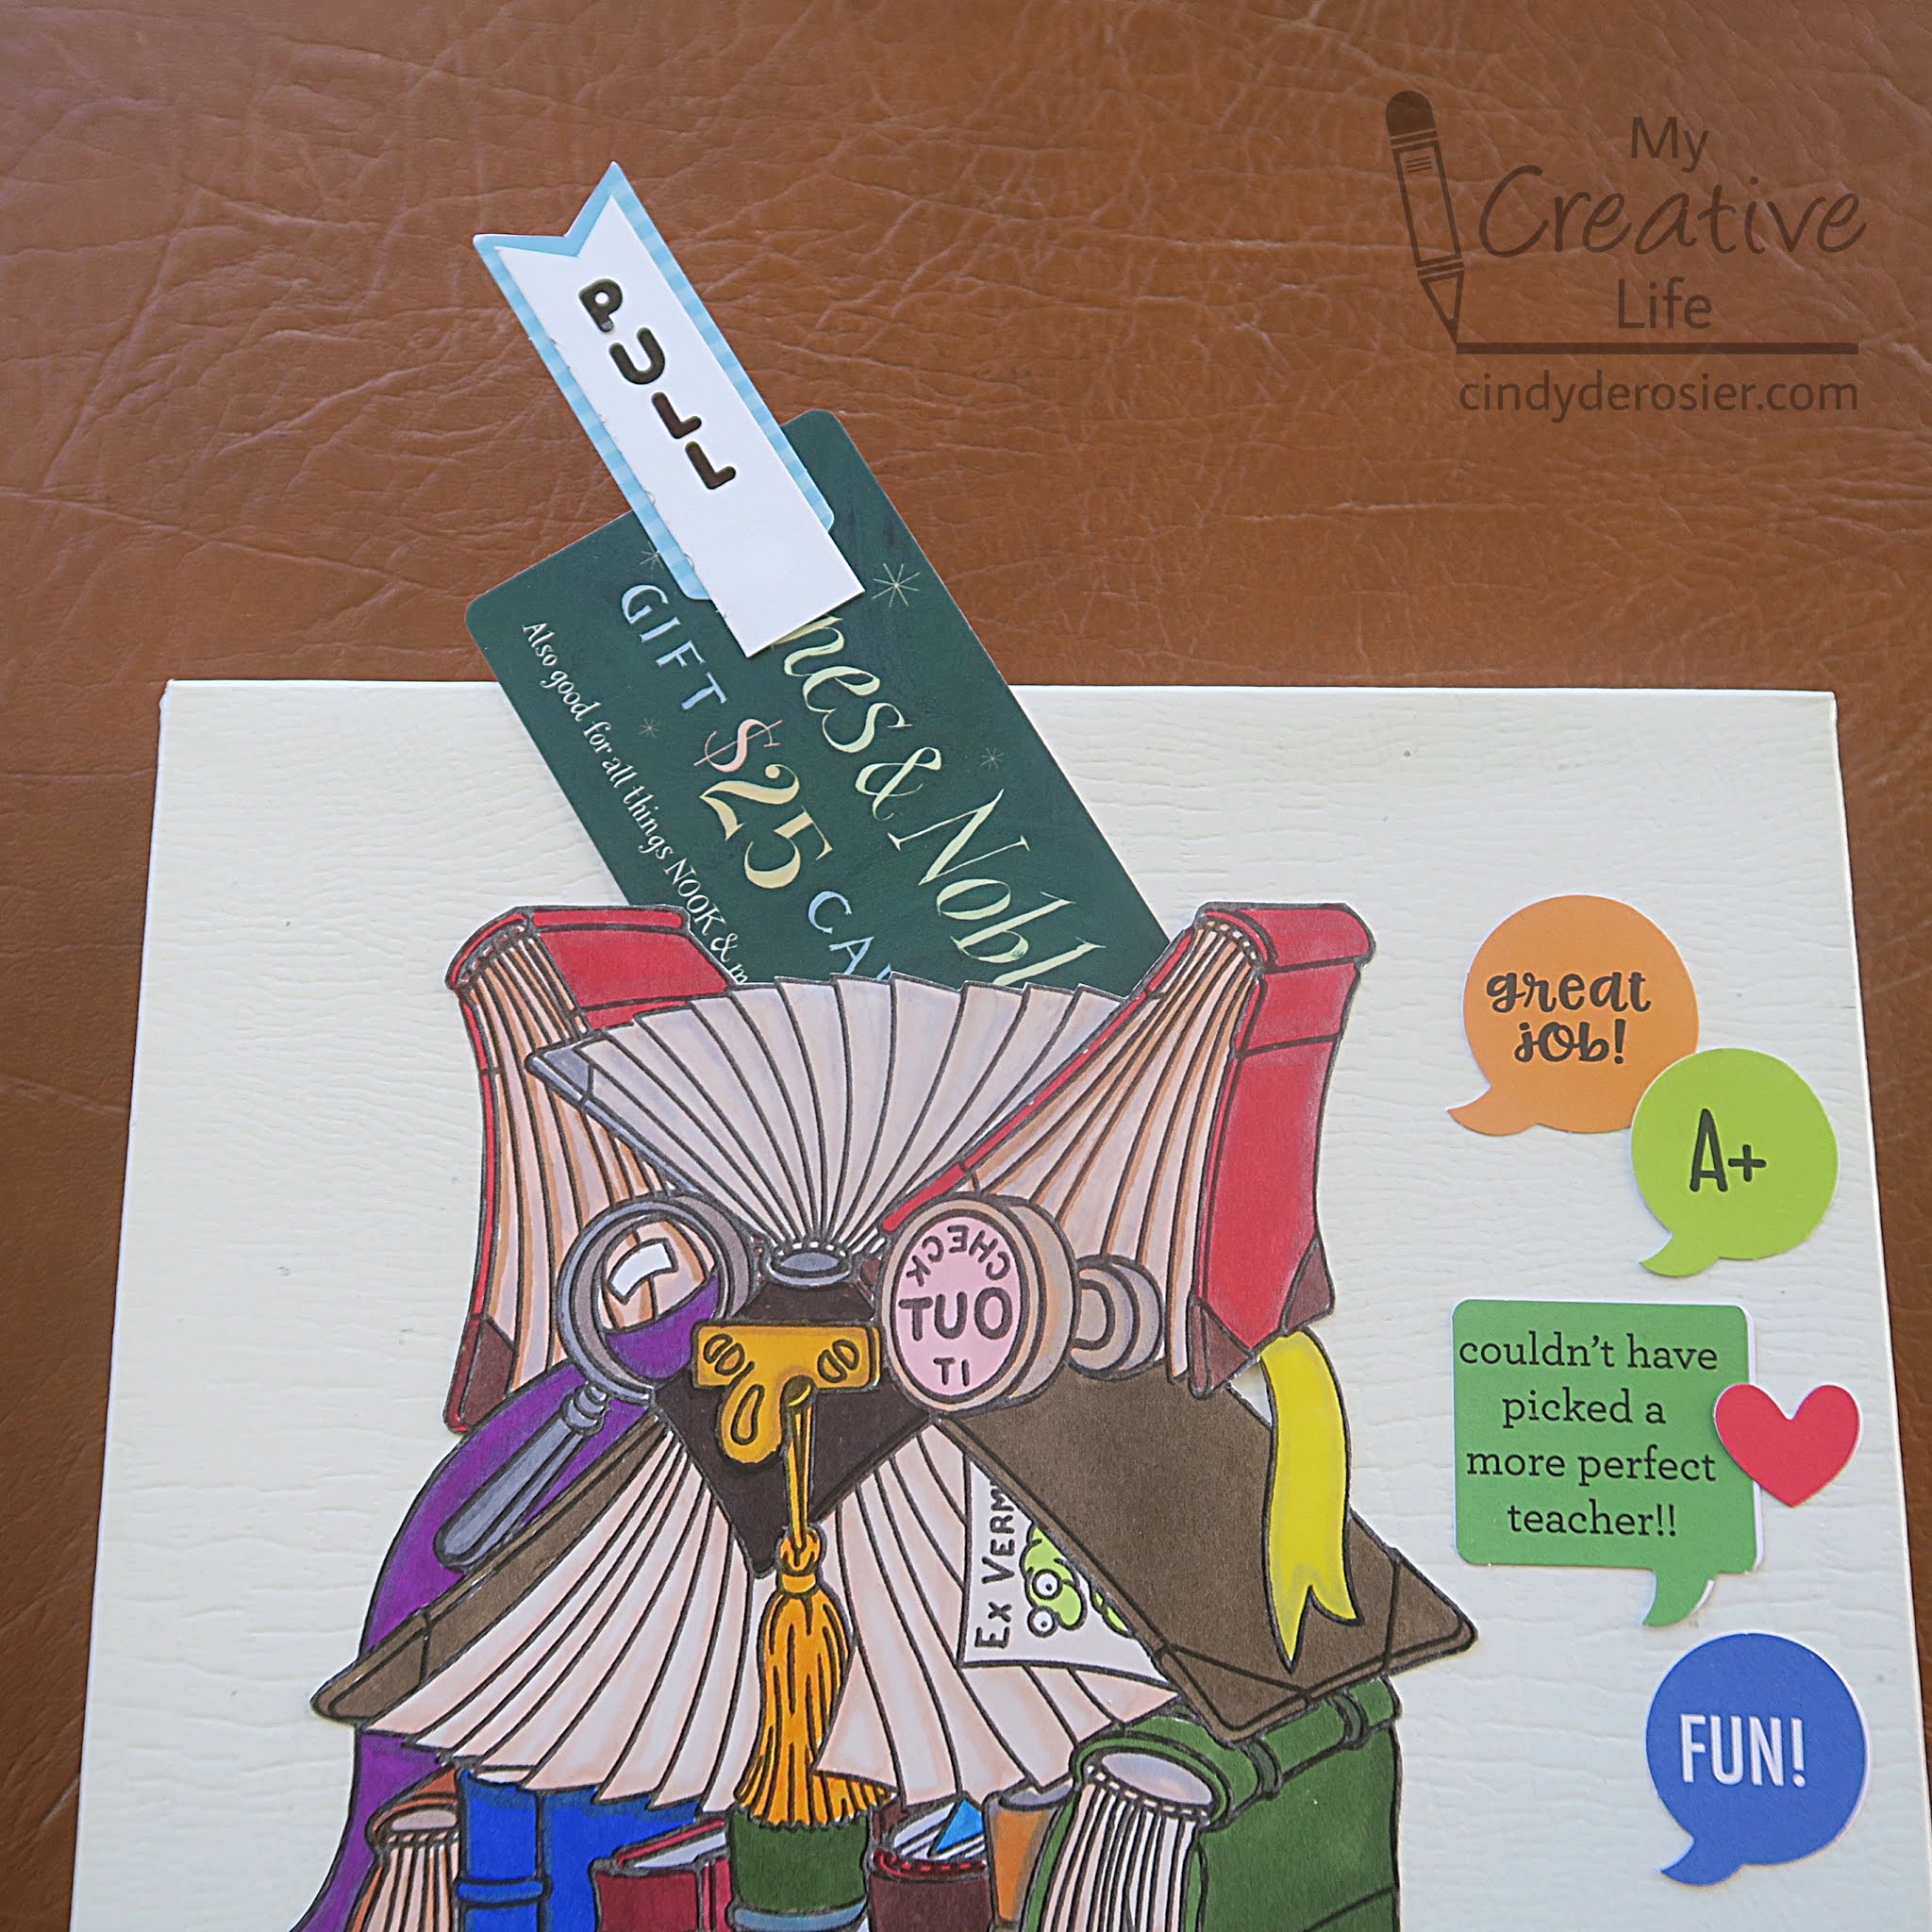
We were looking at the website to check visiting hours when I discovered downloadable coloring pages. I printed the burrowing owl, which was quite a challenge to color due to the texture and color variations of the feathers. I did the best I could (without spending hours) and learned a lot in the process. Among other things, I learned that I need colored pencils that will hold a very fine point. I've put a set on my Christmas wishlist. Fingers crossed! :)  


Speaking of wishlists, this is a good time to remind you that the purchases you make through affiliate links are my only source of income for this blog. Anything you buy through my links generates a small commission for me, at no extra cost for you. Click here to find the brands in my affiliate network and/or check out my gift guides to find suggestions for everyone on your list. Thanks for supporting My Creative Life!

10/6/21

Roundups: Owls, Scarecrows, Fish, Beans, and Halloween

I've finished another batch of roundups for Fun Family Crafts. First, owls. We have 93 owl crafts and recipes on Fun Family Crafts... and 13 of them are mine. I was surprised that I had so many. I chose three of mine for the roundup. Can you spot them?


Scarecrows are another fall favorite. Of the 31 scarecrow projects at Fun Family Crafts, 3 are mine. One is in the roundup. 


Next, Fish Crafts and Recipes. We have 141 fish crafts on Fun Family Crafts and it was really hard narrowing down which to features. One of mine is on the graphic below; you can see all of my fish crafts here. 


Next I did Bean Crafts. This one was tough because a lot of bean crafts don't have visible beans (such as bean bags and noisemakers). I tried to pick the best mix of visible and hidden beans. One item on the graphic is mine. 


Finally, Halloween Crafts. We have over 1000 crafts, recipes, and costume ideas, so no matter what you're looking for, it's probably there. I used two of mine for the graphic. 


I'm constantly going through our crafts to make roundups that I think will appeal to our readers. If you have any ideas for roundups I should add, let me know in the comments!

4/29/21

How to Draw Duo, the Duolingo Owl

I started learning Spanish in 7th grade, way back in 1985. I continued with Spanish all the way through 12th grade and did well enough on the Advanced Placement test to end up in an advanced Spanish composition class during my freshman year of college. It was very challenging. Because it was so difficult and I already had more than enough language credits, I never took another Spanish class.

I rarely used my Spanish and my near-fluency disappeared. It was frustrating but not surprising; you can't expect to remain good at something if you don't practice it for 30 years. In January, I decided to relearn Spanish and started using Duolingo. I spend an average of 30 minutes a day, 7 days a week, and it's amazing how much I've regained. It's fun and motivating and I'm excited to keep at it and eventually complete the entire Spanish tree.

Yesterday, I hit a milestone (more on that below) and drew a celebratory Duo (the Duolingo mascot) to mark the occasion. He's easy to draw. Give it a go!


How to Draw Duo, the Duolingo Owl


Materials:

  • paper
  • pencil (I used Sharpie for the step-out photos so they're easier to see)
  • markers

Steps:


Begin by drawing Duo's shadow at the bottom center of the page. It looks like a worm. This will help you anchor the rest of the drawing. 

Now draw Duo's body. Duo is all curves with no sharp edges, so keep everything rounded.


Duo's feet look like Tic-Tacs and are disconnected from his body. Draw them between his body and the shadow. Then add wings. Keep them rounded!


Duo's beak goes in the center of his face. It consists of a semi-circle on top and a Tic-Tac on the bottom, with a curve for his tongue. Add Tic-Tac eyes on either side of the beak. Leave a circular gap at the top left of the pupils; these are white highlights. 


Now outline Duo's face. The curve starts and ends at the sides of his beak, follows his eyes, and has two feathers over each eye. Add three semi-circles to Duo's belly. 


Now it's time to color! Not counting the white of the paper, you will use 7 colors: leaf green for the body, light green for the face and tummy feathers, black for the pupils, pink for the tongue, orange for the feet and parts of the beak, light orange for the highlight on the upper beak, and dark orange for inside the mouth next to the tongue. 


So what is my Duolingo milestone? Yesterday I celebrated a 100-day streak, with no missed days. 


To be honest, it's been easy. I really enjoy my daily practice. Of course, I imagine it will be much more difficult to maintain my streak when we are eventually traveling again. But I'll deal with that when it comes. In the meantime, I'll be happily practicing from home.  


4/27/21

Teacher Appreciation Day Gift Box

Teacher Appreciation Day is May 4, one week from today. This is a wonderful opportunity to tell those special teachers in your life just how much they mean to you. Teaching can be very challenging; a kind note from a student or a parent may be exactly what a teacher might need to temporarily forget the hard parts and remind themselves what a rewarding job it is. 

When I came across the owl drawing in Quirky Collages to Color, I thought it would be awesome to use it to decorate a gift box for a teacher. So that's exactly what I did.  


Did you notice the pull tab? It's attached to a bookstore gift card. This is my #1 recommendation when people ask me what gifts teachers want. I've never met a teacher who didn't spend their own money on books for the classroom, or who wouldn't love to buy some books for themselves to enjoy. Affiliate links below. 


Teacher Appreciation Day Gift Box


Materials:


Steps:


Color in the owl image using markers. With microtip scissors, carefully cut out the image. Place it on top of a gift box. Arrange the Chit Chat die cuts to the side of the owl and adhere them in place. Turn the owl upside down and apply adhesive along all the edges EXCEPT for the top edge between the two "ear" books. Carefully adhere the owl to the box. 

Cut a scrap of white paper and write PULL on it, layer it on a Chit Chat banner, then tape it to the end of the gift card. Slide it into place. 


So what should you put inside the box? Here are some ideas, based on what my fellow teachers and I frequently bought for our classrooms, using our own money:


Happy Teacher Appreciation Day to all of my former colleagues and all of the other hardworking teachers out there!

10/15/20

Peanut Butter Graham Cracker Owls

 Meet the Owlan family. 


Here are Mr. and Mrs. Owlan with her sister, Owlicia Owlexander. 


Can you tell I had the best time making these? Because I totally did. They were a hit with my family and you should definitely make some. Affiliate links below. 


Peanut Butter Graham Cracker Owls


Ingredients:


Steps: 


To make Owlice, use a knife to spread peanut butter onto a graham cracker. Add two eyes and a candy corn beak. Follow the package directions to melt the Candy Melts, then use that to add the forehead and wings. 


Owlejando is basically the opposite. Start with the cocoa candy melts, add the facial features, then use peanut butter to make the forehead and wings.

To make Owlicia, I spread the peanut butter smoothly, then used a toothpick to draw in the forehead, wings, and tail feathers. 

The owlets (Owlison and Owlex) are made with half a graham cracker each. The easiest way to get them to split cleanly is to use a sharp chef's knife and press down along the score line with equal pressure along the whole knife. Spread peanut butter on each, then pounce the knife up and down repeatedly against the peanut butter to create their fluffy feather texture. Add the eyes and candy corn beaks.   

*I wasn't able to find the Wilton candy eyeballs printed with the eyelashes that I used anywhere online.  I've had them for awhile and it looks like they might be discontinued. You can make your own version by drawing eyelashes onto the candy eyeballs I've linked above with a black edible marker

10/4/19

Owl in a Cardboard Tube Tree

My favorite crafting material is obviously scrapbook paper (both cardstock and patterned paper), but my second favorite crafting material is probably cardboard tubes. I love turning an empty tube into something fun. Today, an owl in a tree. 


---------

Owl in a Cardboard Tube Tree


Materials:

  • cardboard tubes
  • scissors
  • glue gun
  • Folk Art paint (brown and black)
  • foam brush
  • construction paper or cardstock (brown and yellow) 
  • googly eyes


Steps: 


Use the scissors to open up a paper towel tube by cutting it lengthwise. Cut an oval hole about 2/3 toward one end on the opposite side of the opening. Cut a toilet paper tube in half lengthwise, then cut one end of each piece on an angle. 


Water down some black paint and use the foam brush to apply it to the inside of the cardboard tube. The moisture will loosen the fibers and relax the curve of the tube. You still want some curve so that your tree will stand upright on its own, so don't soak it. Let the paint dry. 


Meanwhile, cut an owl shape from brown construction paper or cardstock. Add googly eyes and a triangle beak. 


Now it's time for the glue gun. Glue the two toilet paper tube pieces to opposite sides of the paper towel tube to form branches. Then, draw lines of glue vertically along the length of the tree trunk. Vary their lengths and spacing to mimic tree bark. Do the same with the branches, making sure that the glue lines travel the length of the branches, rather than vertically, which would look unnatural. (Speaking of unnatural, look at my index finger. At any given time, there's a 50% chance I have paint on my hands.) 


 Add a coat of the watered-down black paint and watch the texture emerge like magic!


Use undiluted brown paint to add highlights and accents to the tree. Use as much or as little as you want. When the paint is dry, glue the owl in the opening in the tree.


I love how the tree looks against the dark background, but it looks pretty good in the light as well. If I were making these in the classroom, I'd do a black bulletin board with the moon shining down over a whole bunch of owl-filled trees. 


Some of you may be wondering about using glue guns in a classroom setting. I taught 9-11 year olds, who are certainly old enough to use them without direct supervision. Obviously, I always went over safety considerations and making smart choices and the consequences that would result from behaving carelessly or stupidly, but in 11 years I never had a problem. If I were doing this project with younger children, I'd find a parent volunteer to closely supervise.


2/23/15

Moonlit Owl Canvas Bag

Remember the plain canvas bag that I dyed using the Tulip Mini Tie-Dye kit? The tie-dye kit was one of many items I received from the FaveCrafts Blogger Event at CHA. I used three other items from the huge box of goodies (Owl Stencil by Stencil1, Swarovski crystals and Aleene's Tacky Glue) to transform the dyed bag into this: 


What do you think? It's the first of four items that I made (so far) using items donated by the sponsors of the FaveCrafts Blogger Event. More tomorrow!

7/16/13

Owl Napkin Rings

Have you noticed how much I love napkin rings? I've shared a bunch of the ones Trevor and I have made, including bunny napkin rings for spring, acorn napkin rings for fall, turkey napkin rings for Thanksgiving, and holly and star napkin rings for Christmas. Today I'm sharing our latest napkin rings, owls. They're fun year-round.


---------

Owl Napkin Rings


Start by cutting about two inches off an empty cardboard tube. Round the cut slightly, so that there are points on the left and right and a dip across the front and back. Paint it brown inside and out.

 
Add googly eyes and a yellow cardstock beak.

 
Cut rounded triangles from brown cardstock to make wings. Curl them slightly outward before gluing them to the body.  


Add a napkin (notice the owl print?) and you're set!  

 
I know it's been quite a few months, but I haven't forgotten about the J, U, and Y children's crafts I promised. We've brainstormed what we're going to do, but they've taken a back seat to both Kidding Around and all the projects we've been making for the various fairs we're entering. And speaking of the fair, tomorrow I'll share how Trevor used his owl napkin ring.