Showing posts with label stickles. Show all posts

11/11/22

Puzzle Piece Ornament: Kids Catching Snowflakes

I love crafting with puzzle pieces. Thanks to the horrible puzzle company that shall not be named, I have a lifetime supply. I used two to make this pair of ornaments.  
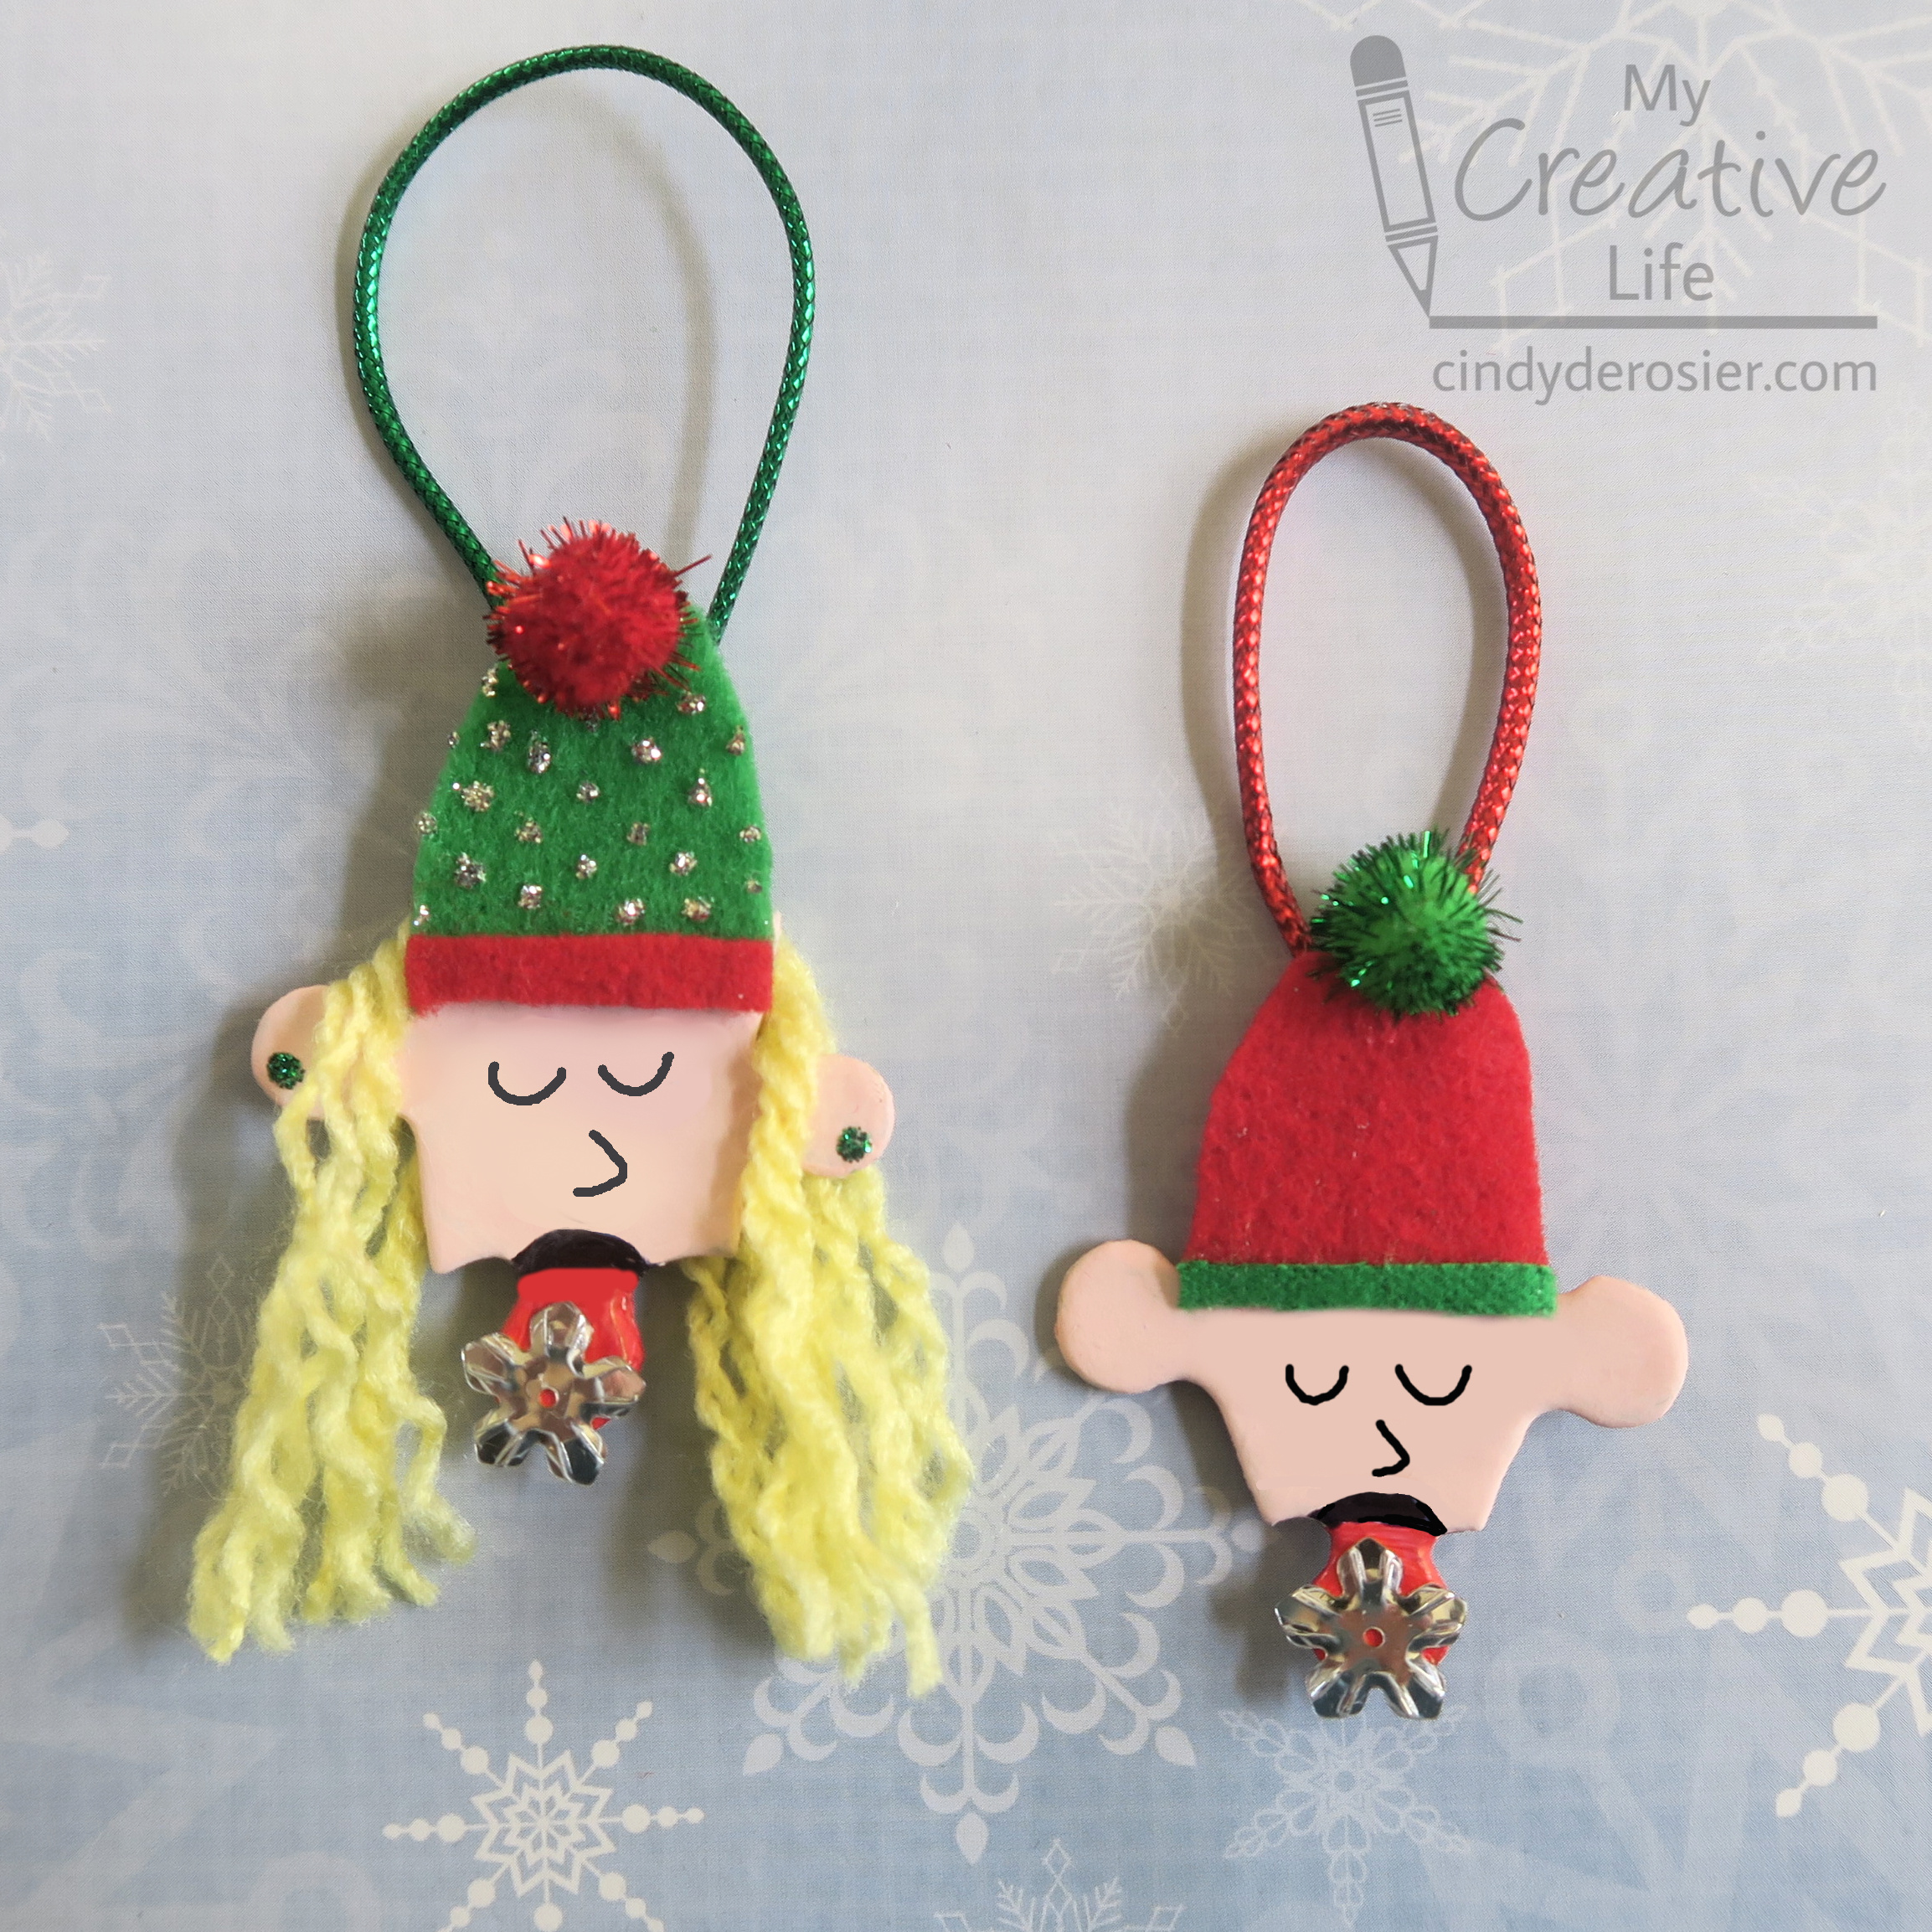


Puzzle Piece Ornaments: Kids Catching Snowflakes


Materials: 


Steps: 


Prepare the puzzle pieces by gently sanding them to remove the glossy finish. (Skip this step if you are using puzzle pieces made specifically for crafting.) Paint each piece with your desired skin tone. 

When the paint is dry, use a red Sharpie to color in the tongue. 


With a black Sharpie, color the open mouth above the tongue. You can draw the rest of the face now (eyes and nose) or wait until later. Glue a snowflake to the end of the tongue.

Make the hats from felt. I used a contrasting color for the band. Glue the two parts together, then glue them to the puzzle pieces. Add a piece of metallic cord for the ornament hanger.  

Cut lengths of yarn to make the hair. Leave it as is, or untwist it to get wavy hair. Glue it in place. Obviously, you can change the hair color and length, style it differently (ponytails or braids would be cute), or leave it off entirely. 
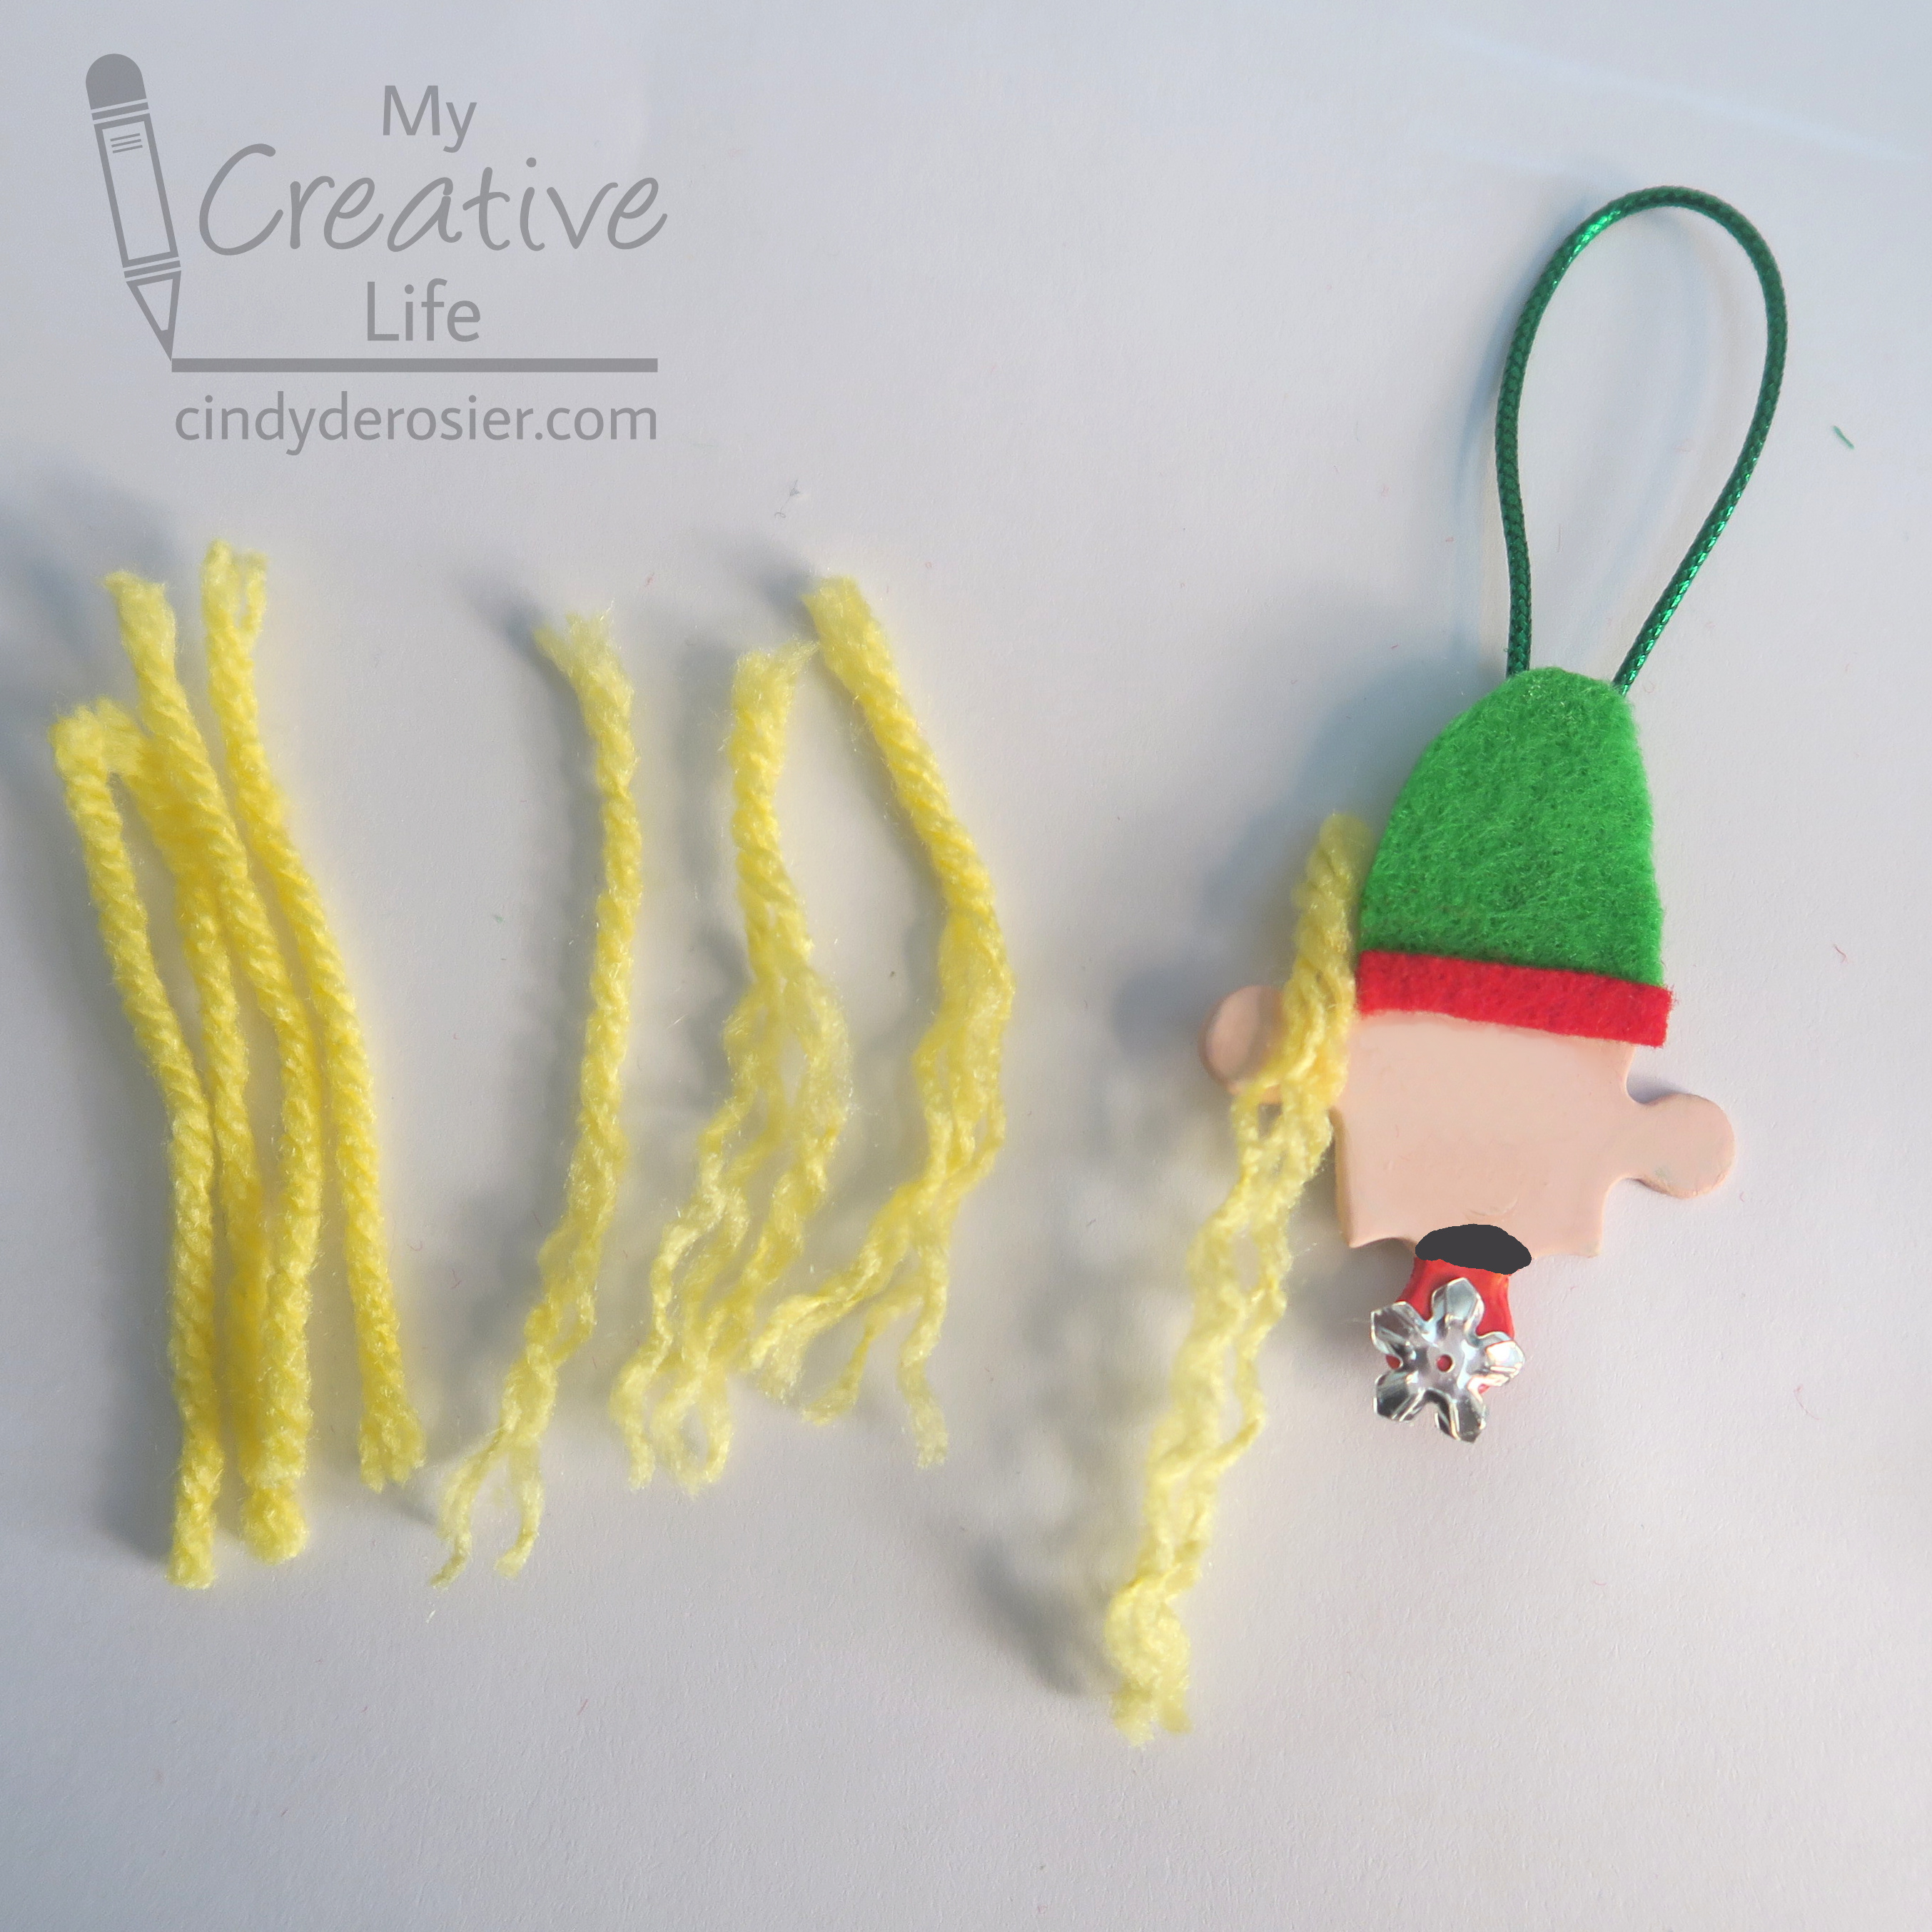

Decorate with Stickles. I put silver dots on the girl's hat and green dots for her earrings. I left the boy undecorated. Finally, glue the glitter pom pom to the hat. 


Only 46 days until Christmas! 

11/4/19

Pillow Party 2019

I love a creative challenge, so when I was invited to join up with 24 other craft bloggers for a Holiday Pillow Party, I jumped right in! Each of us received pillows and other goodies from Fairfield World with the instructions to decorate our pillows for the holidays. I love seeing what everyone made! Based on what you know about me, can you pick out mine?


If you guessed that I made the snowmen family portrait, you're right! Follow the steps to make your own. Affiliate links (and a big giveaway!) below. 


---------

Snowmen Family Portrait Pillow


Materials: 


Steps: 

Remove the Poly-Fil from the pillow and put it temporarily into the bag the pillow came in.

In a shallow disposable tray, mix paint with 1 cup of water. You want a completely liquid consistency, but not so diluted that it won't color the pillow. Dip the top half of the pillow into the paint. After the paint has soaked in, spread the pillow case flat to let it dry. (I did this on the lawn so I wouldn't make a mess indoors.)


Meanwhile, cut out snowmen to represent each member of the family. Use black Stickles for eyes, mouths, and buttons; orange Stickles for carrot noses, and pink Stickles for bunny ears. I also added our family colors to the snowmen's hats. 

When the pillow and the Stickles were dry, I used the Beacon glue to attach the felt to the pillow. Then I used the brown Stickles to add arms.

While the arms were drying, I added my leftover Dotz to the sky to make snowflakes. They're hard to see in the picture, but they add so much sparkle in real life! 

Finally, I re-stuffed the pillow.  

---------


I had so much fun making my pillow, but it was even more fun to check out all the other designers' pillows. There's so much talent out there! Each pillow is so different from the others.

If you'd like to make your own pillow (or anything else crafty), I have good news for you! You can enter this Rafflecopter giveaway for a chance to be the lucky one to win a $100 gift card to Michaels and 10 pounds of Poly-Fil. Good luck, everyone!

1/10/18

Q-Tip Snowflake

Not all of my craft ideas are original. Most are, but occasionally I have to recreate someone else's project, without the benefit of actually knowing how they made it. Take, for example, this Q-Tip Snowflake I made:


Many years ago, we featured "Snow Swabs" at Fun Family Crafts:


The original source, Spoonful.com, is gone, leaving us with a dead link. As Editor, that leaves me with a choice: remove the feature entirely, or try to figure out how it was made and post my own tutorial? 

I hate removing crafts from the site, so this time I tried to make my own version. I knew from the title that each 'spoke' of the snowflakes were q-tips, but that's all I knew. What are those colorful blobs at each intersection? The photo is too small to enlarge. Now that I've made my own, I *think* those blobs are hot glue with glitter sprinkled into them, which is different than what I did. Here's my version. Affiliate links below.


---------


Q-Tip Snowflake


Materials:


Steps:


1. On a piece of wax paper, arrange the q-tips into a six-pointed star. 


2. Put glue at each intersection. Too little and the snowflake won't stick together. Too much and the glue will form unsightly pools. (Ask me how I know.) Let the glue dry overnight. 


3. Carefully peel the wax paper from the back of the snowflake. If necessary, add extra glue to reattach weak areas and/or use microtip scissors to trim away glue pools. Once it is secure, tie a piece of fishing line around the snowflake. Have a trusty assistant hold it up to make sure it is actually sturdy. 


4. Now it's time to decorate! I used Star Dust Stickles to add glitter to the snowflake, then glued a silver sequin at each intersection. 


Of course, both the glitter and the sequins are difficult to see in my photos, but they do add a nice sparkle in real life. Hang your snowflake in the window and enjoy!