Showing posts with label strawberry. Show all posts

4/3/26

Tomato and Strawberry Easter Eggs

Today's Easter eggs based on state symbols are so easy to make that you get two-for-one. First up is a tomato, the state fruit of Arkansas, Ohio, and Tennessee. Second is the strawberry, the state fruit of Delaware, Louisiana, North Carolina, and Oklahoma. Affiliate links below. 


Tomato Easter Egg


Steps: 


Paint the egg red. While it is drying, cut out a multi-pointed star shape from felt for the tomato's leaves. Cut a thin strip for the stem. When the paint is dry, glue the leaves to the side of the egg and the stem on top of the leaves. 


---------


Strawberry Easter Egg


Steps: 


Paint the egg red. While the paint is drying, cut out a multi-pointed star shape from felt for the strawberry's leaves. Cut a thin strip for the stem. 

When the red paint is dry, use a plastic fork to apply yellow dots to the egg to mimic the strawberry's seeds. 


When the yellow paint is dry, glue the leaves to the rounded end of the egg. Glue the stem onto the leaves. 

9/11/24

Crayon Melt State Fruits: Pear, Peach, Strawberry, Watermelon, and Tomato

It's been almost four years since I've pulled out the warming tray to do a crayon melt project. I'm surprised it's been that long, since it's one of my favorite techniques. I love the painterly effect it gives on these, each of which is an official state fruit.  


Pears are the state fruit of Oregon. 


Peaches are the state fruit of Alabama, Georgia and South Carolina. (Technically, peaches are Alabama's state tree fruit.)


Strawberries are the state fruit of Delaware, Louisiana, North Carolina (technically, the state red berry), and Oklahoma.


Tomatoes are the state fruit of Arkansas, Ohio, and Tennessee.


OK, I lied. Watermelon is not a state fruit. It is the state vegetable of Oklahoma. If you think a tomato should be considered a vegetable and watermelon a fruit, don't take it up with me. Botanically, tomatoes are fruit and so are watermelons, but Oklahoma has valid arguments for considering watermelon a vegetable


I didn't make crayon melts of all of the state fruits. Others include oranges, apples, huckleberries, blackberries, plums, blueberries, grapes, cranberries, chokecherries, grapefruit, cherries, and pawpaws. Feel free to make those, or anything else, using the technique below. The materials list includes affiliate links. 

---------


Crayon Melt State Fruits


Materials:


Steps:


Plug in the warming tray. and put a sheet of paper on top. Scraps are perfectly ok. Use crayons to color in the fruits you'll be making. You can blend and layer colors as much as you want. 


I recommend removing the wrappers from the crayons and laying them on their sides for faster, more even coverage. When you do that, you're going to get wax that transfers to the crayon, but that's not a problem. Here you can see that I put the white crayon into an area I'd colored dark green, which blended and transferred to the crayon. To clean it off, just color on a clean area of paper. 


You have two choices when adding details to your project. For the watermelon seeds, I just dotted black crayon directly onto the hot red wax. Since the black shows up really well on red, this is a good option. 


If I'd tried to add the yellow strawberry seeds on top of the red wax while it was hot, they would have blended in too much. Instead, I removed the strawberry, let it cool completely, cut out my shape, then returned it to the warming tray for just long enough to warm up. Then I was able dot on little bits of yellow. 


Don't forget to color the stems and leaves that you'll be using on your fruits. When you've colored everything, unplug the warming tray and let the wax set. Then cut out the shapes using scissors. Glue the leaves and stems to the appropriate fruit. Have fun!

2/2/23

First Time Trying Gouache - Painting Strawberries

I've been having a lot of fun playing (my focus for 2023!) with the new art supplies I got for Christmas. Among those is gouache. If you're not familiar with gouache, it is a water-based paint. It is similar to watercolor in that it can be re-wetted (unlike acrylic), but is heavier in body than watercolor and dries opaque. Before this project, I'd never used gouache; in fact, it was barely on my radar until I participated in Sketchbook Party and so many of the instructors mentioned it. 

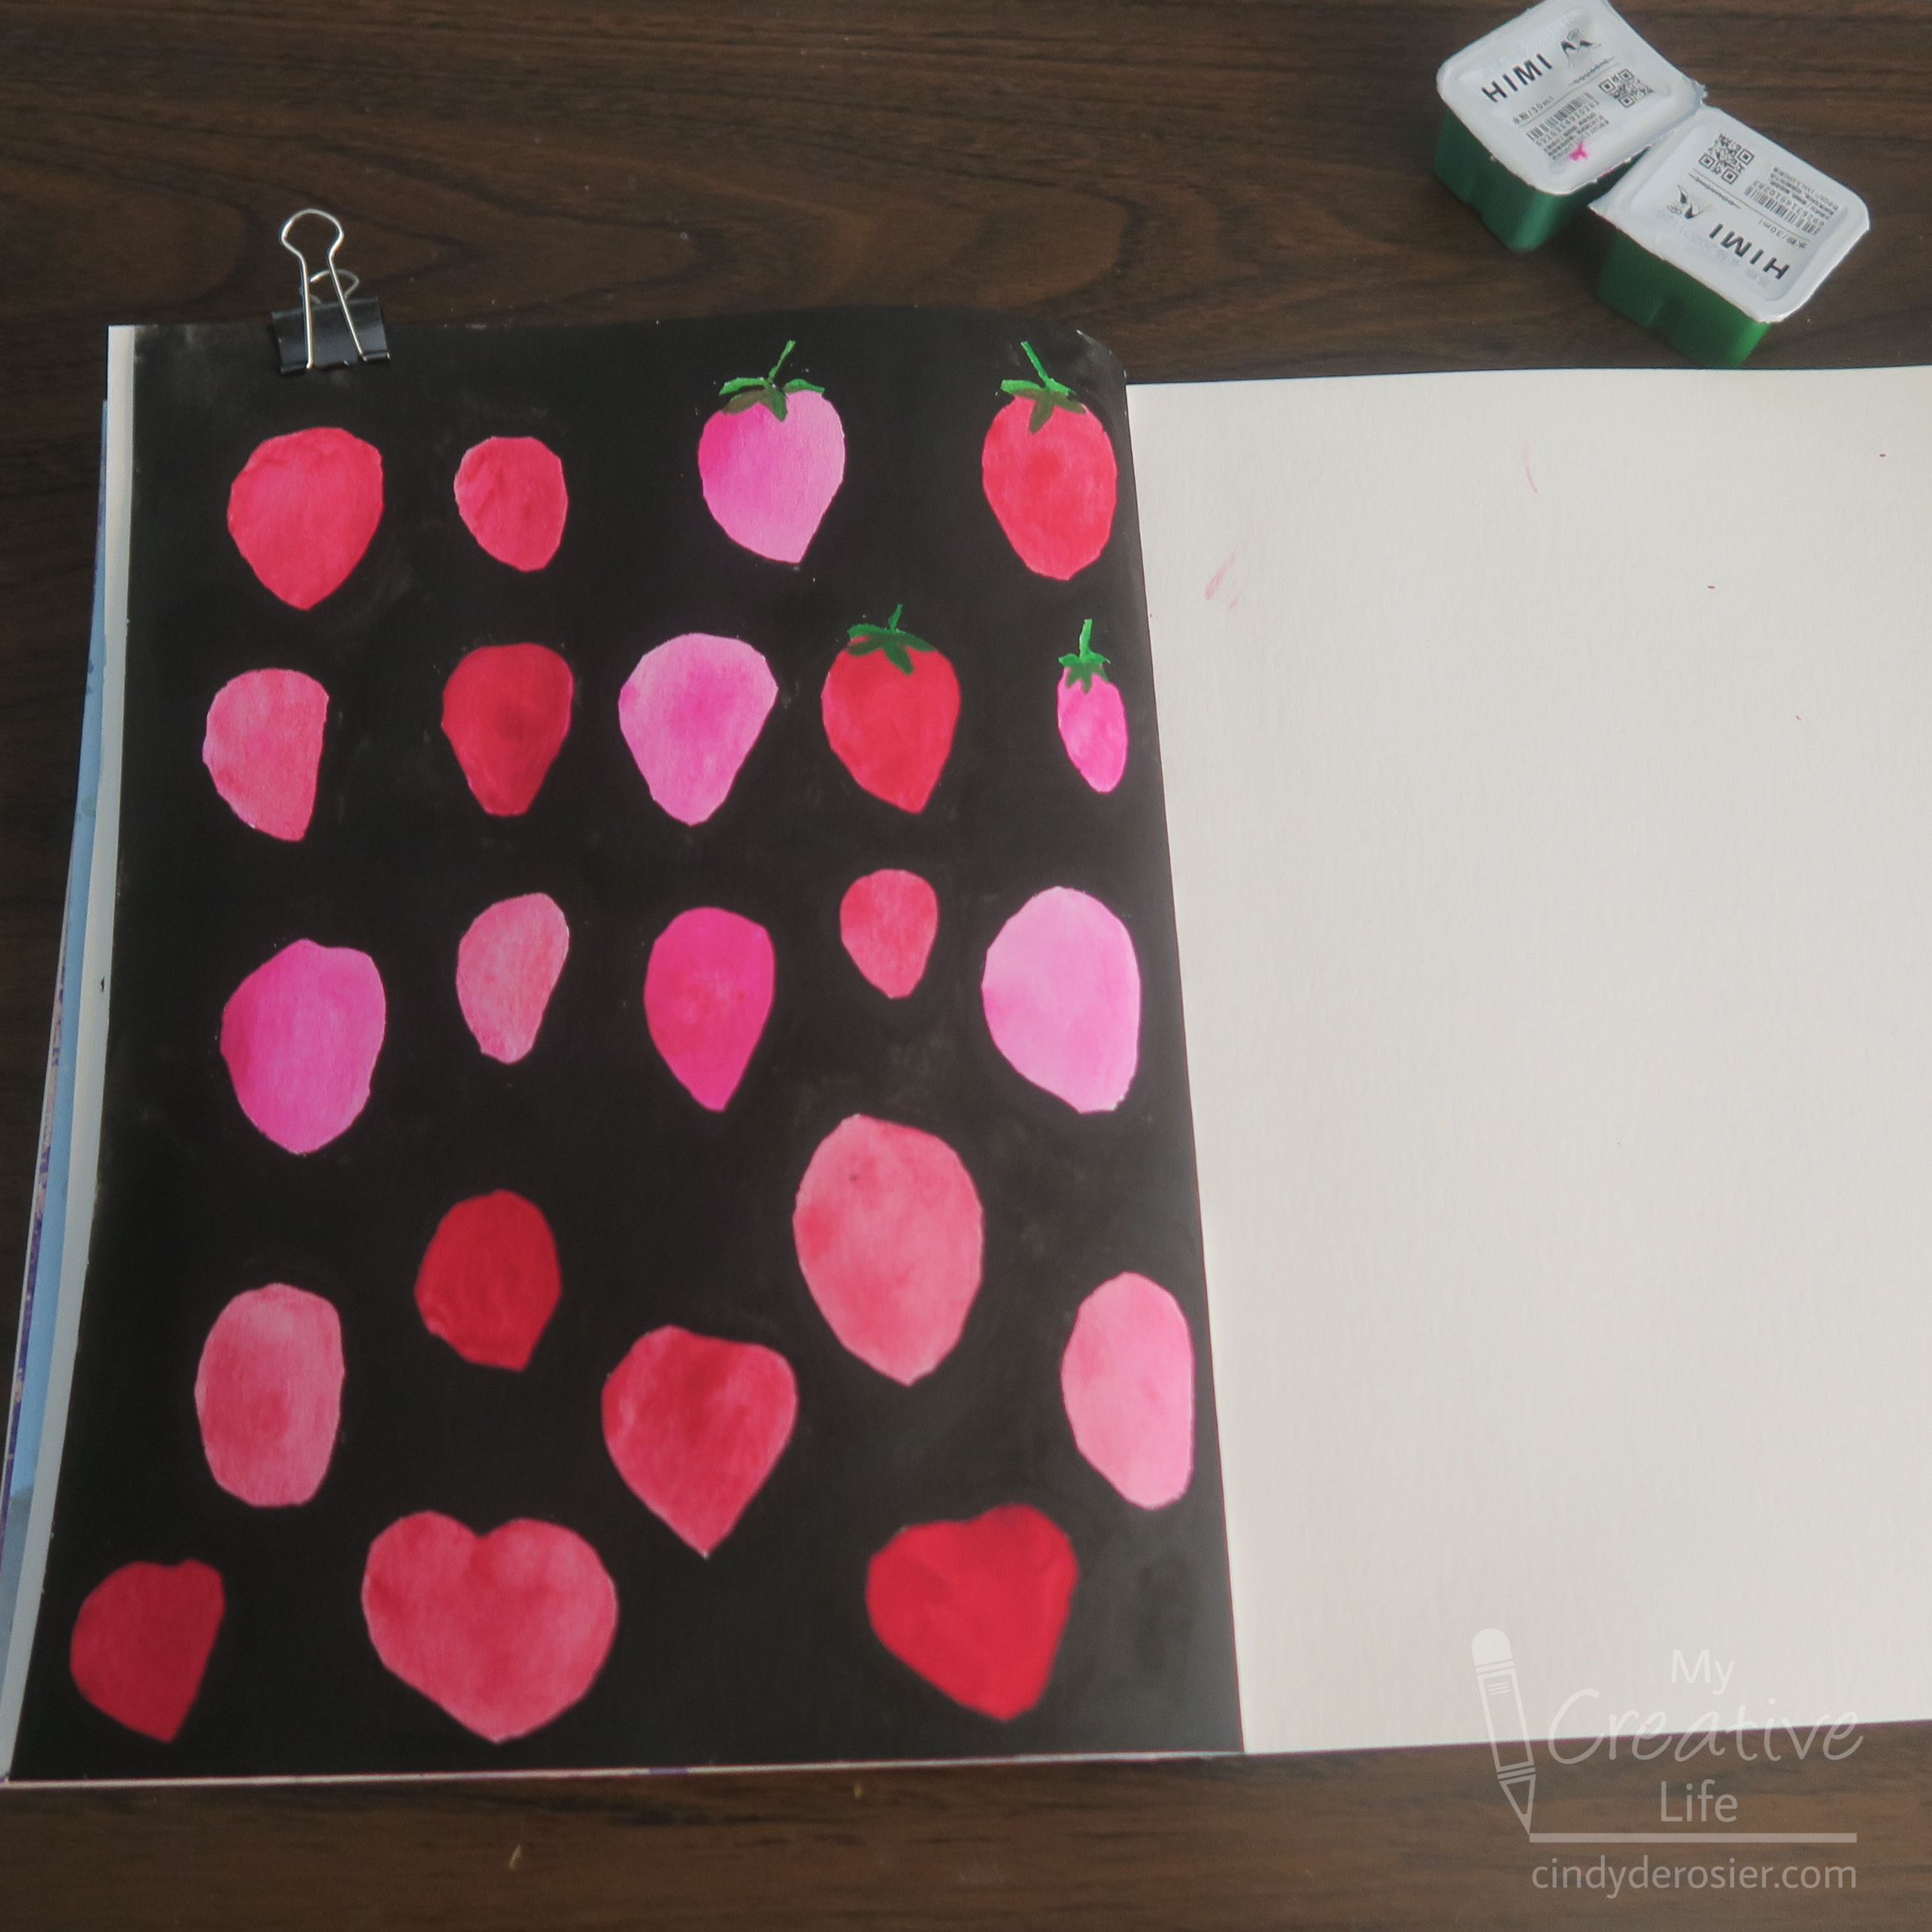
I did a bunch of research to decide what brand of gouache to try. I didn't necessarily need expensive, professional-quality paint, but I definitely didn't want my first experience with gouache to be impacted by the limitations of cheap product. The reviews led me to HIMI's 18-set of gouache, which many artists mentioned as the perfect compromise between price and quality. (Affiliate link here and throughout the post.) I filled a sketchbook page with strawberries for my first time using gouache. 


Gouache comes in tubes and in pans. The downside to pans (or cups, as HIMI calls them) is that once you've opened them, they tend to dry out. But remember, gouache can be re-wetted, just like the 8-pan Crayola watercolors you used in elementary school. 

For my strawberry painting, I used a total of 6 colors: red, pink, two greens, yellow, and black. I started by making blobs of red and pink in my sketchbook, experimenting with mixing the two and adding water to get different colors. I was pleased with how easy it was to use the gouache and how well it covered the page. I was also happy with how many different shades I could make from just the two pans. 


Next, I filled in the background with black gouache. Here is where I could truly appreciate the opaque finish. It covered beautifully and dried much faster than I expected. 

When the black was completely dry, I added leaves and stems in two different shades of green. 


Finally, I used a skewer to dot tiny little yellow seeds onto all of my strawberries. 


Overall, I was very happy with my first dive into gouache. I recommend giving the HIMI set a try. I'm looking forward to diving into it again soon. 

7/27/11

The Strawberry Pinata

Some of you may remember the saga of the Infamous Zebra Pinata back in June. It took a lot of time and effort and tested my patience more than once. Apparently I quickly forgot the frustrating part, because not a month later I asked my goddaughter Kylinn if she would like me to help her make a pinata for her fifth birthday.

Something to know about Kylinn- she has dozens of wonderful qualities (smart, caring, loyal, enthusiastic, outgoing, etc), but neatness is not among them. While Trevor barely touched the paper mache with the tips of two fingers, I knew that Kylinn was likely to be rubbing it in her hair. Or clapping her hands in it to see it fly everywhere. Or something even messier that I couldn't predict. So I made it clear we'd be making the pinata at HER house.  ;)

When Trevor and I showed up at her house on Pinata Day 1, Kylinn was beyond excited. We blew up the oval balloon, tore newspaper strips, and mixed up a paste of flour and water. She loved the feeling of the gooey paper mache and happily smeared it all over everything. Trevor supervised, but did not want to touch it.


Kylinn lost interest after the first layer of paper mache, so I finished the next 5 layers on my own. When I finished, we set it in the sun room to dry.

Trevor and I returned the following week, determined to finish during a marathon Pinata Day 2. We cut a hole and popped the balloon.

The kids filled it with candy, then I added a bent coat hanger and patched the hole.

Then it was time to paint. (Notice that Courteney changed Kylinn from her white shirt into a red one and removed Ellia's shirt altogether? A smart move.)

About every 30 minutes, we added another coat of paint.  It took about 6 coats before it was completely red. In retrospect, we should have added some red to gesso and used that as a base coat. It would have cut down significantly on the amount of coats needed for good coverage. Next time. When the last coat was dry, I carved a pencil eraser into the shape of a strawberry seed, then started stamping on yellow seeds.

Each of the kids took a turn too.

Then it was time to make the leaves. We glued squares of tissue paper on a piece of cardstock that I'd cut into the right shape.


We attached the leaves, then wrapped the hanger in metallic green ribbon, letting the ends curl down.  Kylinn's enthusiastic assessment?  "I LOVE IT!"

The finished pinata:
Here's Ellia hitting the pinata:


And here's Kylinn:


And here's all that was left of the pinata after a dozen more kids hit it.


A lot of people asked me if it bothered me seeing my work get smashed up. No, since I made it to be ruined. Besides, the top can be saved and used as a fashionable hat.