Showing posts with label washi tape. Show all posts

1/24/23

Washi Tape Valentine Heart Suncatcher

I made another project this week to add to my huge collection of Valentine's Day decorations. This is what it looks like on the wall...


... but it's intended as a suncatcher. Look how pretty it is in our bedroom window, against the bright blue sky. 


The whole project takes about 10 minutes and the end product is so pretty. Note that I used a 20+ year old scrap of patterned vellum, which is really hard to find. It's also hard to find the same washi tapes I used. Below, you'll find affiliate links to non-patterned vellum, different Valentine's Day washi tapes, and other products you'll need to make this.

---------


Washi Tape Valentine Heart Suncatcher


Materials: 


Steps: 


Make a heart pattern, then trace it onto the vellum with the Sharpie. 


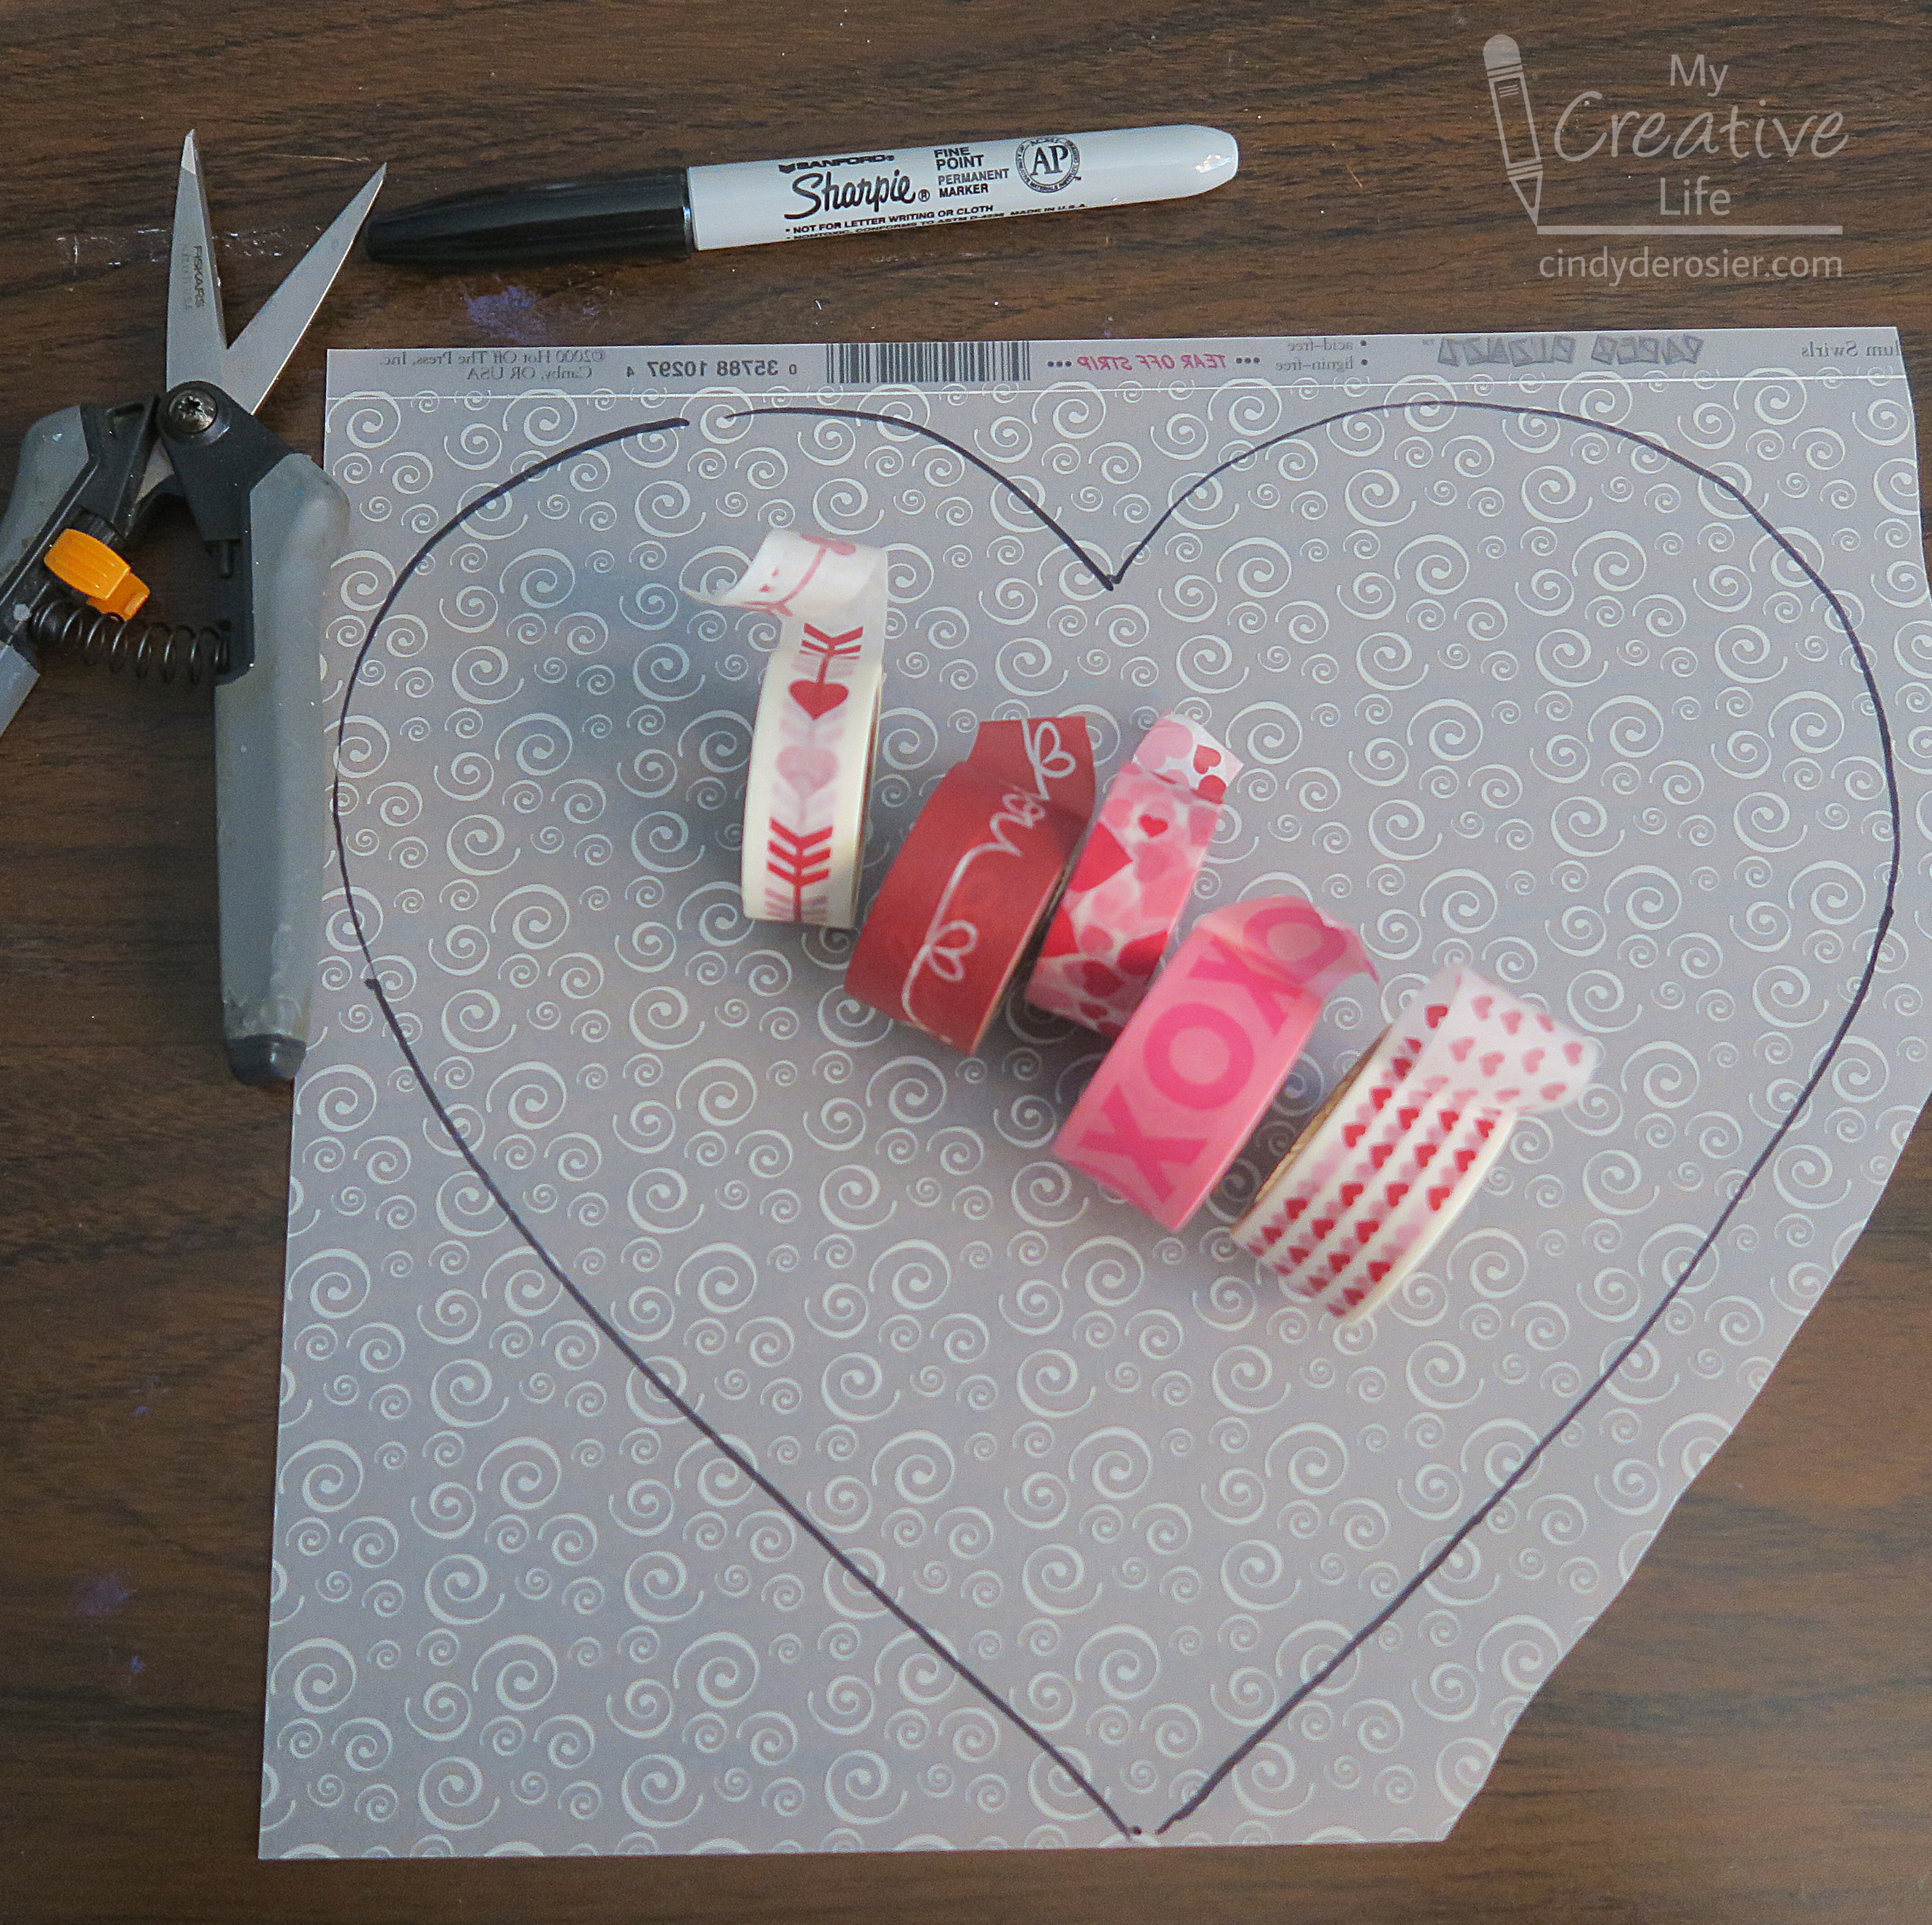
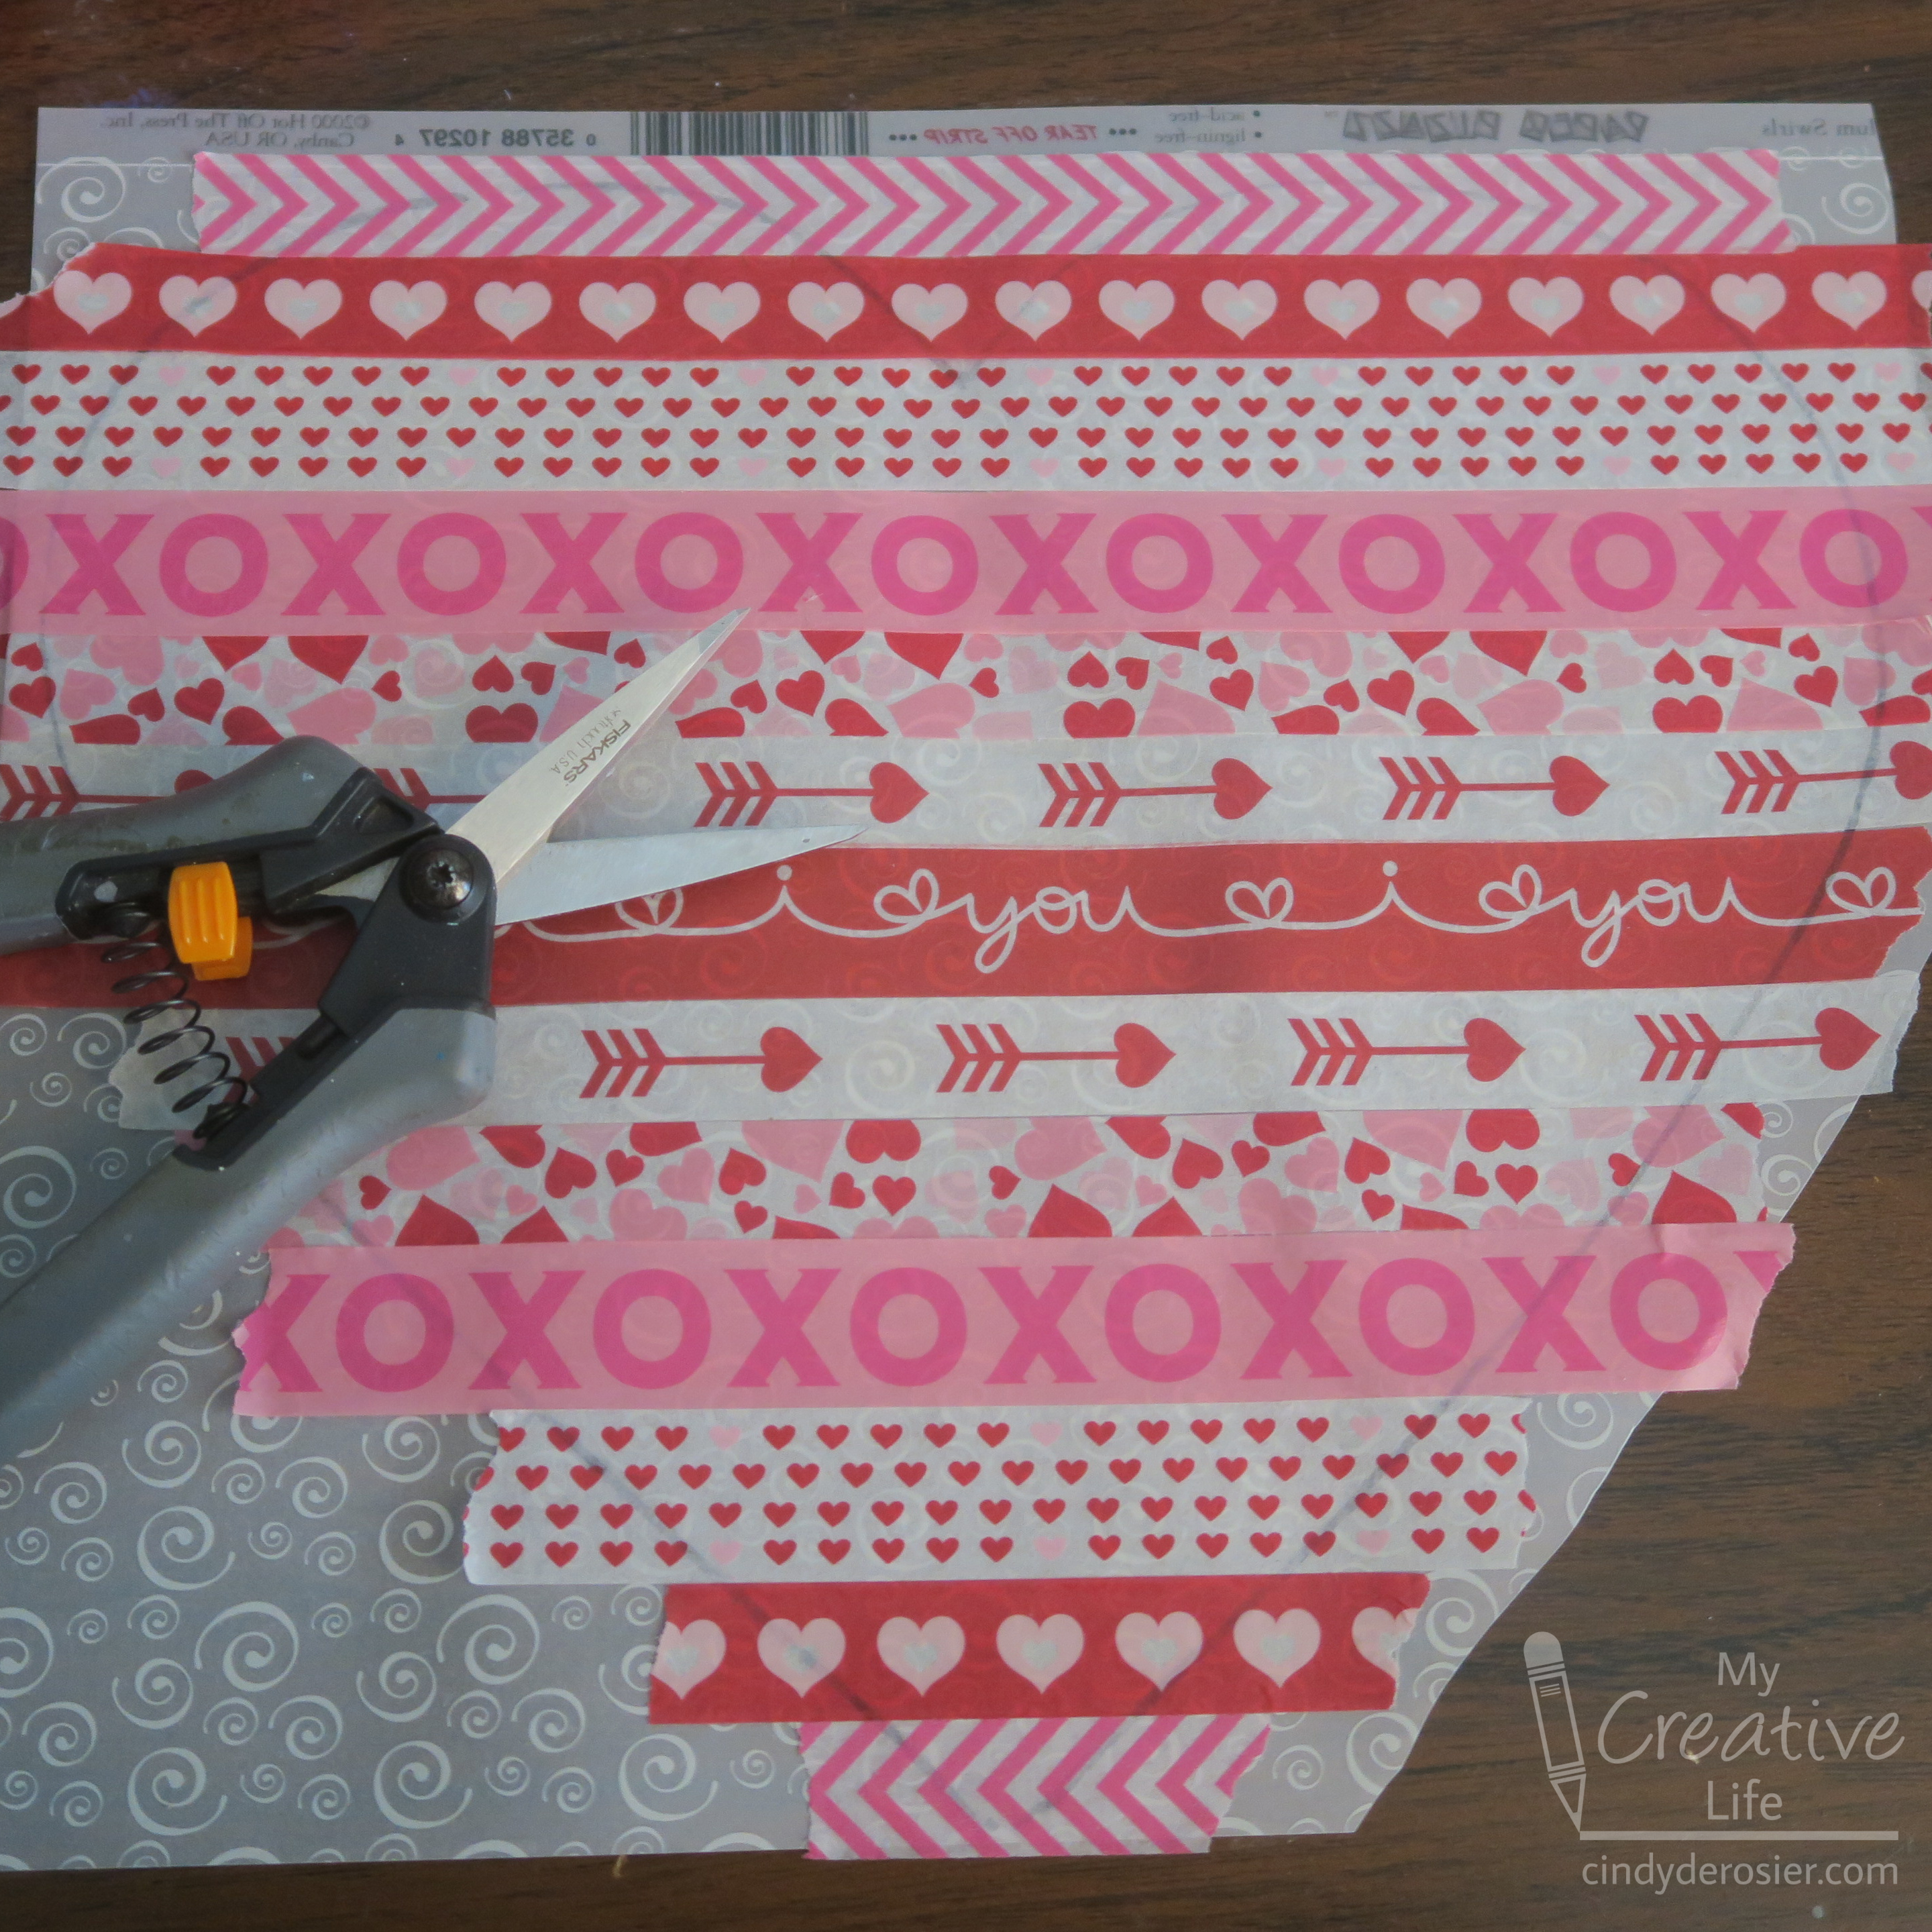
Arrange the washi tape in an order you like. Apply the first tape horizontally across the center of the heart (I started with the eye-catching "i ♡ you" tape), allowing the ends of the tape to hang over the edge of the outlined heart slightly. Add each tape above that one until you have filled the top portion of the heart. The size of your heart and the width of your washi will determine how many rows that is. 


Keeping the tapes in the same order, fill in the bottom of the heart. You'll end up with the tapes mirrored across the 'equator' of the heart. Press all the tapes down firmly. 


The black Sharpie line will show through the washi. Cut just inside this line. Then tape your suncatcher to a window and enjoy!


Obviously, you can use this technique for any holiday or occasion. Just change the washi tape and the shape of the vellum. It's such a quick and easy project, one I'll definitely be doing again. 

11/3/21

Fun with Washi

Here's another layout I completed as part of the Crafty Mysteries online crop with Victoria Marie Designs. This challenge had us use washi tape as a major element on a page. I'd printed a photo of my brand kit to hang by my computer and it was perfect for using a lot of washi. 

I went through my large washi collection and tried to find the color that best matched each of my blog color. Some of the colors aren't quite right, but that just means I can buy more washi, lol. Anyway, I used each color to make a flag, which I arranged vertically behind the photo. I covered two chipboard hearts with strips of polka dot washi to make the embellishments. The layout is sitting inside a 12" wooden panel board, painted with a black base coat and then Folk Art Extreme Glitter in black.  

This was a fun project to make, though perhaps strange for a scrapbook challenge. While it meets the criteria of the challenge, it doesn't really fit what I usually think of as scrapbooking. It's not meant to preserve a memory, has no title or journaling, and won't go into a scrapbook album with other layouts. That's the fun of challenges though - you never know what they'll inspire. 

9/20/21

Glow in the Dark Eyes at the Window

The house is decorated for fall, but it's almost time to switch over to Halloween. Soon this will be hanging in the window by the front door. 


The eyes glow in the dark. This is what it looks like at night. Affiliate links below. 


Glow in the Dark Eyes at the Window


Materials:


Steps:


Paint a thin coat of Glow in the Dark paint on the yellow cardstock. When it is dry, add a second coat. You can add a third coat if you wish - the more coverage, the better the glow.  

Use strips of silver washi tape to create the muntins of the window. Wrap the ends around the back for a clean look. 


Use the scissors to cut out eyes from the painted yellow cardstock. Glue them to the window. 

To glow, the paint needs to 'charge' in the sunlight, so make sure to display your craft in a place with direct sun. Then enjoy the spooky glow at night!

12/2/19

Washi Tape Christmas Gift Tags

I recently added to my washi tape storage, as my collection of this handy little tape has grown to a ridiculous size. I now have three full dowels of regular washi, plus a fourth for holiday washi. While I was organizing it, I whipped up a few gift tags using 8 different Christmas washi tapes. Affiliate links below. 


Washi Tape Christmas Gift Tags


Materials:


Steps:


Cut white cardstock into 4" x 2" rectangles. Cut off two corners to make the tag shape. Tear lengths of washi tape to decorate the front of the tag. Wrap the excess washi around to the back.

Cut a piece of complementary cardstock slightly bigger than the white tag, then glue the two pieces together. (This isn't necessary, but it hides the back where you've wrapped the extra washi.) Punch a hole at the top of the tag.

Cut two 6" lengths of yarn. Fold them in half and add them to the tag using a lark's head knot. Trim the ends so they are even.

Write TO and FROM on the tag and it's ready to go!

8/11/16

Washi Tape Monogram

Several months ago, I found 12" monograms on clearance for well under a dollar. Quite a deal! I dug through the bin expecting to find nothing but Qs, Vs and Xs and was very pleasantly surprised to find a C, S and T. I decided it would be fun if the three of us decorated ours separately from each other without letting the others know what materials, colors, etc. we were using. 

Trevor was totally onboard. Within an hour of my bringing the monograms home, he had banished me from the craft area and secretly completed his. (You can see it at the end of yesterday's post.) I made mine once he had cleared out and hidden his T. As of right now, months later, the S is still plain. Crafts just aren't Steve's thing, which is fine. Trevor's been eyeing the blank S and will jump on the chance to decorate it as soon as I give him the go-ahead. 

Here's my monogram:

All I did was cover it with strips of washi. I alternated between the four rolls of red that I own. Rather than try to cut the pieces to size, I just wrapped them around the back and smoothed them down. I added a ribbon rose as an accent.

For more monogram inspiration, check out Decorate with Letters by Leisure Arts (affiliate link). I have my eye on that foam flower M on the cover, plus a few more of the painted monograms. The next time I find monograms on clearance, I'm going to buy every C I can find!

9/3/13

My New Washi Tape Storage

Are you into washi tape? I absolutely love it. (Trevor does too.) My first six rolls of washi tape hung on one of the two pegboards in my scraproom (which you can see here). It was really convenient... until my collection of washi tape grew. Soon I had washi tape cluttering up my desktop, balanced on paper trays, and on the floor under the desk. Totally unacceptable.  

I've seen dozens of different ways to store washi tape, including vertically on a paper towel holder, lined up in drawers, thrown into baskets, organized in pencil boxes, and even displayed on a window shutter. I wanted my washi tape to be out in the open but off the flat surfaces. I wanted a storage system that was flexible in size and easily accessible.  

I happened to have a length of dowel that was just long enough to hold all my washi tape rolls. I bought some Command wall hooks (affiliate link) and stuck them above my bulletin board.

 
I organized my washi tape by color and threaded it on the dowel. I balanced the dowel on the hook and that's all there was to it!


Here's a closer look:

 
I absolutely love it! The best part is that I can leave the tapes in place and tear off whatever I need. As I collect more rolls, I can either replace the dowel with a longer one and move the sticky-back hangers outward or I can put a second washi tape hanger just like this one directly above it.

How do you store your washi tape?