
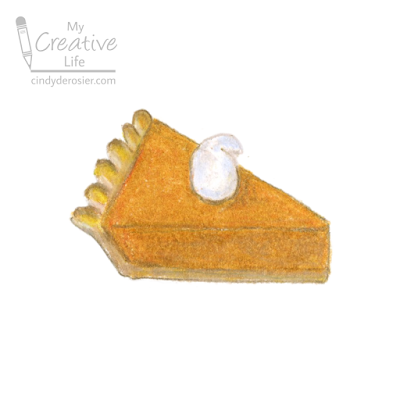
I'm a huge fan of integrated curriculum. Art pairs well with literally every other subject area, and I'm particularly fond of using art projects to reinforce math vocabulary. Many teachers draw pie as a way to teach students about pi, but there's no reason to stop there. Back in my teaching days, I enjoyed giving my students drawing instructions using geometry terms they'd recently learned. This slice of pumpkin pie provides an excellent example of a scalene triangle.
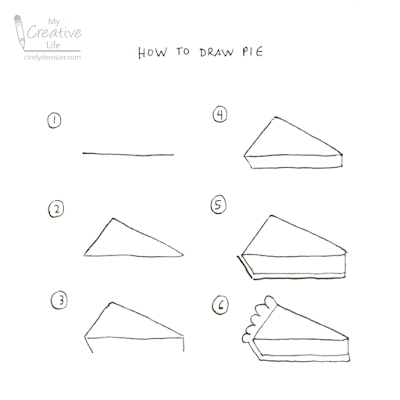
How to Draw Pumpkin Pie
- Draw a horizontal line segment in the center of the paper.
- Use that line segment as the base of a scalene triangle. The base should be the longest side of the triangle. This is the top of your pie.
- Add two short line segments onto the base of the triangle. The one on the left should angle down and to the right. The one on the right should be vertical.
- Draw a horizontal line connecting the two new line segments. It should be parallel to the original line segment. Now you've finished the pie filling.
- To draw the bottom of the crust, find the obtuse angle you made in the previous step. Draw the same angle slightly below the other one, extending the line segments the same length as the others.
- Finish the crust by drawing a series of scallops along the shortest side of the scalene triangle.
This drawing gave me an idea I'm excited to test. If it works, I'll share the results with you next week. If it doesn't, forget I said anything.

Cute! This makes me want to eat pumpkin pie! Maybe I should attempt to make it....hehe
ReplyDelete