Showing posts with label beaver. Show all posts

1/11/22

RIP Beaver Pencil Eater

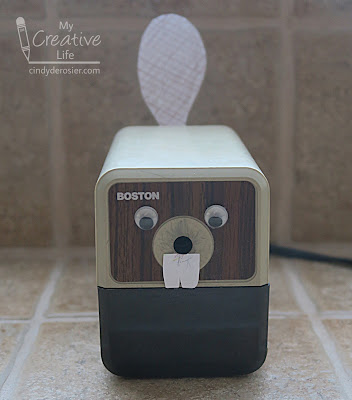
I don't know what the lifespan of an actual beaver is*, but after 40 years of service the beaver that sits on Trevor's desk is no longer. This beaver began its life as an ordinary electric pencil sharpener and didn't become a beaver until about the time Trevor was 8 and he decided to add eyeballs, teeth, and a tail to it. For some reason, I never took a picture of it. Now, I've documented it. I love seeing Trevor's creativity. 
 

Is it strange that when we purchase the replacement, one main feature we'll be looking for is that it is shaped like a beaver? Since I haven't shopped for an electric pencil sharpener since... well... ever, I'm not sure what other features are important. There sure are a lot of different shapes and styles now, a sampling of which are in the affiliate links below. There weren't any brown ones, so I stuck with black. Which should we choose? Let me know in the comments!


* I looked it up. According to the Smithsonian, North American beavers usually live for 10 to 12 years, but the longest-lived beaver under human care reached 30.

2/11/19

Beaver Valentine - "I Chews You!"

Continuing with my cute animal + pun theme, here's another idea for a homemade valentine.


---------


Beaver Valentine - "I Chews You!"


Materials: 

  • construction paper (white, red, brown)
  • scissors
  • red pen
  • craft glue
  • black Sharpie
  • treat bag
  • pretzel sticks
  • conversation hearts
  • foam dots


Steps:


Cut a piece of white construction paper so it is about the same size as your treat bag. Fold it in half to form the base of the treat topper. Write "Valentine, I chews you!" in red pen on a strip of white paper. Mat it on a strip of red paper and then glue that near the top of the folded treat topper. Cut two teeth from the white scraps and set them aside.

Cut a rough semi-circle from brown construction paper to make the beaver's head. Cut a slightly smaller oval for his tail. Use the scraps to cut two ears and nose. 

Use the Sharpie to add two eyes to the beaver's face. Color in the nose and the inner ears. Draw parallel diagonal lines on the the tail, first in one direction, then again so the two sets of lines meet at a 90° angle. 

Fill the treat bags with pretzels and conversation hearts. Staple the treat topper to the filled treat bag. 

Glue the ears behind the head, then glue the head to the front of the treat topper. It should hide the staples. Glue the teeth behind the nose, then use foam dots to attach the nose. Glue the tail to the back of the treat topper. 


A little update on my massive 'organize my animal crafts' endeavor. I am working on the mammals, doing a handful each day. I'm around 80 and counting. As you can imagine, there are quite a few rabbits, but the rest is a fairly balanced mix. Well, other than reindeer and beavers, which are both over-represented. No matter. I'm really enjoying looking back on my animal crafts. Having them all in one place will make things so much easier and is already inspiring me to make the animals that are not well-represented yet. 


10/16/18

Dimensional Beaver Cards

When I said I'd created gifts for the Beaver Patrol, you knew I'd made coordinating cards, right? 


---------


Dimensional Beaver Cards


Materials: 

  • brown cardstock
  • white cardstock 
  • paper trimmer
  • scissors
  • brown marker
  • black marker
  • craft glue


Steps: 


Prepare the materials. Use the paper trimmer to cut:
  • brown cardstock - 9" x 3.5"
  • white cardstock - 8.5" x 3" 

With scissors, cut: 
  • two white teeth
  • two white eyes
  • two brown ears
  • one brown nose
  • one brown tail 


Use the brown pen to outline the nose and draw crosshatches on the tail. Use the black pen to draw pupils on the eyes. 


Fold the brown paper into thirds. Glue two teeth onto the top and two ears on the sides. 


Center the white paper on the brown paper and glue it in place. It will trap the ears and the teeth. Refold the brown paper, which will add folds to the white paper that is now glued to it. 

Glue the nose and eyes to the front of the card. 

Fold a small flap on the end of the tail, then glue that tab to the card. You want the tail to flop down when the card is out of its envelope...


.... but fold up for mailing. 


Quick trivia question: What do you call a group of beavers?


Answer: Colony.


Steve used all of the beaver cards I made, but I like them so much I may need to make more. Although now that I think about it, are there occasions that really call for a beaver card? International Beaver Day is April 7, so maybe that's just the occasion I need to justify more cards. 


10/15/18

How to Sew a Drawstring Bag (Even if You Don't Know How To Sew)

If you know how to sew anything more complicated than a straight line, this tutorial is not for you. Feel free to follow one of the many drawstring bag tutorials out there that assumes you speak fluent Sewing and are adept at the basics. My tutorial will be WAY too basic for you.

If you don't know how to sew anything more complicated than a straight line, and (like me) even that is iffy, you've come to the right place! Welcome and read on. I am optimistic that by the end of my tutorial, you will know how to sew a drawstring bag.


---------

How to Sew a Drawstring Bag


1. Pick your material. Avoid anything slippery, silky, prone to snagging, super thick, or otherwise a pain to sew. In other words, choose a printed cotton. (I used a Mini-C 1815 by Timeless Treasures.)

2. Determine the size you want for your finished drawstring bag. Mine is 6" tall and 4.5" wide. Cut the fabric twice as long as the final length you want plus two inches, and a half-inch wider than the final width you want. So I cut my fabric into a rectangle 14 inches tall (6 x 2 + 2 = 14) and 5 inches wide (4.5 + 0.5 = 5).

3. Choose a coordinating cord for the drawstring. I used this (affiliate link). You will need TWO pieces of cord per bag, each a minimum of 3 times as long as your finished bag is wide. So my cords were about 13.5" (4.5 x 3 = 13.5).

4. Thread your sewing machine and bobbin with a color that goes with your fabric. I used black.

5. Heat your iron to the appropriate setting (cotton, if you followed my advice in Step 1). Even if you hate to iron, don’t skip this step. It makes the sewing so much easier. Put the fabric wrong-side up on the ironing board. Working with the long ends first, fold over 1/4” and iron it flat. Now do the same for the shorter sides.


6. Sew a line down the center of the folds on each short side. This will trap the folds on the long sides. 


7. Fold each of the short ends over 3/4” and iron them flat.


8. Sew the flaps closed by stitching along the seam that is already there. This will leave a large enough pocket to hold the cord. Backstitch each end to reinforce it.


9. Fold the fabric in half with the right sides touching. Orient the pockets you just created toward yourself. Starting at the fold, sew until just before you reach the pocket that will hold the cord and stop. Reinforce the seam. Repeat on the other side.  


10. Trim any threads and then turn the bag right side out.

11. Now it's time to feed the cords through the pockets. I was taught to do this with a safety pin, but it's much easier with a dowel (or a chopstick) because it is difficult to poke through paracord without unraveling it. Tape the end of one piece of cord to the dowel.


12. Thread the cord through one pocket and then the other until both ends are on the same side. Remove the dowel. 


13. Tape the second piece of cord to the dowel and insert it from the opposite side as the previous cord. Continue through the second pocket and out the same side where you started. Remove the dowel. Your cords should look like this:


14. Tie the two ends together on each side of the bag using an overhand knot. Cut off any extra cord close to the knot and use a match to seal the ends. 


As you might have guessed, these were gifts for the Beaver Patrol. I'm ridiculously proud of myself for figuring out how to make them and actually sewing something that Steve would want to give as a gift. I hope the tutorial has helped any of you who feel as incompetent with sewing as I do!

10/4/18

Pringles Can Beaver Craft

Others see a Pringles can; I see a beaver. It's a weird gift.


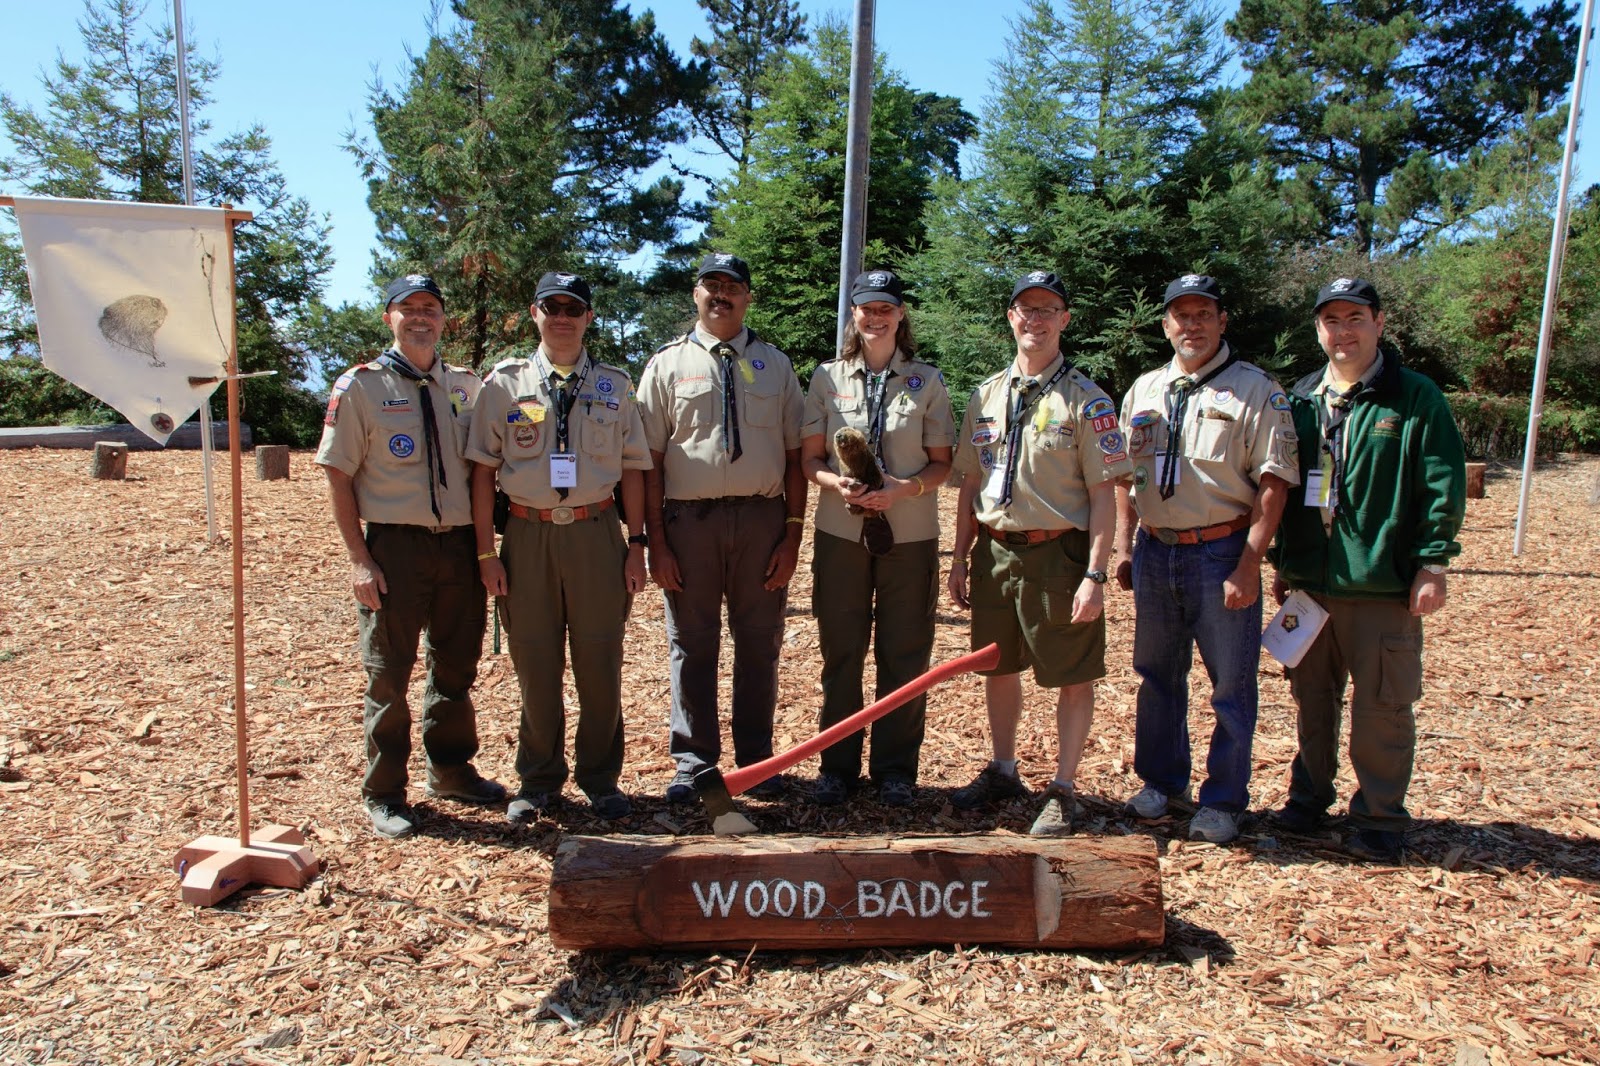
I've been doing a lot of beaver-themed crafting recently and there's actually a good reason why. Backing up, you may remember that Steve started an extensive Boy Scout leadership training called Wood Badge in 2016 and completed it at the end of 2017. This year, he is on the staff to train the next batch of leaders. The trainees are split up into 8 patrols, each named after an animal. About a month ago, Steve found out he would be the troop guide for the Beaver Patrol. 


Steve asked me to pick up snacks for the Beavers' first weekend together. Trevor thought up logs (pretzel sticks) and beaver teeth (mini marshmallows), while I came up with the idea of turning snack-sized Pringles containers into beavers. Read on to learn how I made them. There are affiliate links in the materials list; I make a small commission on any purchases you make after clicking a link, at no extra cost to you. 


---------


Pringles Can Beavers

Materials:


Steps: 


Remove the plastic lids from the Pringles cans and save them for a separate craft. 

Start by cutting brown construction paper the same height as the cans. Wrap a piece around each can, then tape it in place. I chose to leave a small gap so that the Beavers could easily see which flavor each can of Pringles held. 

Use the punch to cut circles for the faces. With scissors, cut two ears, one oval nose, and one tail for each beaver. Ink the edges of each. Cut two white rectangle teeth for each beaver.


Working on one face at a time, glue the ears, eyes, nose, and teeth in place. Use a loop of tape to attach it to the top of the can. You could glue them, but with tape you don't need to destroy the beaver to eat the chips. 

Tape the tails to the bottoms of the cans.  


The first thing Steve told me when he got home was that the beavers were a hit with the Beaver Patrol. 


In fact, they repurposed my beavers to decorate their rocket for a competition. I love the creativity! I especially love that their beaver is holding the Scout emblem. 


Great work, Beavers!

9/25/17

Paper Plate Beaver

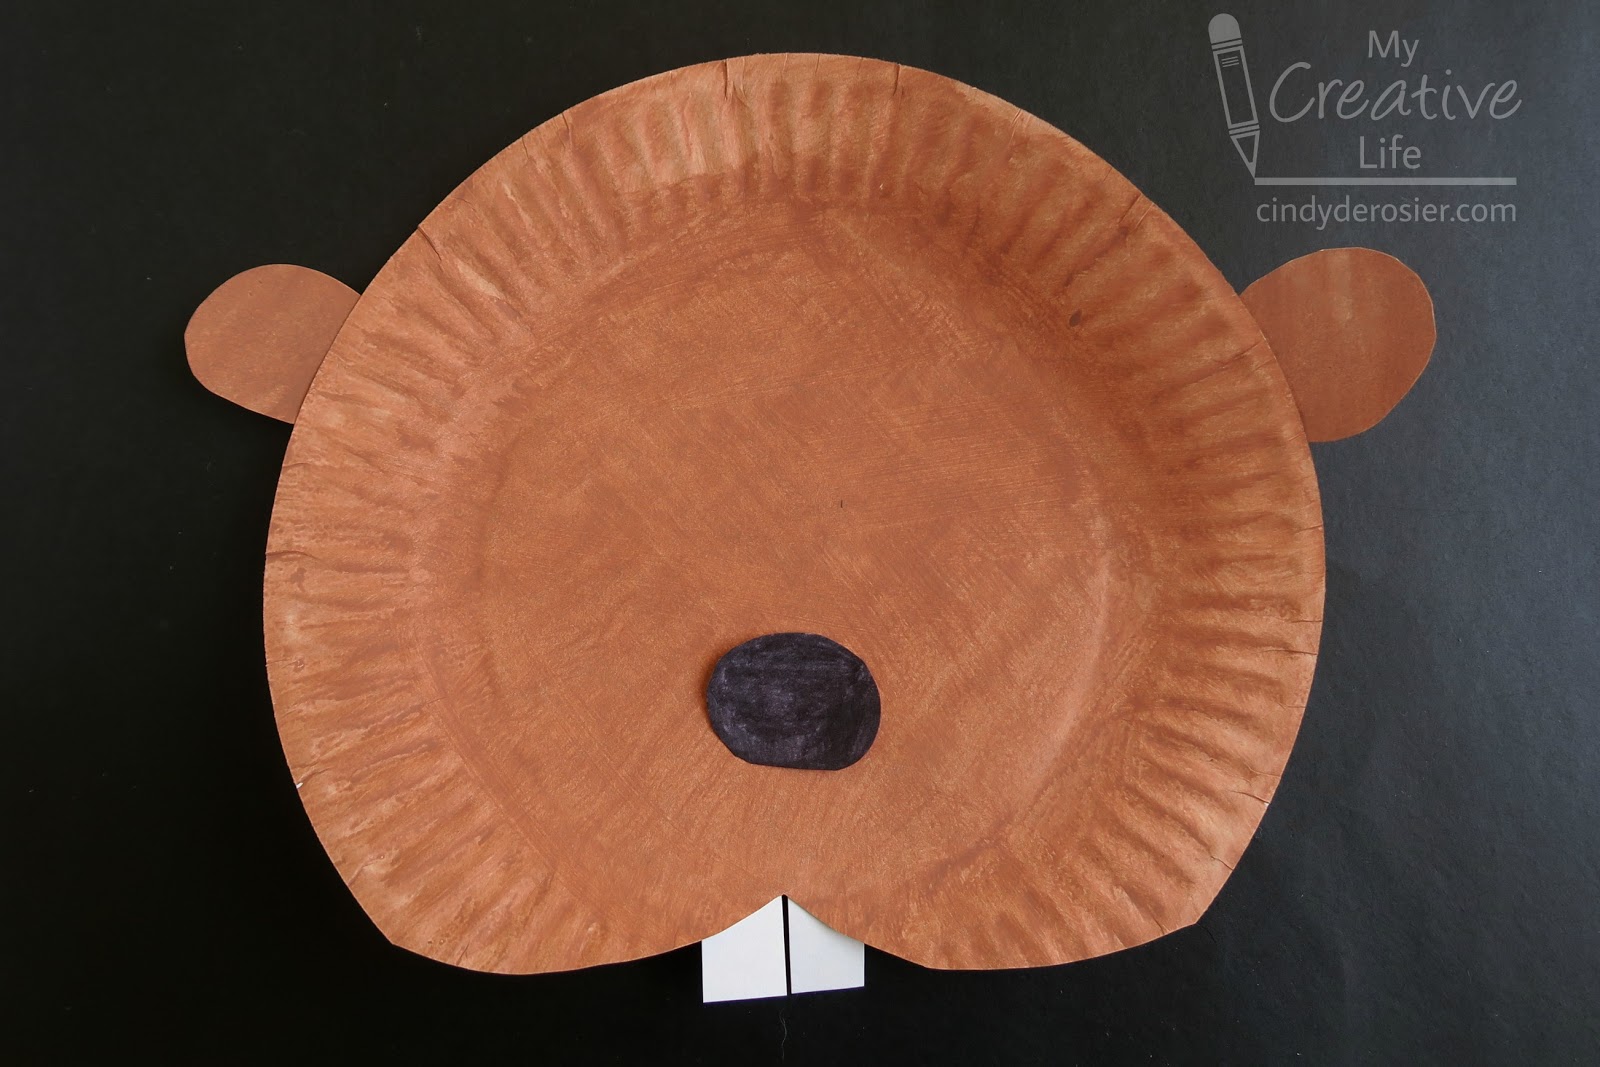
Part of my job at Fun Family Crafts is to make sure we have the widest possible variety of craft tutorials. Rather than add to a topic that is already has dozens of great ideas, I'm always looking to see what we don't have represented. We literally have thousands of animal crafts, yet exactly one of those is a beaver. So I made a paper plate version of this fascinating rodent. 


----------


Paper Plate Beaver


Materials:

  • paper plate
  • brown paint
  • scissors
  • construction paper (brown, black, white) 
  • black pen
  • craft glue


Steps:


Paint the paper plate brown, then set it aside. While it is drying, cut out two small circles (eyes) and one oval (nose) from the black construction paper. Cut two rounded ovals (ears) from the brown construction paper. Cut two rectangles (teeth) from the white construction paper. 

When the paint is dry, cut the bottom of the paper plate to form the beaver's cheeks. Discard the smaller piece.


Glue the ears behind the paper plate at the 2:00 and 10:00 positions. Glue the nose to the front of the plate, slightly below center. Glue the teeth behind the bottom of the plate. 


Experiment with where you want the eyes. I think that close together is cuter...


... and farther apart is more realistic. 


Use the marker to add whiskers. 


Here's some fun facts about the American Beaver.

  • Beavers are the largest rodents in North America and second largest rodents in the world (the largest is the capybara).
  • A beaver’s incisors are harder on the front than on the back. This way the back wears faster, creating a sharp edge that lets a beaver cut easily through wood. 
  • Beavers are herbivores. They eat aquatic plants and the soft inner bark of trees. Beavers store green branches underwater so they can eat them throughout the winter.
  • The world’s largest beaver dam is in Alberta, Canada and measures 2,790 feet long.  
  • Beavers can hold their breath underwater for up to 15 minutes.
  • Oregon and New York have both named the beaver as their state animal.