Showing posts with label rock. Show all posts

11/14/25

Blueberry Pie Painted Rock

Does this look like a blueberry pie? I hope so. It definitely doesn't taste like a blueberry pie. Not that I've tasted it. If I did, it would taste like a rock. And paint.  


When I first saw this disc-shaped rock, I thought it looked like a pie. So I painted it to be a blueberry pie, which happens to be the state dessert of Maine. Affiliate links below. 


Blueberry Pie Painted Rock


Materials:


Steps:


Use a light blue paint pen to make dots randomly across the entire front of the rock. Use a dark blue paint pen to draw smaller dots on top of those dots. You should mostly fill the space, but leave tiny bits of rock showing through. I colored the sides of my rock black, but in retrospect, that was completely unnecessary, so skip that. 


Paint the sides of the rock with yellow ochre (yes, completely covering the black that doesn't need to be there.) When it is dry, brush it with brown ink to give it some varigation. Then paint vertical lines to form the first part of the lattice. 


Add horizontal lines to complete the lattice. When the paint is dry, use the ink and a mini blending brush to darken every other intersection. This will help give the illusion that the lattice work is woven. 


When the ink dries, use the colored pencil to draw tiny lines around the outside edge to mimic the crimp marks made by a fork. Then you'll have a blueberry pie that looks good enough to eat! But don't. It's still a paint-covered rock. 


I will be taking the next two weeks off as I spend time with both sides of the family. I'll be back with more posts on December 1. 

5/12/23

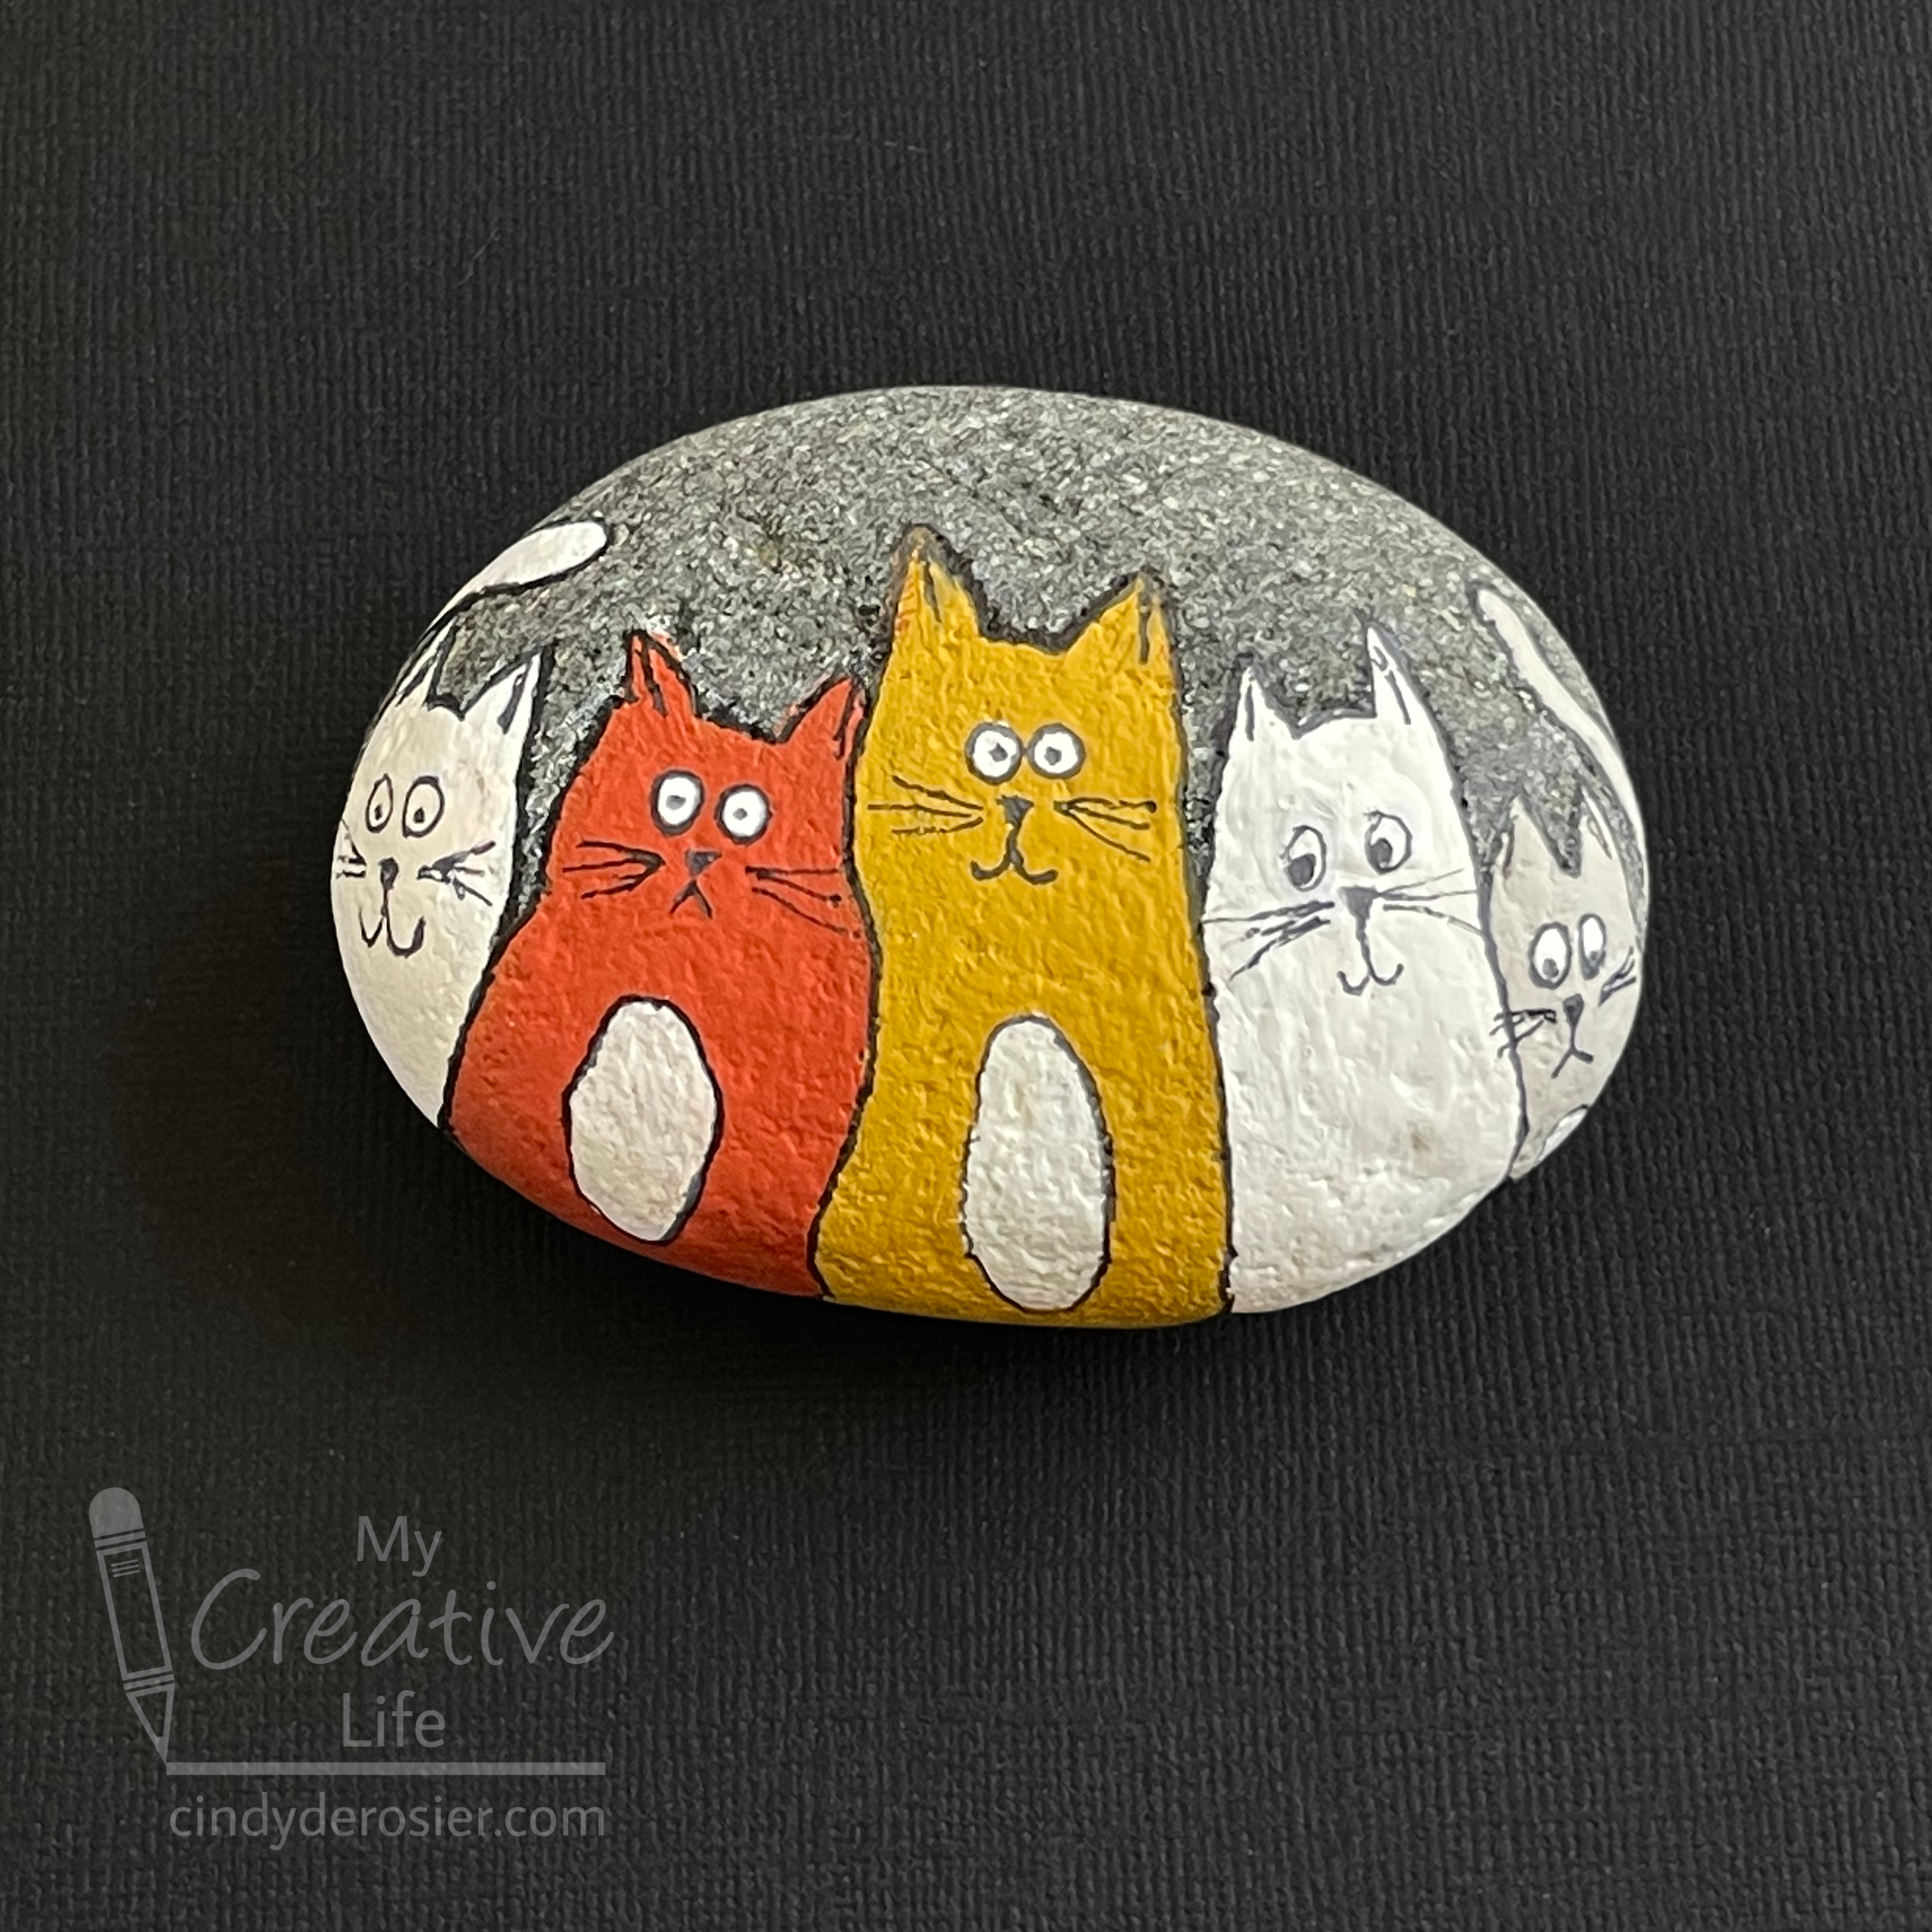
Cat Painted Rock

In over 12 years as a craft blogger, I've only shared a painted rock craft once. Time for another! Here is a cat painted rock. To clarify, it's not a cat-painted rock. I painted it. I don't even have a cat, let alone one who paints. Affiliate links below. 


Cat Painted Rock


Materials:


Steps:


Use the white colored pencil to lightly sketch the shape of your cats. I started with what would become the gold cat and worked my way outward. No details - just the oval shape of the cat with ears on top. 

Paint the cats whatever color you want. When the paint is dry, add white bellies (if desired) and white eyes (kinda necessary). When that paint is dry, use the Sharpie to outline the cats and add their facial features, including pupils. 

Spray the rock with Mod Podge Ultra to seal it.

4/8/22

Earth Day Nature Collage

There is so much beauty in nature. Some of my favorite crafts are made with fallen leaves, acorns, pinecones, and other found treasures. This project is particularly great for Earth Day, because instead of removing items from nature, you're just rearranging what's already there. There's so much room for creativity. The collage you make is temporary, so be sure to take a photo!


Earth Day Nature Collage


Materials: 

  • leaves, rocks, and other natural materials already on the ground*

Steps: 


Clear a place in the dirt for your collage. I used a place along our fence that has fallen leaves from the neighbor's tree. I pushed them aside to expose a heart-shaped workspace. 

It's easiest to center your project by starting with the R. I made mine out of small rocks. I picked the lightest colored ones I could find so they would contrast with the dirt. I made the A and T next. Then I added the E and the H. Finally, I outlined the shape of the heart with the yellowest of the fallen leaves. 

Don't forget to take a photo! 


*I picked the dandelions (which I was harvesting for Trouble, who LOVES them); everything was already on the ground. 

9/26/11

Crafting While Camping

Our family went camping recently. Unfortunately, we had to cut the trip short when Trevor had a major allergic reaction to something, swelled up, and broke out in giant hives. Fortunately, we had already done our traditional scavenger hunt and treasure hunt before we left.

While Trevor did sand art (one of the prizes he won in the scavenger hunt), I did a different craft. I found an adorable campfire craft originally at Kaboose that I wanted to try. I brought along Elmer's glue, an old CD, and scraps of orange and yellow tissue paper. The rest of the materials came from our scavenger hunt.

I started by using my finger to rub an even layer of glue on the CD, stopping 1/2 inch from the edge.  I dropped it upside down on the ground, which gave it a nice even coat of sand. 

(The blue background is REI's Camp Time Roll-a-Table.  I can't say enough good things about this table.  
We use it for camping, parties, and any time we need an extra table.  It is awesome.) 

I used a generous amount of glue to adhere rocks around the outer edge.


I broke the sticks into small pieces and glued them in a pile.


I tore off small bits of tissue paper, added glue, and stuffed them down in between the sticks. 


I put the whole thing down on the ground and sprinkled more sand on top to cover any extra glue.


Here's my finished craft!  Isn't it cute?!