
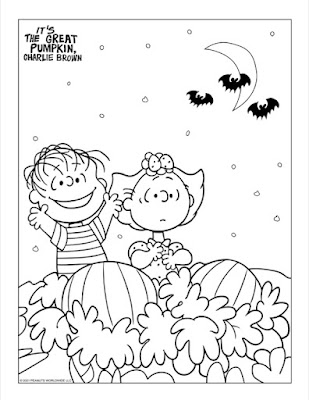
After discovering that watercolor doesn't work well on my new colored-pencil- and printer-friendly cardstock, I wanted to try markers on it. Markers make a great base for colored pencil work. I looked for a fun (and non-pirated) Halloween coloring page and printed this one of Linus and Sally awaiting the Great Pumpkin. It has a large background area that would take forever to cover with just colored pencils, so it was ideal for experimenting with a marker base.
We own It's the Great Pumpkin, Charlie Brown on DVD (affiliate link here and below) and have watched it dozens of times, but I wanted a reference photo to color my page. This was the closest I could find to the coloring page.
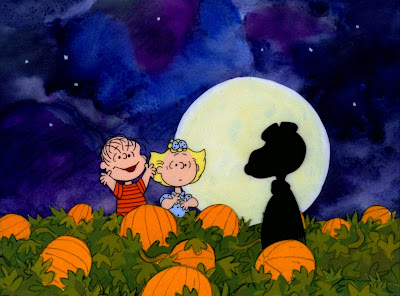
I was originally thinking that I'd get to practice shadows with this coloring page, but once I looked at the reference photo, I tossed out that idea. With the exception of the sky (which looks like watercolors), each color is a solid fill in a space. Adding shadows or shade variation would change the look of this very classic style.
I added a quick marker base to my printed coloring page using my Prismacolor markers. As is particularly obvious in the sky, I didn't try for good coverage and made no attempt at blending. My plan was to do that with colored pencil.

I should note that I was frustrated with the limited number of markers I have. Specifically, I don't have a deep blue, any decent skin tones, or much variety of greens. It's very hard to believe that only four months ago I said "my collection is now big enough to meet most of my coloring needs." Nope!
Here's what my page looked like after I added colored pencil.

As I've been going through my colored pencil class, I've been keeping a list of questions and problems as they arise. I've also been noting things I want to try, as well as techniques and tools that don't appeal to me. I'll share that list next week in hopes that some of you out there can help me!

I LOVE AND ADORE the Peanuts! This post made me smile! :) Thanks for the great inspiration.
ReplyDeleteIt can definitely be a problem to find good skin-tone-colored markers. I'm working on restarting with paper crafts after a long hiatus, so I am pretty much starting from scratch buying almost everything. For skin toned markers, I used to have Prismacolors. I thought I'd try something different this time, so I just ordered a set of portrait markers from Tombow that are all skin tones plus a blender. I'm going to attempt to do brush lettering, and I also do some fashion illustration in addition to paper crafts, so I'm hoping the portrait set will work for both types of artwork.
Regarding the colored pencils, I'd definitely be interested to read about your insights on techniques and tools. Sounds like it will be a great post.
Best wishes,
Amy
I don't use bristol paper much because it only plays well with colored pencils. Consider tracing your image to hot-pressed watercolor paper...then you can use your watercolors and colored pencils with ease.
ReplyDelete