
Welcome to Day 2 of Bunny Week 2022!
My 50th birthday celebration was everything I'd hoped it would be and more. One of the "and more" details: Suzzi brought beautiful bunny napkins featuring a rabbit that looks just like Trouble. I loved them. I brought the extras home and used a variety of decoupage techniques to make a set of coasters.
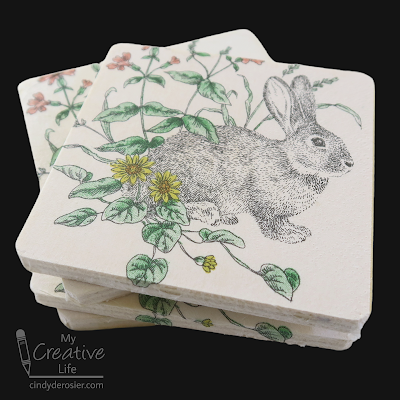


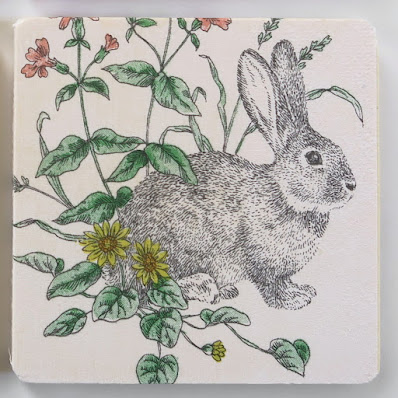
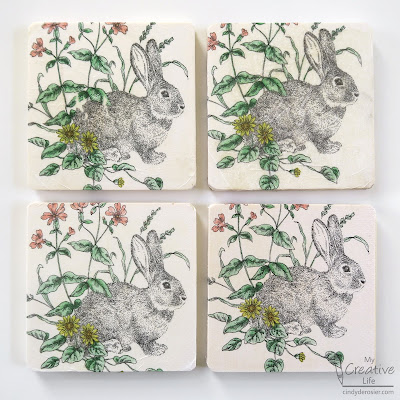

I don't have a lot of decoupage experience. The little I've done has been with patterned paper or fabric, neither of which are nearly as delicate as a napkin. But despite not having done it myself, I've seen a lot of tutorials about the best ways to decoupage napkins. Not surprisingly, what is "best" varies from person to person. I decided to try four techniques I've seen to determine my personal favorites. Affiliate links below.
---------
Four Ways to Decoupage Napkins onto Coasters
Materials:
For all techniques:
- paper napkins (I couldn't find the ones I have, but linked other cute options below)
- Plaid wooden coasters
- Mod Podge
- foam brush
- file set
- felt (4" square)
- craft glue
For certain techniques:
Steps:
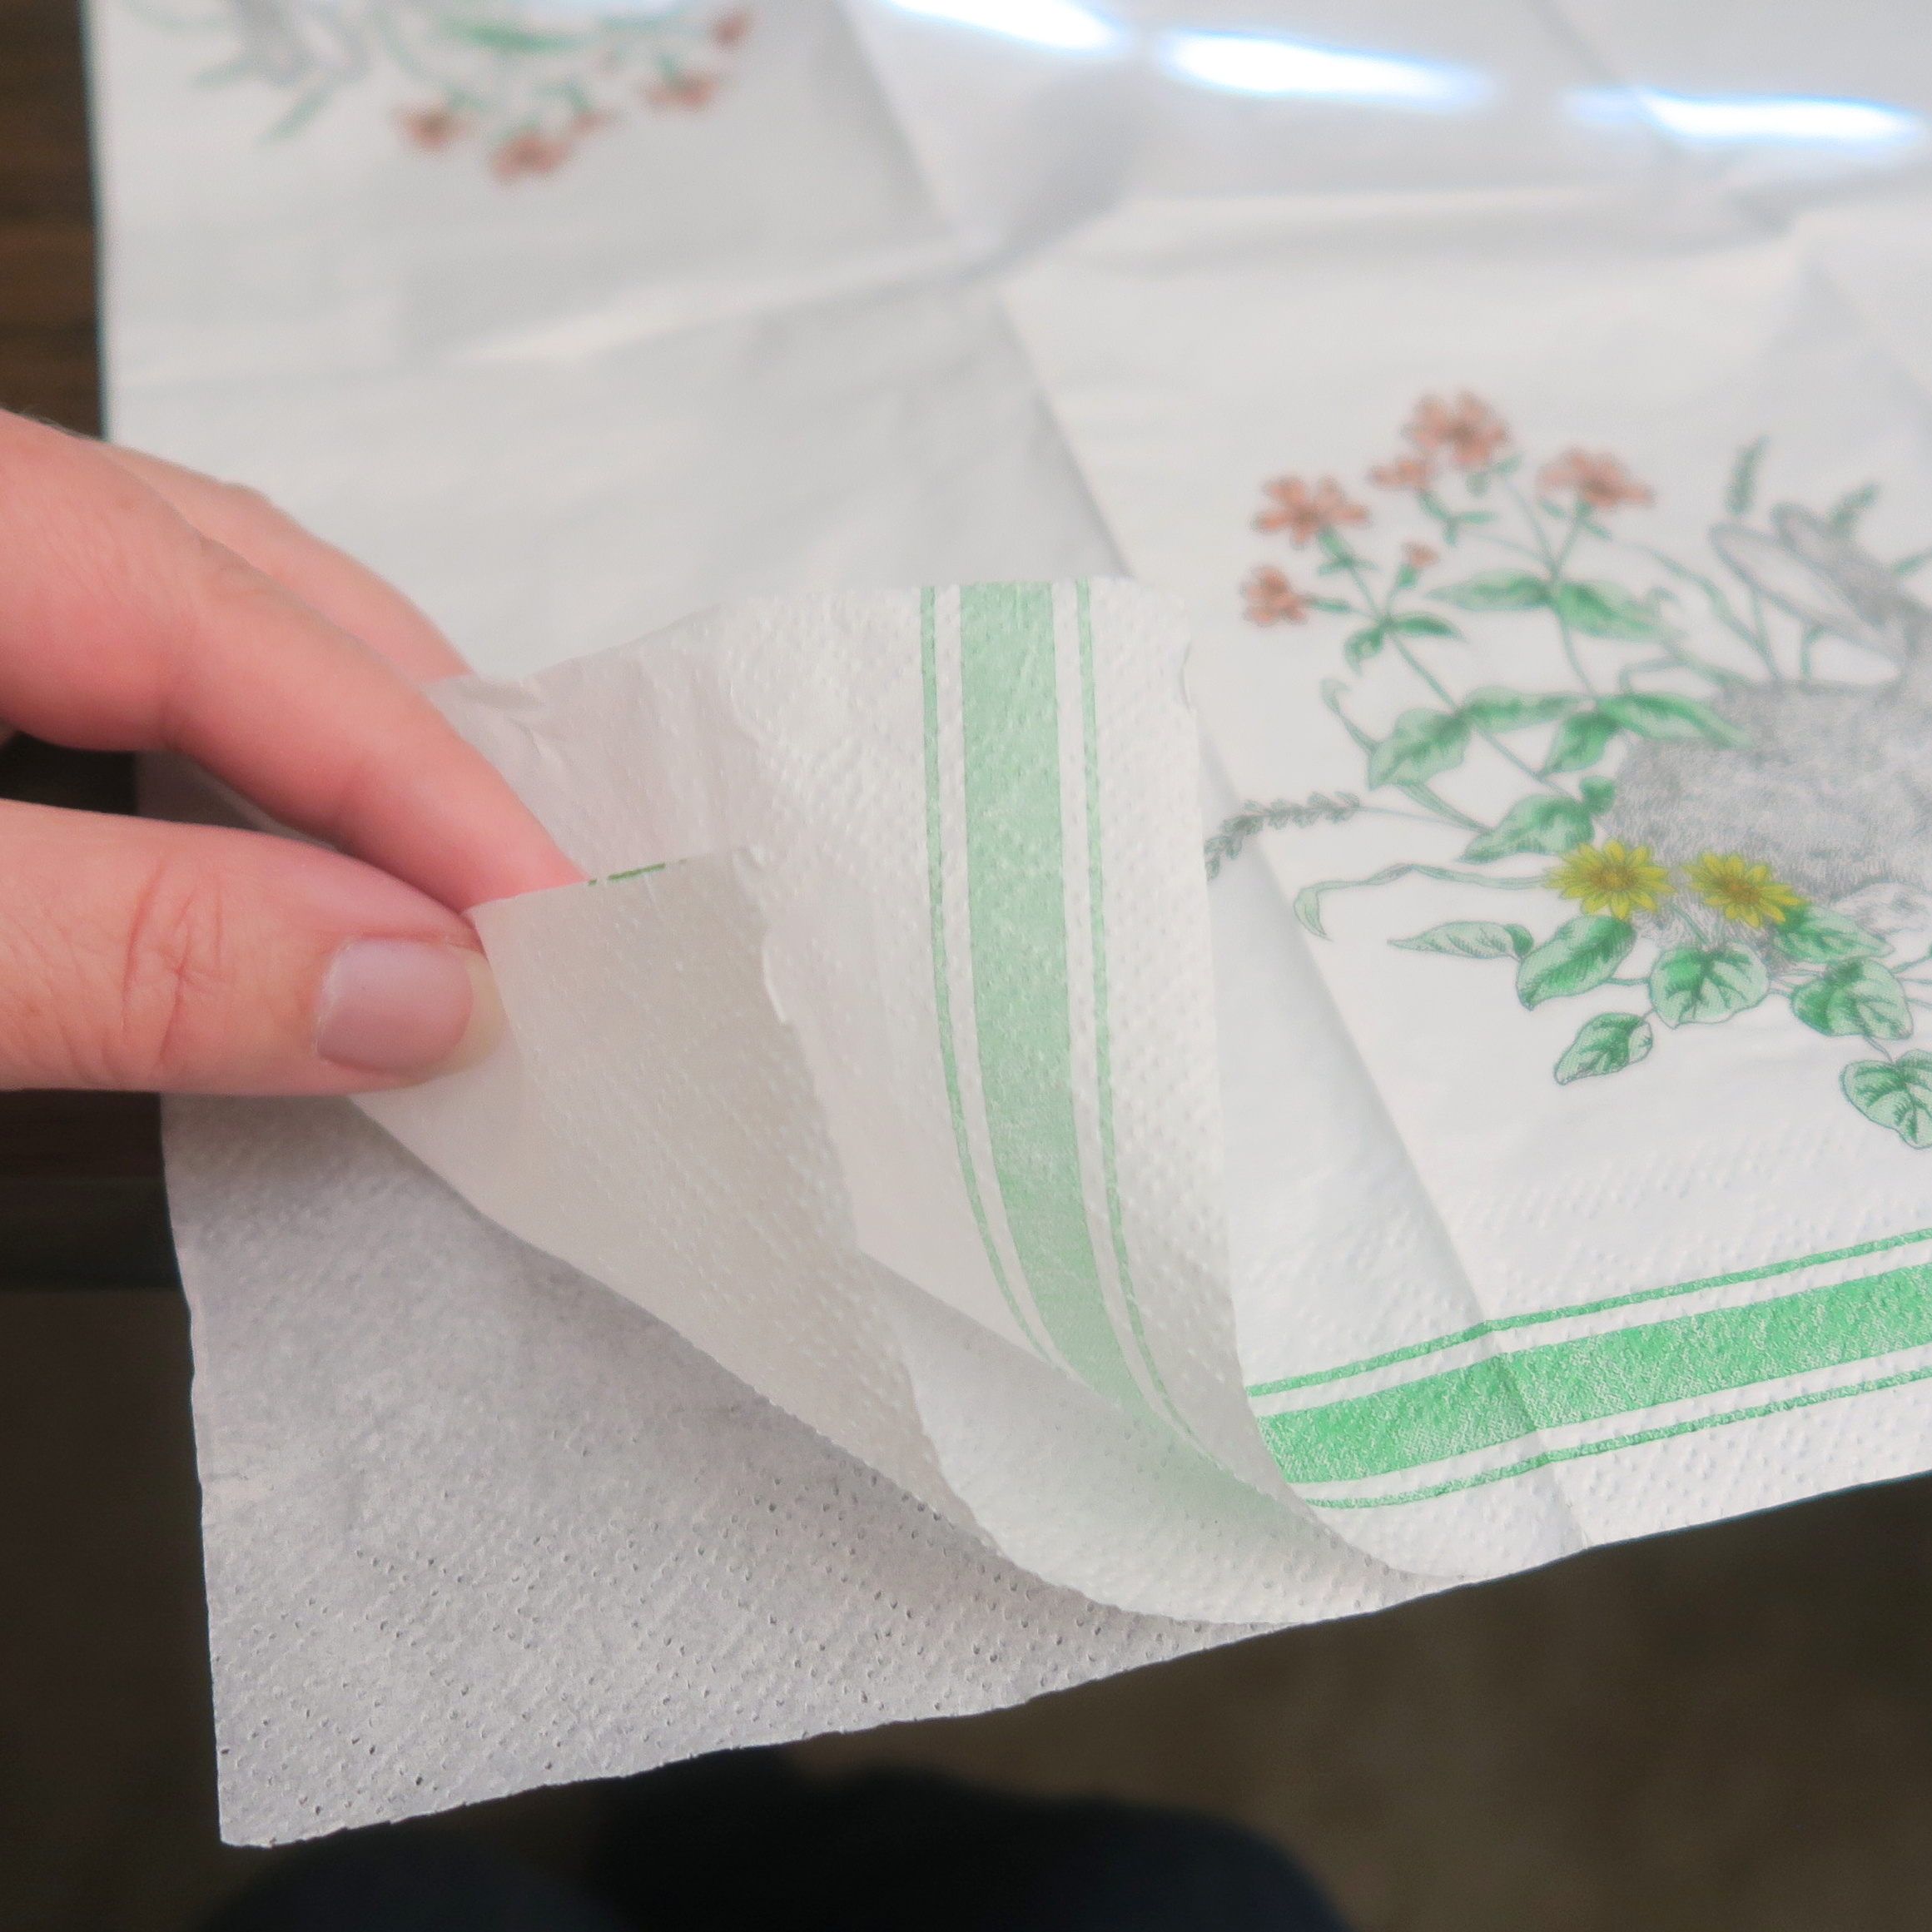
Most napkins are either 2-ply or 3-ply. You will only be using the top (printed) ply. The easiest way to separate the plies of the napkin is to barely moisten your fingers and rub gently at the corner.
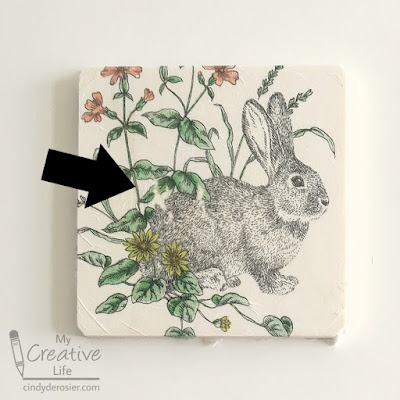
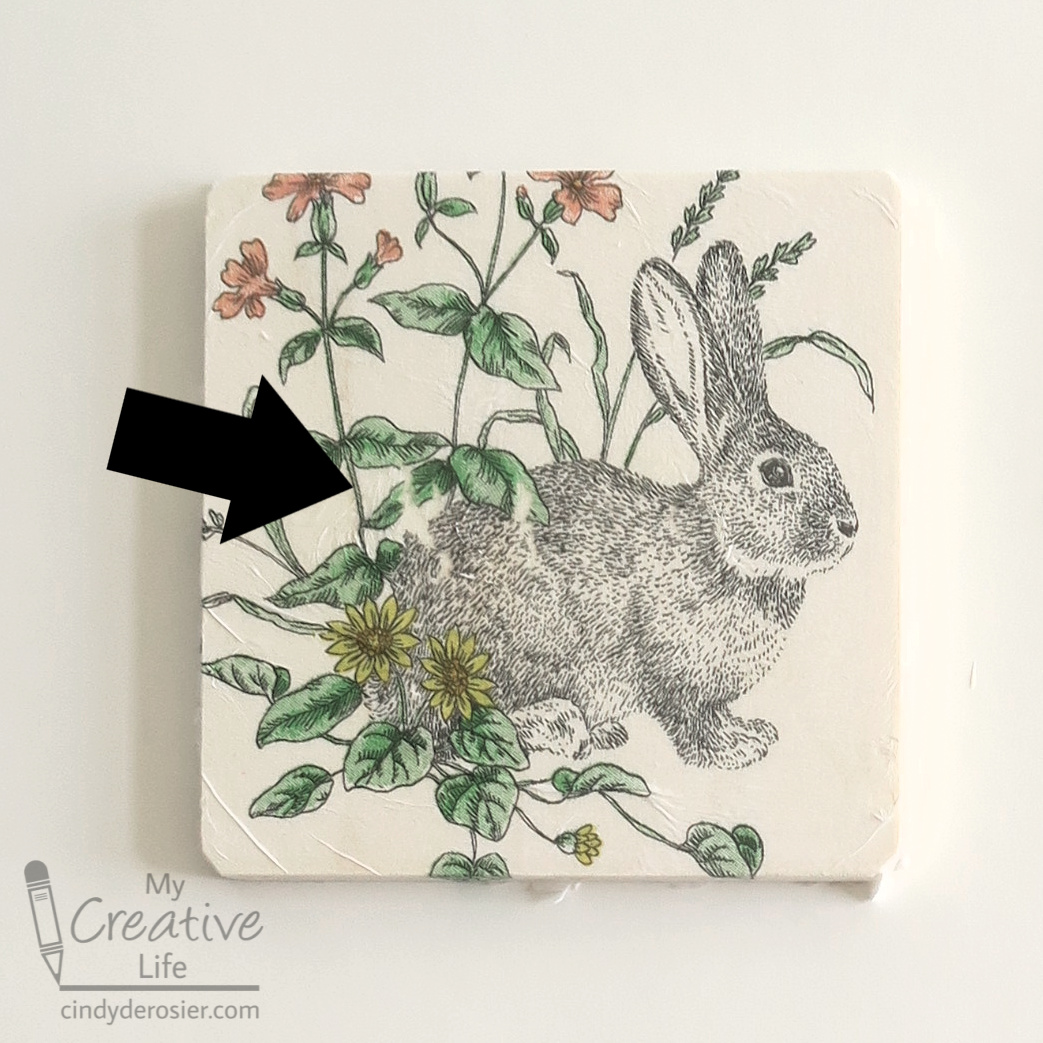
For my first coaster, I used the brush to put a generous coat of Mod Podge onto one coaster, then carefully lowered the napkin onto the surface. Starting from one corner, I gently used my fingers to smooth the napkin. This technique works with heavy paper, but (spoiler alert) it is a terrible method for napkins. As you can see, there are wrinkles I didn't get out (particularly in the bottom left), but the bigger issue is that the napkin started to tear in the center.
For my second coaster, I started by putting a generous coat of Mod Podge on the coaster. I placed the napkin down, covered it with a piece of plastic wrap, and gently smoothed the wrinkles, starting at the center and working out. When I got to the edges, I added more Mod Podge and gently smoothed each down with the help of the plastic wrap. There was no tearing at all, and only minor wrinkling, so this was a huge improvement over my first coaster.
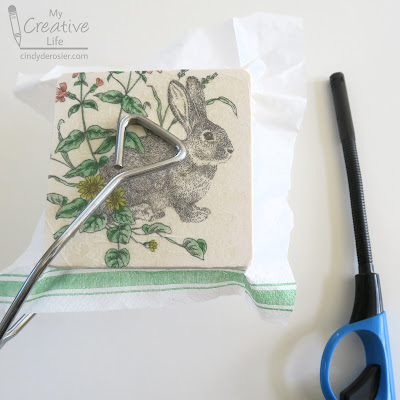
Technique #3 was the one I was most excited to try because it just seemed so crazy. I did all the same steps as with #2 (Mod Podge on coaster, napkin on top, plastic wrap over that, smooth out wrinkles, add Mod Podge to edges, smooth down napkin), but then things went an entirely different direction.

And an entirely different location: outdoors, on a concrete surface. Holding the coaster in my left hand and a lighter in my right, I lit the napkin on fire. The excess burned away, but when it reached the decoupage, it stopped. Sort of. You can see a small amount of singing by the bunny's nose.
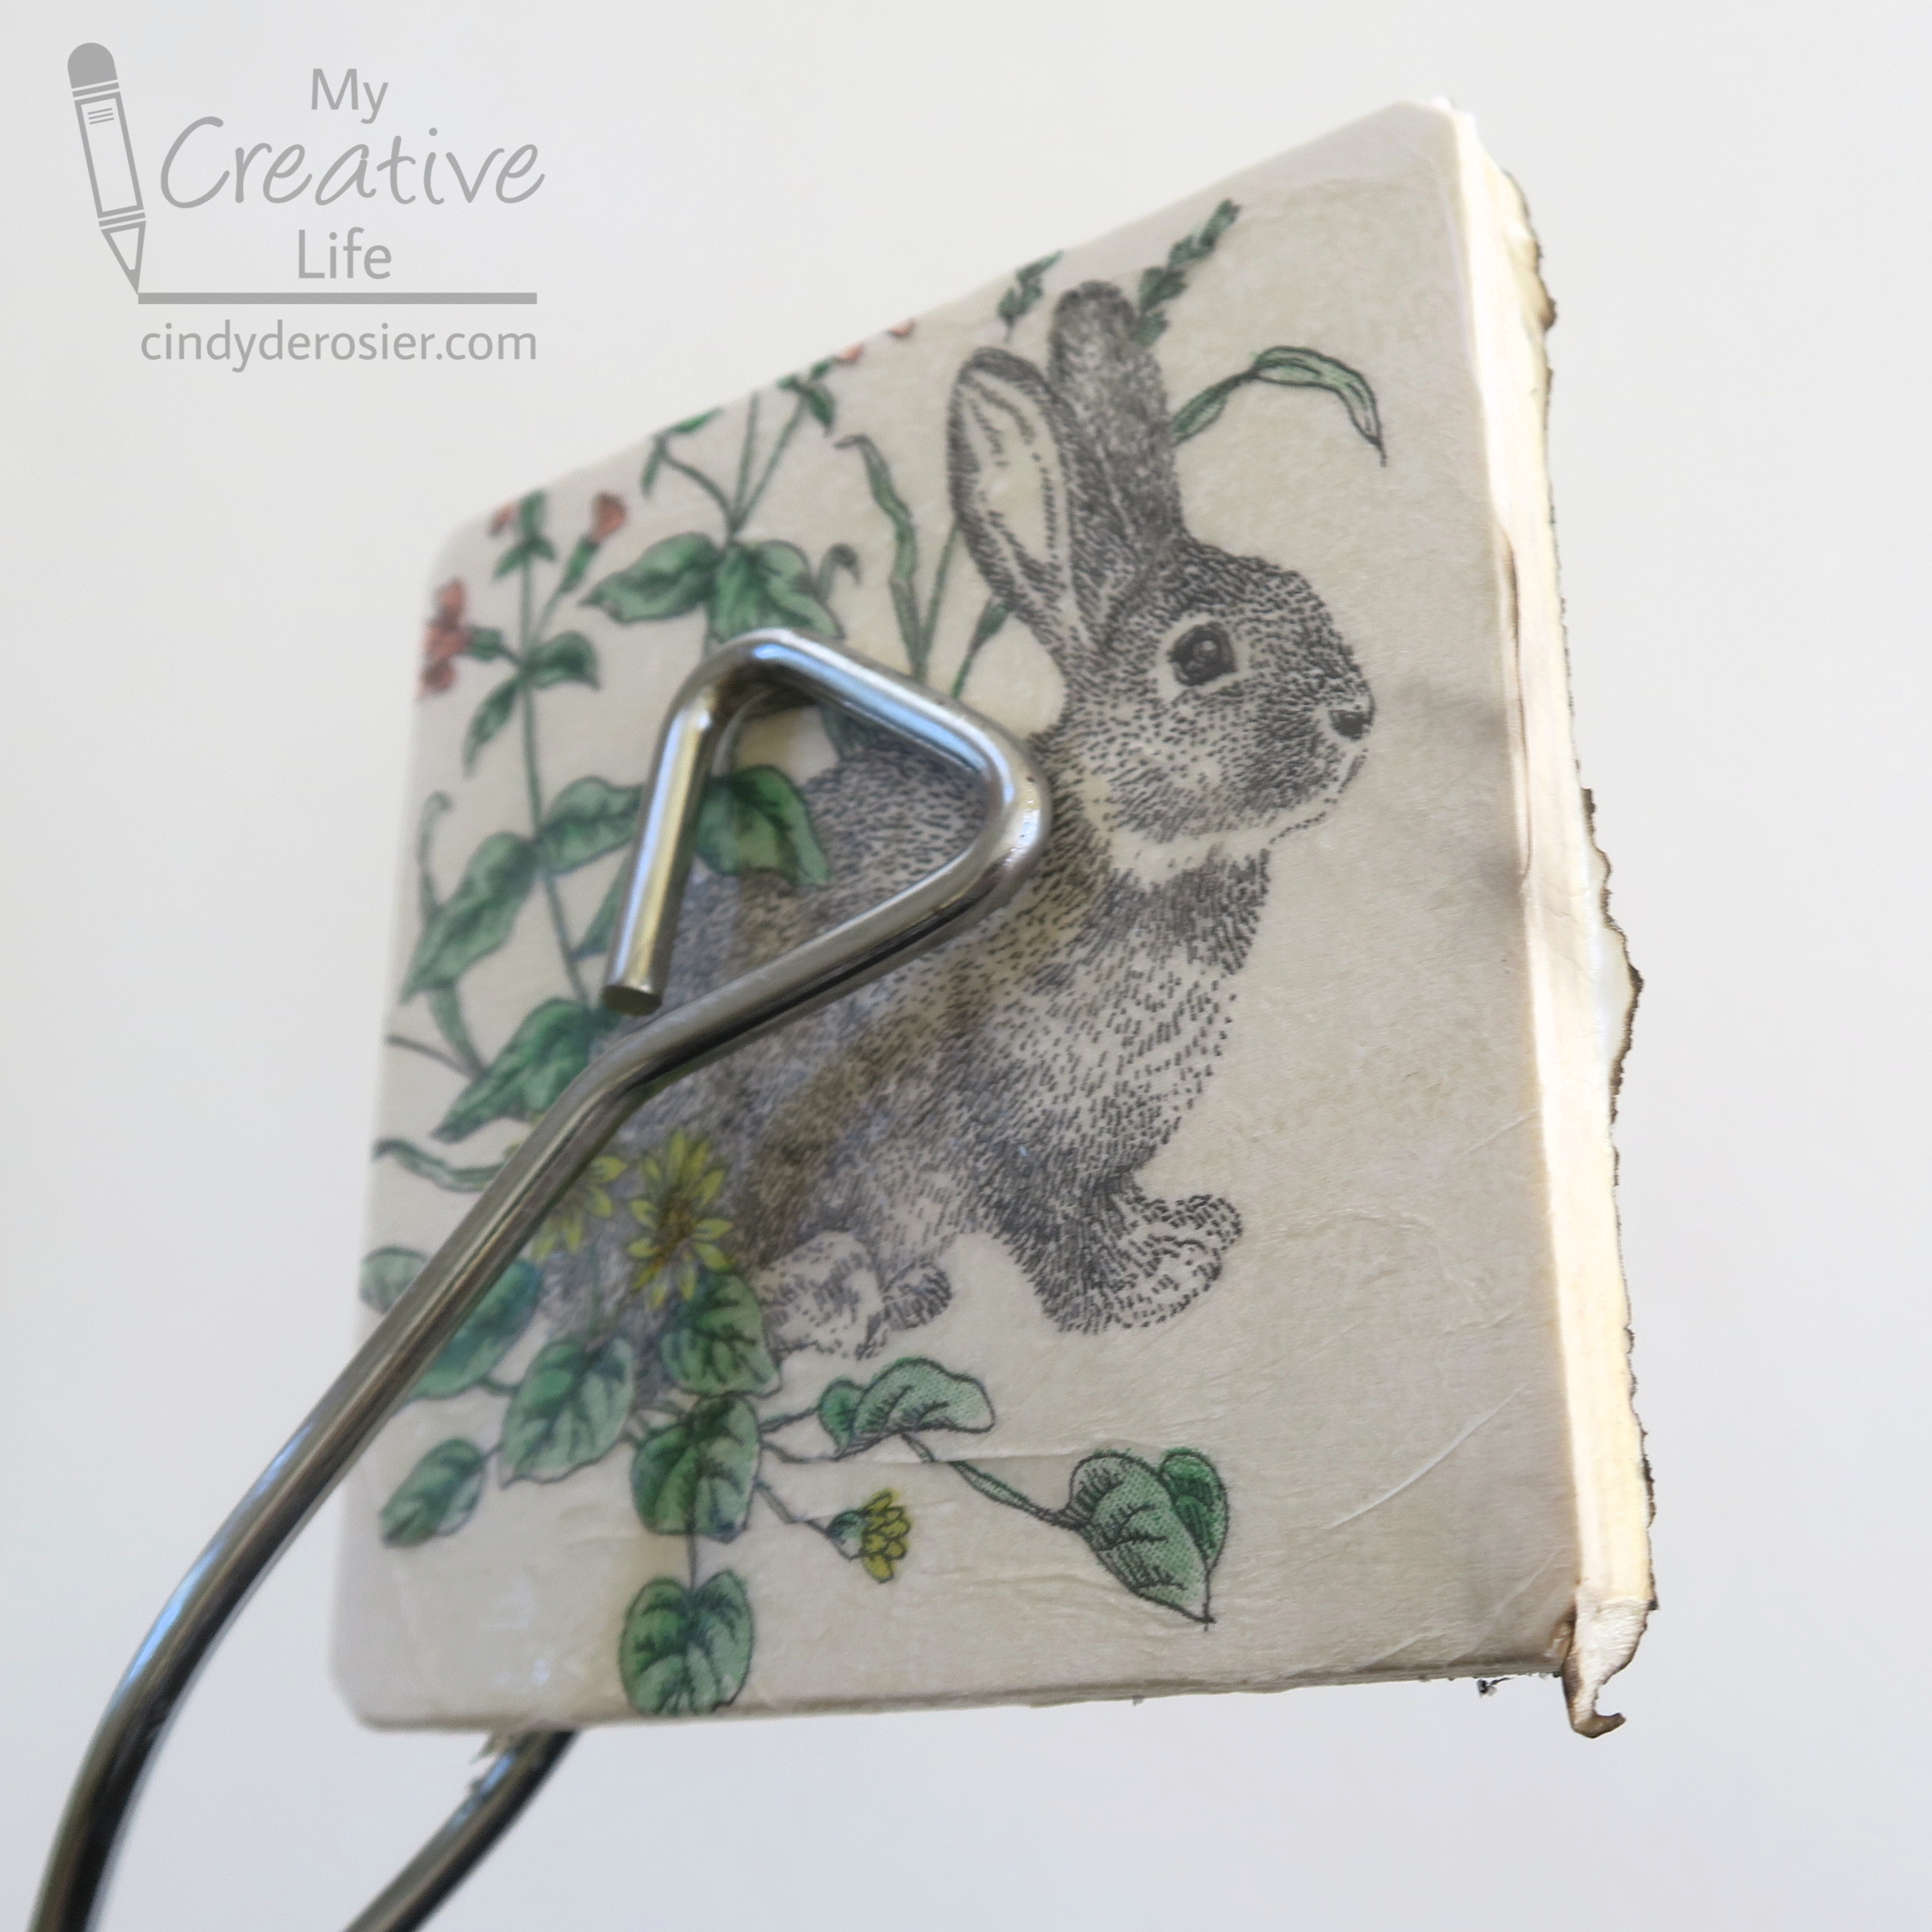
Here's how the back looked. I did not expect the outline of the tongs to show like that.

My fourth technique was my favorite by far. Easy alignment, no wrinkles, no stress. I put a generous coat of Mod Podge onto the front and sides of a coaster, then walked away and let it dry completely. When it was 100% dry, I put the napkin on top, covered it with a piece of parchment paper, and used a hot iron to press it. When the top was sealed, I did each side individually. Check it out - it's perfect!
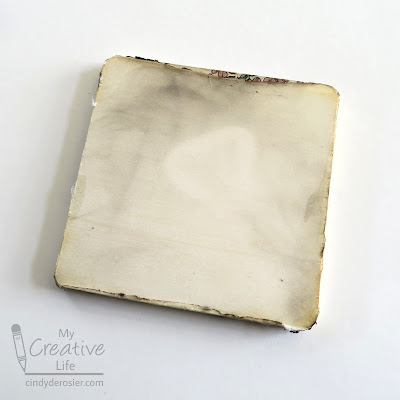
For each of the coasters, I added two topcoats of Mod Podge, allowing the first coat to dry before adding the second. Then I used a file along the back edges to remove any extra napkin (or napkin ashes). Finally, I glued felt squares to the back.

This was such a fun experiment and makes me interested in diving deeper into decoupage in the future!

Great looking coasters! Thanks for testing the different methods out for us.
ReplyDeleteThese are gorgeous!
ReplyDeleteThe napkins are cute!
ReplyDeleteP/s: Not a fan of Mod Podge though. I would just use a matte gel medium to glue and to seal.