
Today I'm sharing the ninth craft in my series based on crowd-sourced responses to ten questions. This time, I asked my friends to "Name something Disney." Mickey Mouse was the top voter getter by far, but one person said Mouse Ears. I used that to inspire a keychain made with Shrinky Dinks. It turns out that shrinking a large design like this leads to a lot more curling and distortion than a smaller piece. In retrospect, I would have made my keychain smaller, both to make it easier to shrink and less prone to distortion, and better for carrying around. Affiliate links below.

Shrinky Dinks Mouse Ears Keychain
Materials:
Steps:
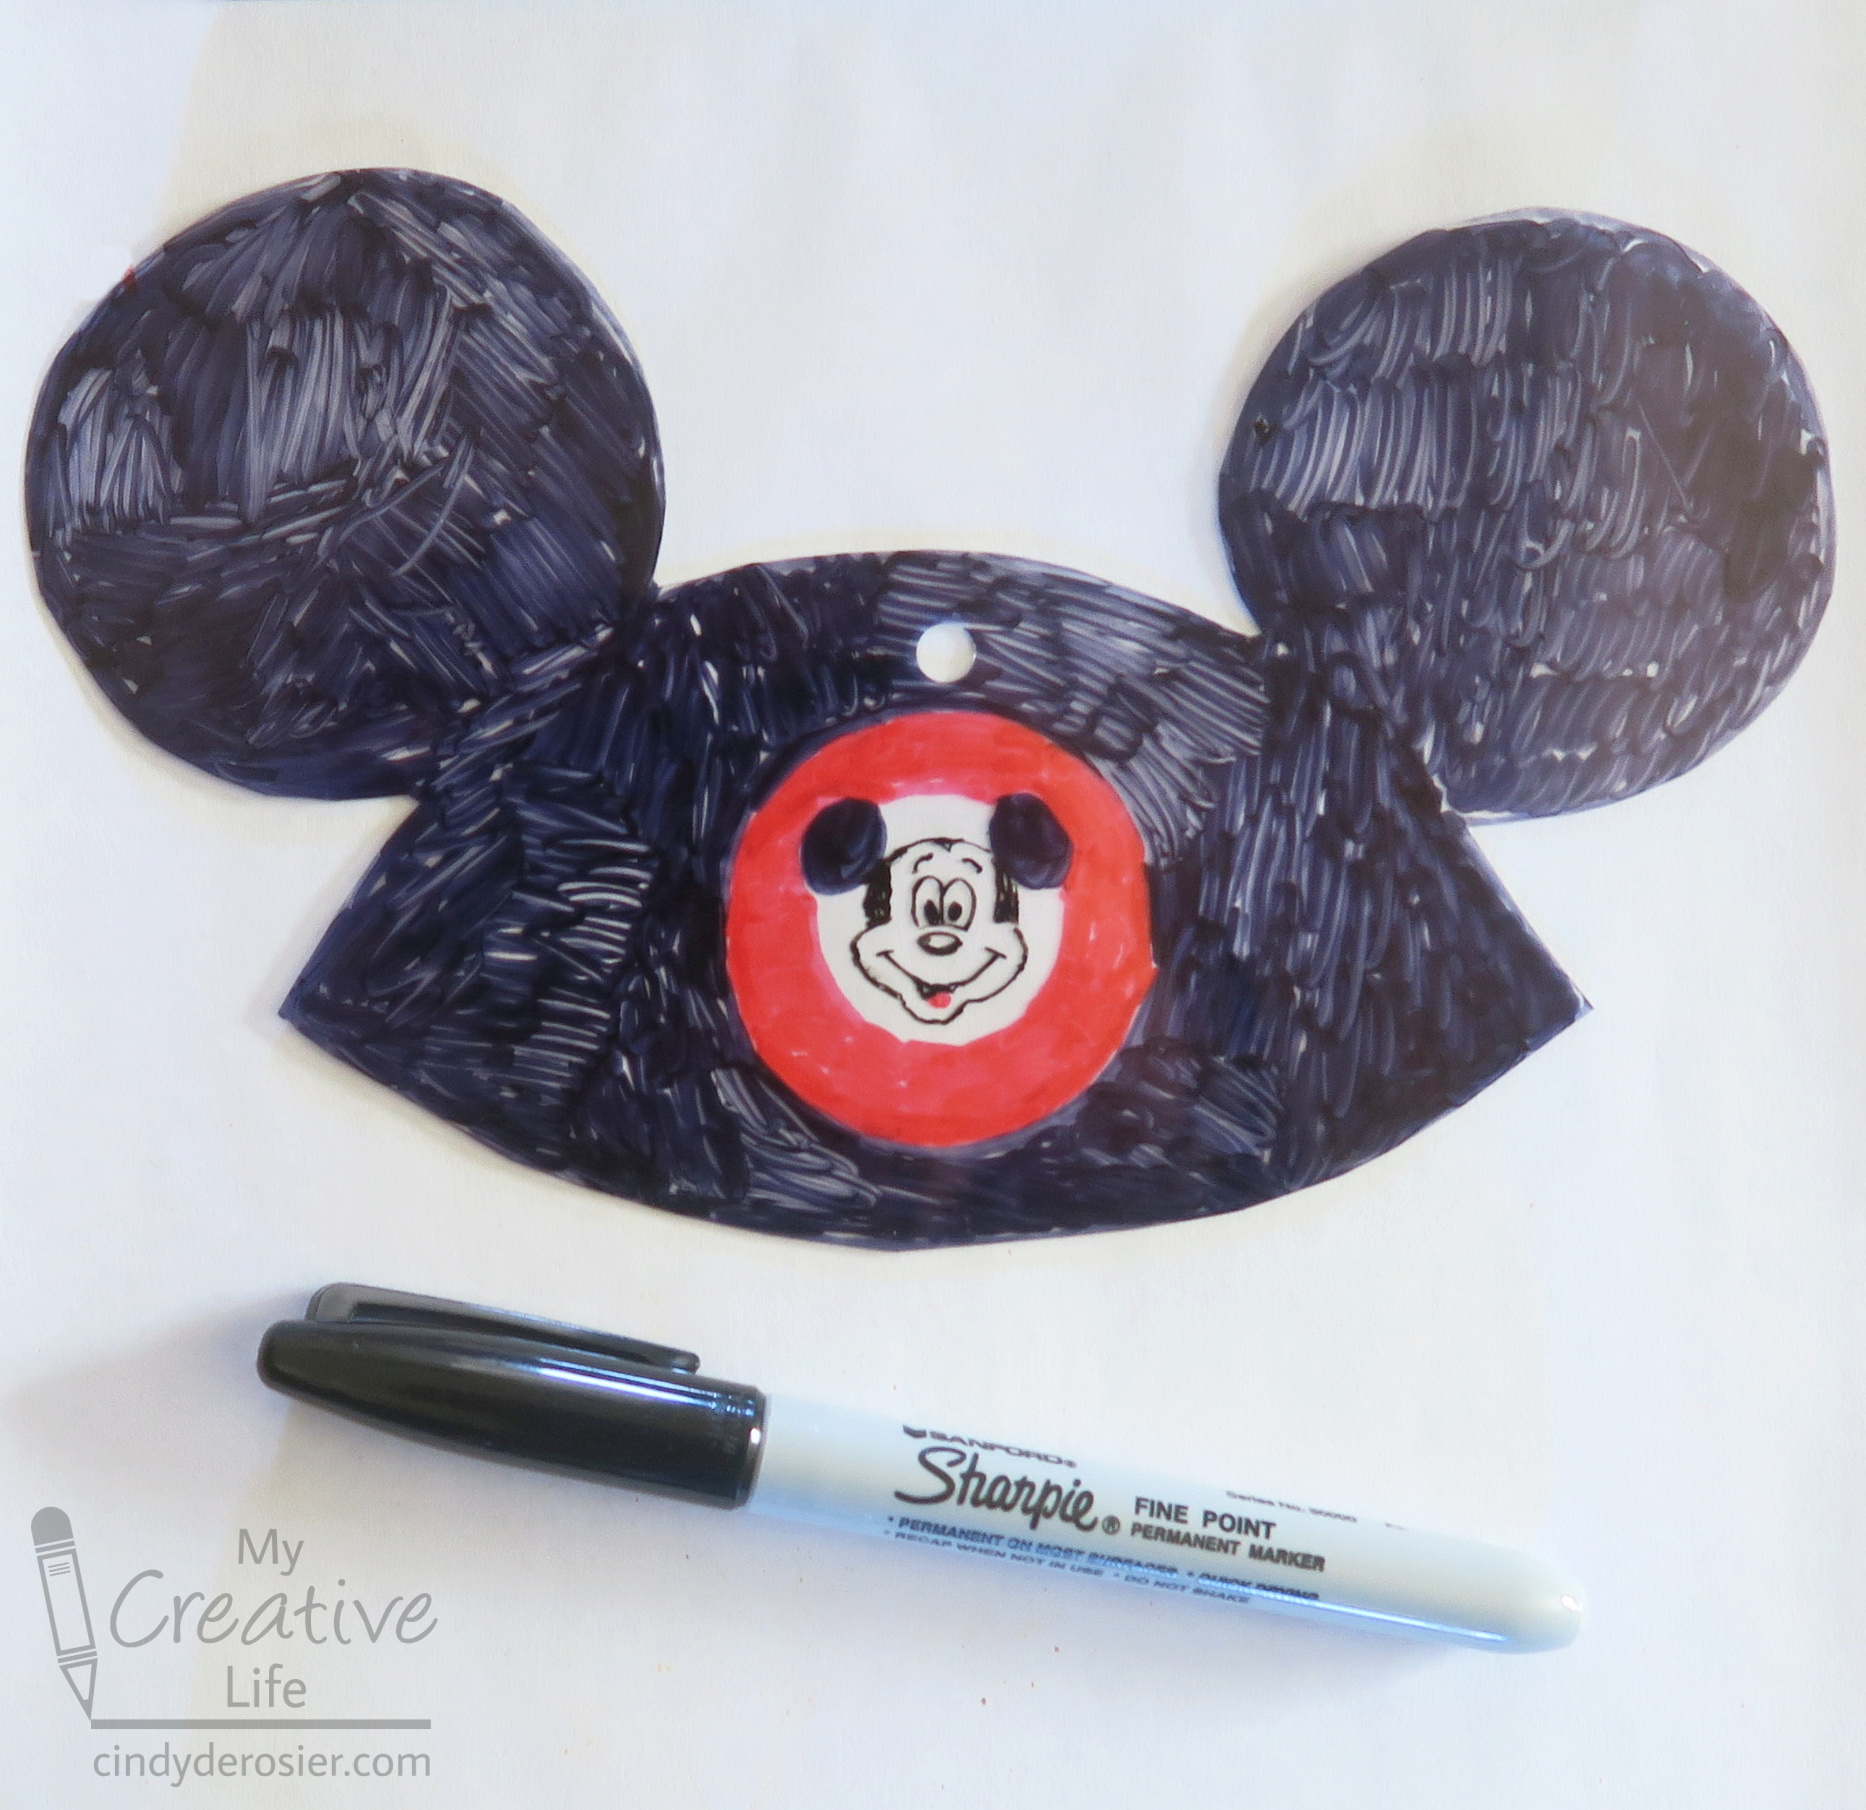
Using the reference image as a guide, draw a pair of Mouseketeer ears on the shrink plastic. I recommend sketching it on a piece of plain paper first, then putting the plastic on top of that and tracing with the Sharpies. You do not need to color it perfectly; the colors will intensify and the pen marks will fill in when it shrinks.
Cut out the ears using microtip scissors, then punch a hole at the top.
Follow the instructions on the package to shrink the plastic. Let it cool completely.

Put a jump ring through the hole you punched, then add more jump rings to make a chain. When you have enough, connect the last jump ring to the key ring.
Obviously, you can use this technique to make anything into a keychain. I'm already thinking of all the other shapes I could make!

Cute!
ReplyDelete