
It's been awhile since I've shared a handprint craft. Did you recognize that the cactus is a handprint?
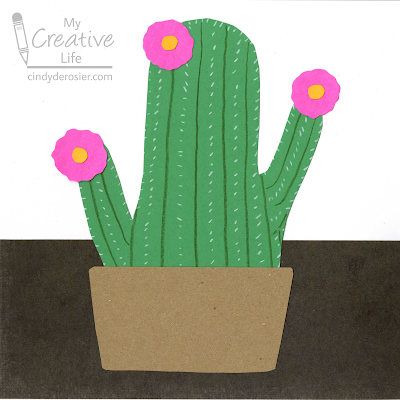
Handprint Saguaro Cactus
Materials:
- construction paper
- scissors
- colored pencils
- craft glue
Steps:
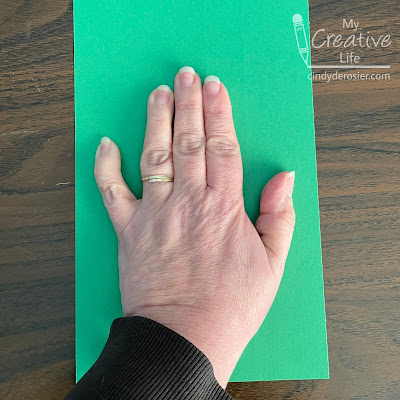
Position your hand on a piece of green construction paper with your three middle fingers together and your thumb and pinkie separate. Bend your thumb and pinkie slightly so they point upward like the arms of a cactus. Trace around your hand.
With a pencil, lightly round off the top of your handprint so that you have one barrel-shaped cactus instead of three distinct fingers. Cut out the handprint.
Use a green colored pencil to draw the ribs of the cactus. Then use a white colored pencil to draw little tick marks between the ribs for the needles.
Cut a piece of tan construction paper into a pot that is slightly wider than your handprint. Then cut three wavy circles from bright pink and three small circles from yellow to make the flowers.
Glue a strip of brown construction paper to white to make the background. Then glue the cactus into place. Add the pot and the flowers.
You can stop there, but I wanted to see what I could do to turn this simple preschool craft into something more challenging for older kids. Here's what it looked like after I thickened the ribs, added shadows to the flowers, colored the pot to look more like terra cotta, and added a little bit of color to the background to mimic a textured wall.
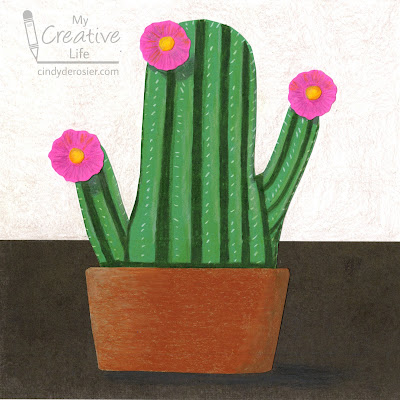
If you're going to enhance the craft with colored pencils, do so before you glue everything together. I felt limited in what I could do since everything was already glued down. Still, it was a fun challenge for me.


