12/14/22

Shrinky Dinks Mouse Ears Keychain

Today I'm sharing the ninth craft in my series based on crowd-sourced responses to ten questions. This time, I asked my friends to "Name something Disney." Mickey Mouse was the top voter getter by far, but one person said Mouse Ears. I used that to inspire a keychain made with Shrinky Dinks. It turns out that shrinking a large design like this leads to a lot more curling and distortion than a smaller piece. In retrospect, I would have made my keychain smaller, both to make it easier to shrink and less prone to distortion, and better for carrying around. Affiliate links below. 


Shrinky Dinks Mouse Ears Keychain


Materials:


Steps: 


Using the reference image as a guide, draw a pair of Mouseketeer ears on the shrink plastic. I recommend sketching it on a piece of plain paper first, then putting the plastic on top of that and tracing with the Sharpies. You do not need to color it perfectly; the colors will intensify and the pen marks will fill in when it shrinks. 

Cut out the ears using microtip scissors, then punch a hole at the top. 
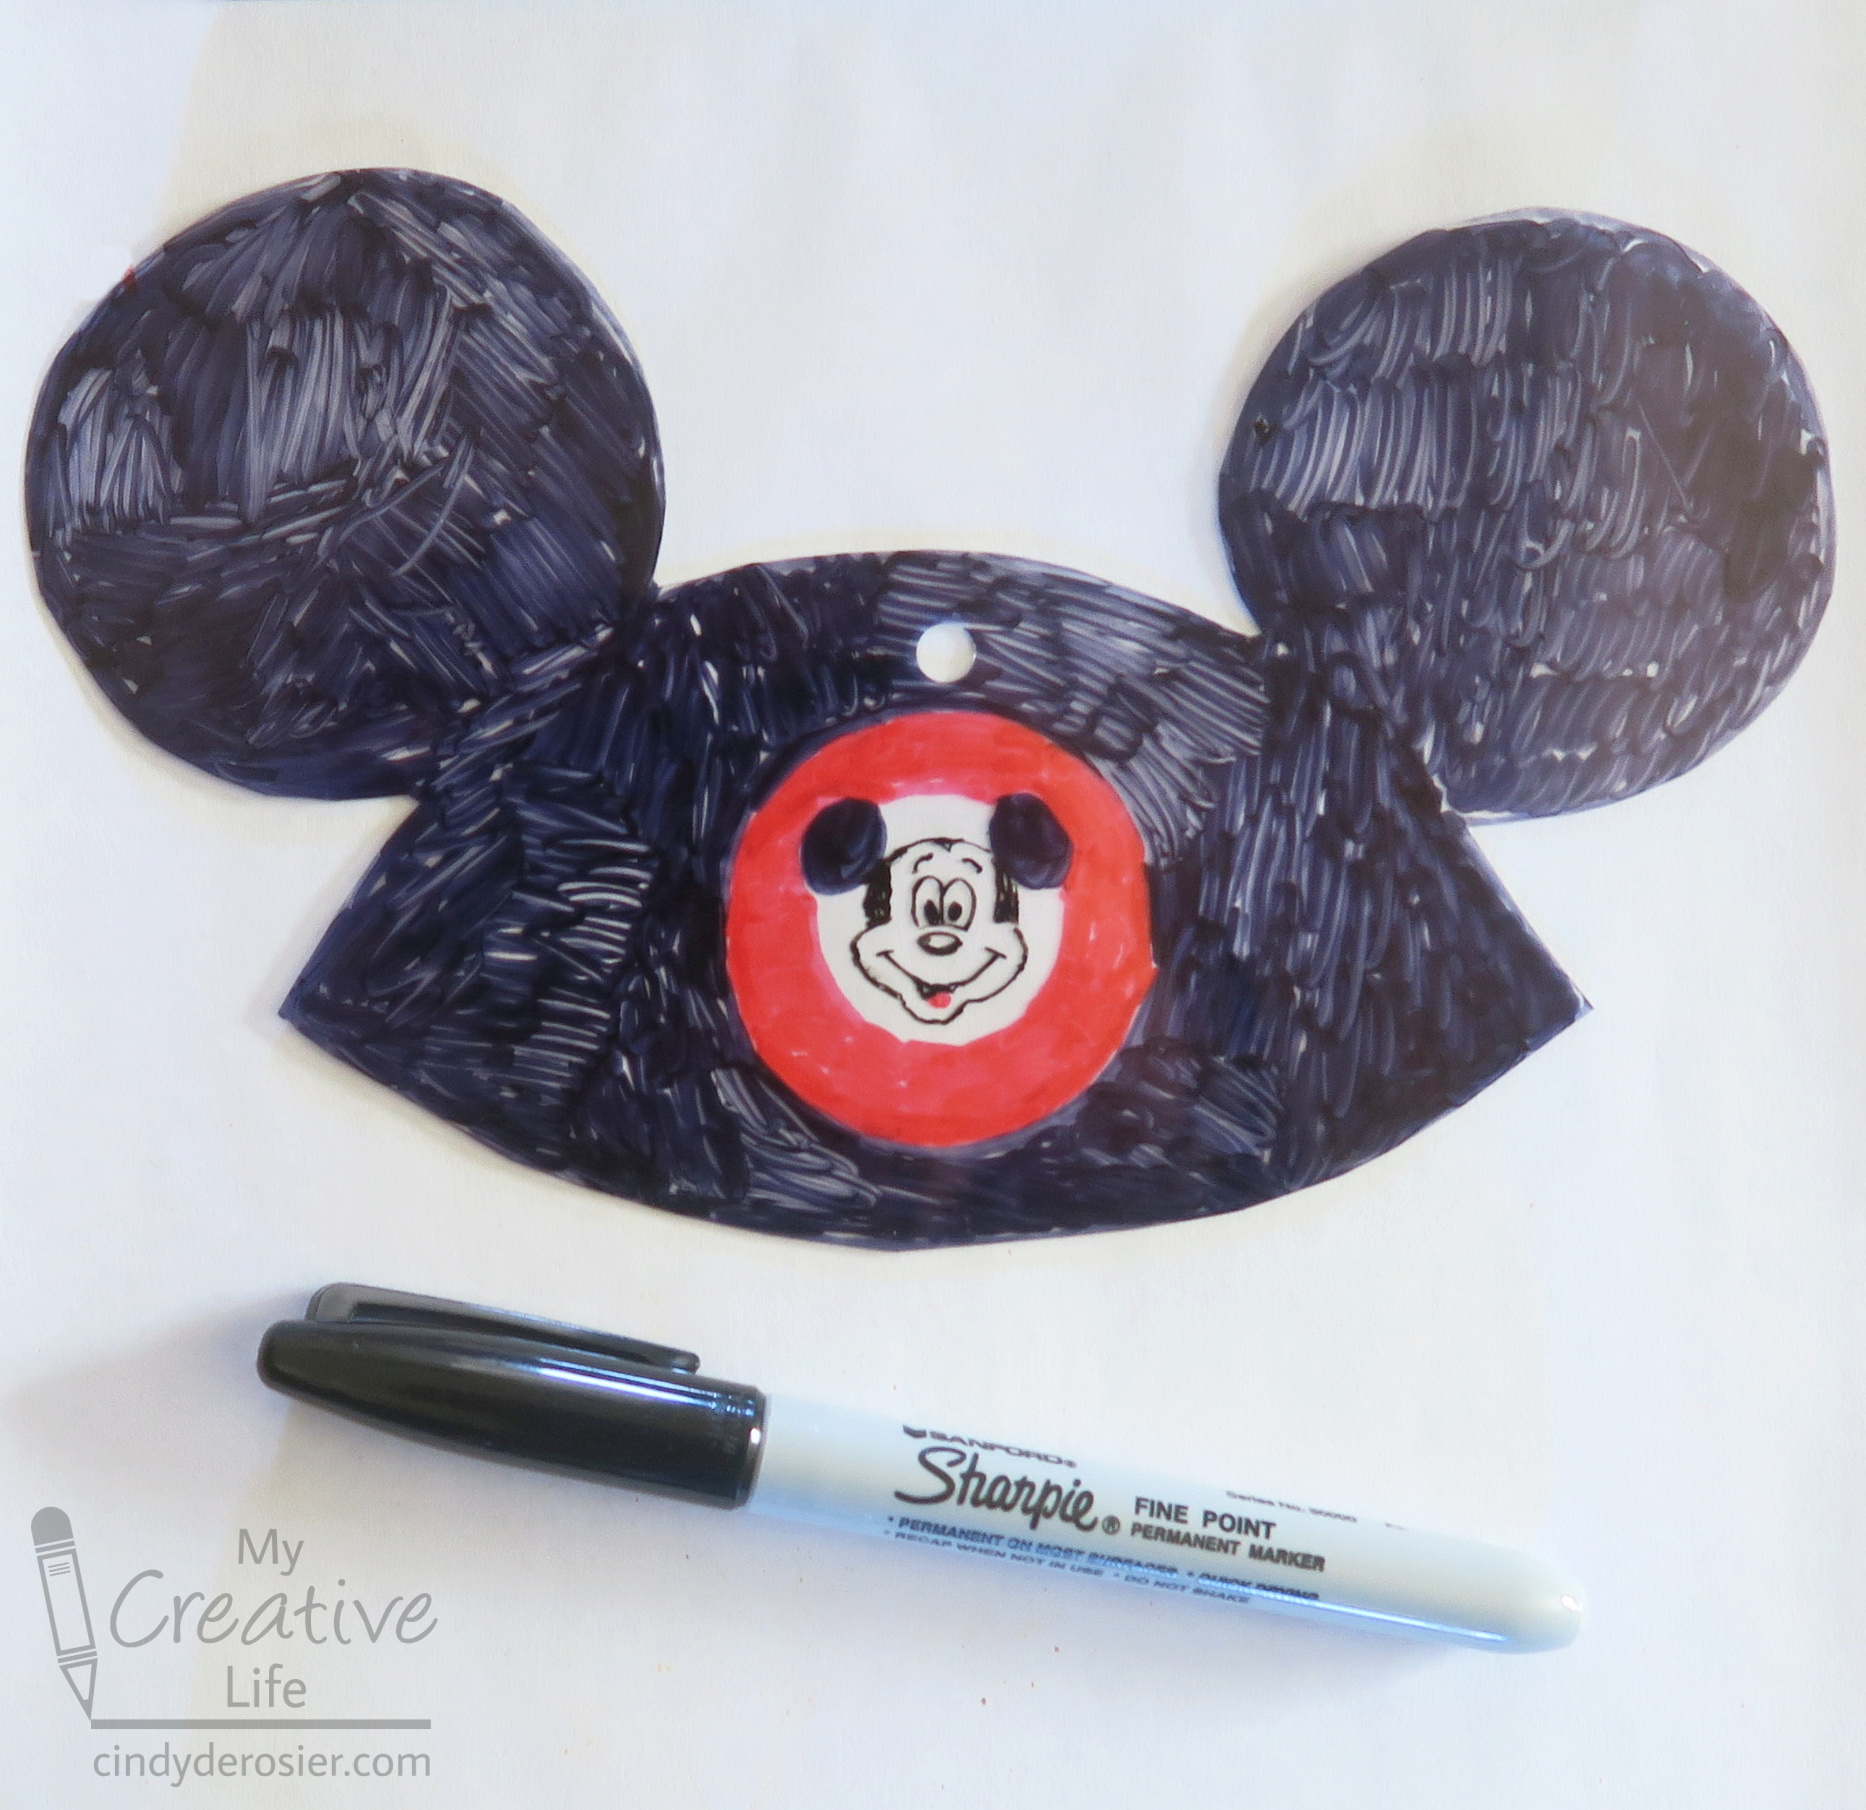

Follow the instructions on the package to shrink the plastic. Let it cool completely. 


Put a jump ring through the hole you punched, then add more jump rings to make a chain. When you have enough, connect the last jump ring to the key ring. 


Obviously, you can use this technique to make anything into a keychain. I'm already thinking of all the other shapes I could make!

12/13/22

Rabbit of Unusual Size

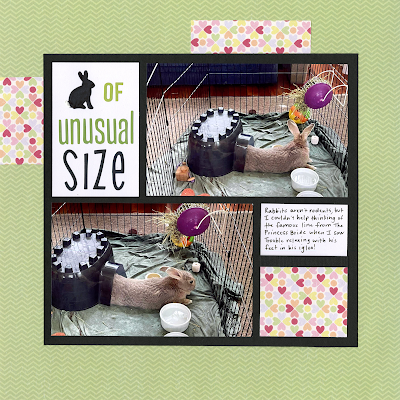
The way Trouble was sitting with his back legs in his igloo made him look like the longest rabbit of all time. I immediately thought of the classic Rodents Of Unusual Size. I made a minor tweak and the title of this layout became Rabbit Of Unusual Size. 

Rabbit of Unusual Size (affiliate link)

The rabbit die-cut in the title was from one of my friend Jennifer's dies. Not only did I use it here, but I added them to two other pages I've recently made about rabbits. Did you notice them? I colored them each a little differently. There are more, so they'll definitely make an appearance on future rabbit-themed pages. 

12/12/22

Statue of Liberty at Sunset Painting

Today's project is the eighth craft in my series based on crowd-sourced responses to ten questions. This time I asked my friends to name a US landmark. Mt. Rushmore was the most frequent answer, but I shared a Mt. Rushmore craft idea last year. So I went with the second most popular answer, the Statue of Liberty. 

I started by thinking back to my visits to the Statue of Liberty. I first visited New York City and the Statue in 1989, when I was 17. In the spring of 2001, a fellow teacher and I took students to Washington DC and New York City, which included a visit to Lady Liberty. My most recent time seeing the Statue was in 2014, when we sailed into NYC at sunrise. While each visit was fantastic, I realized I've seen the Statue at dawn and in the daylight, but never at sunset. That was the inspiration for my project. 


Statue of Liberty at Sunset Painting


Materials: 


Steps: 

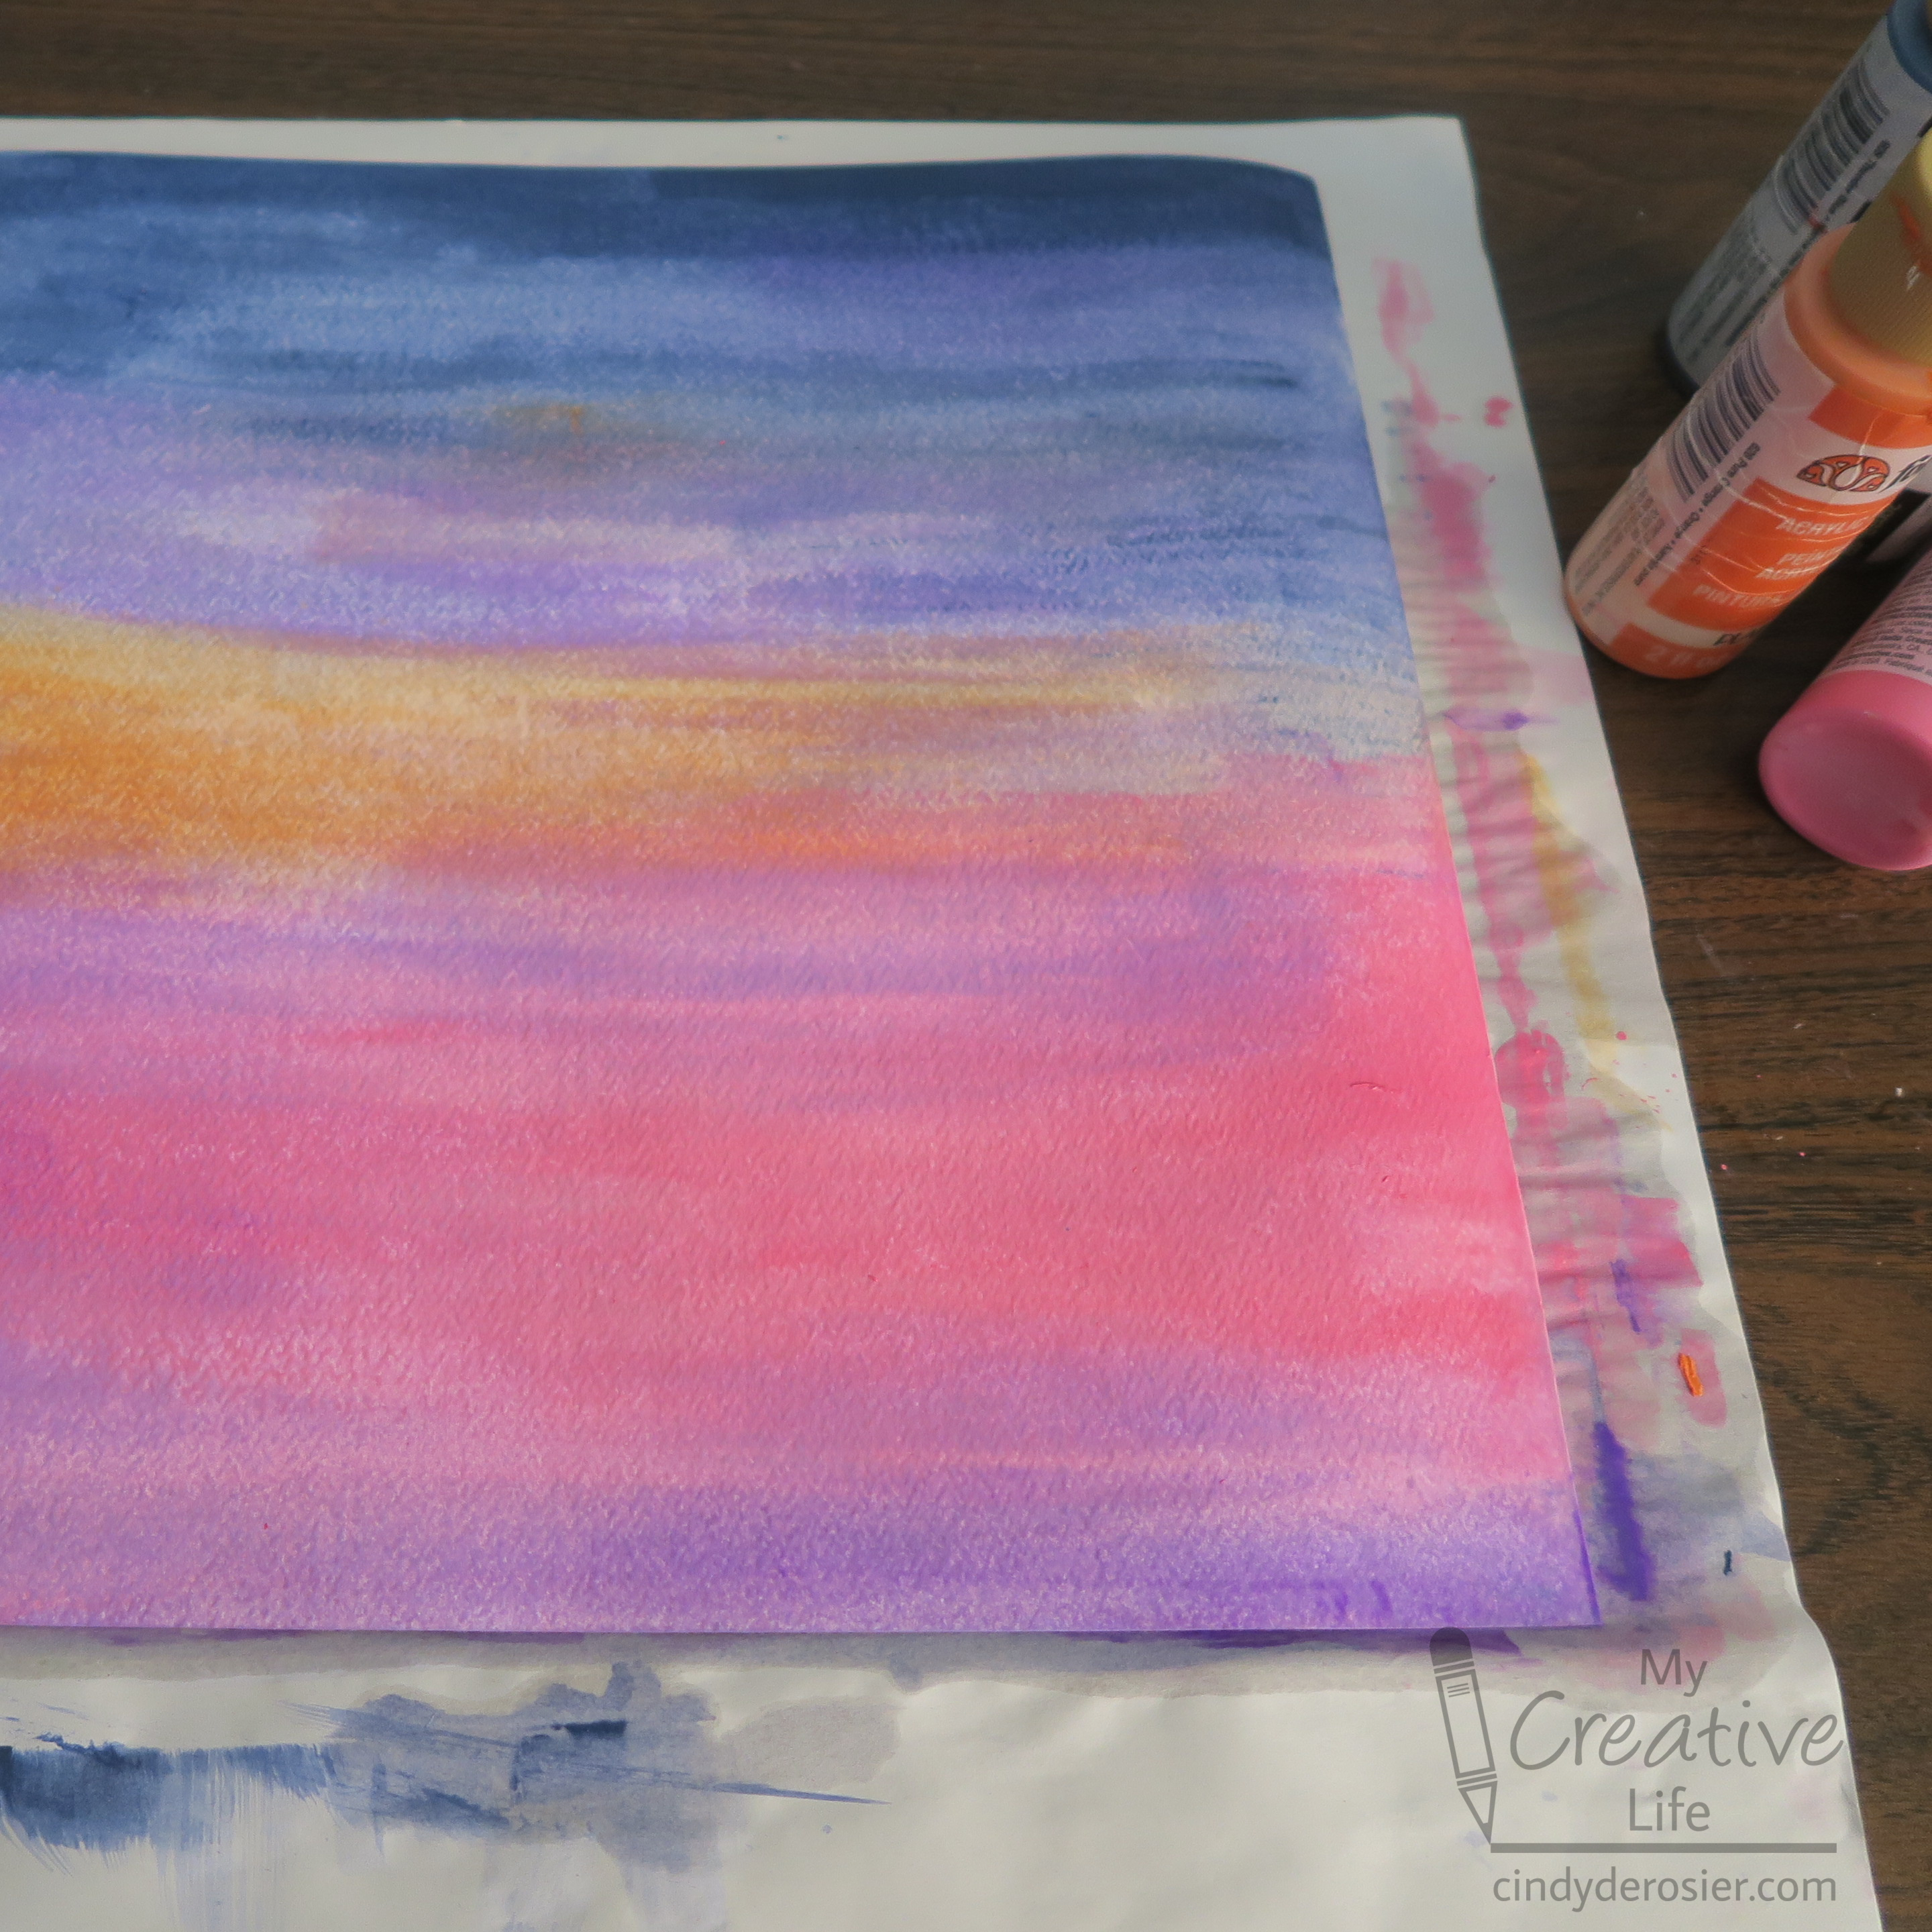
Use a large brush to wet the watercolor paper, then add horizontal streaks of blues, purples, oranges, and pinks to make a sunset. There's no right or wrong. Continue until you're happy, then set it aside to dry. 


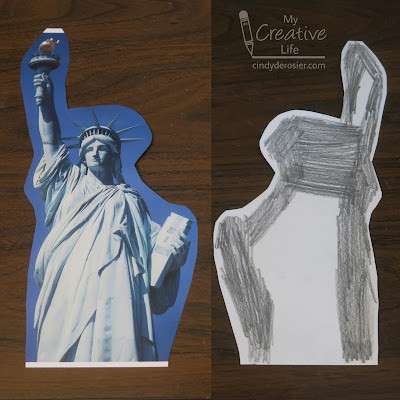
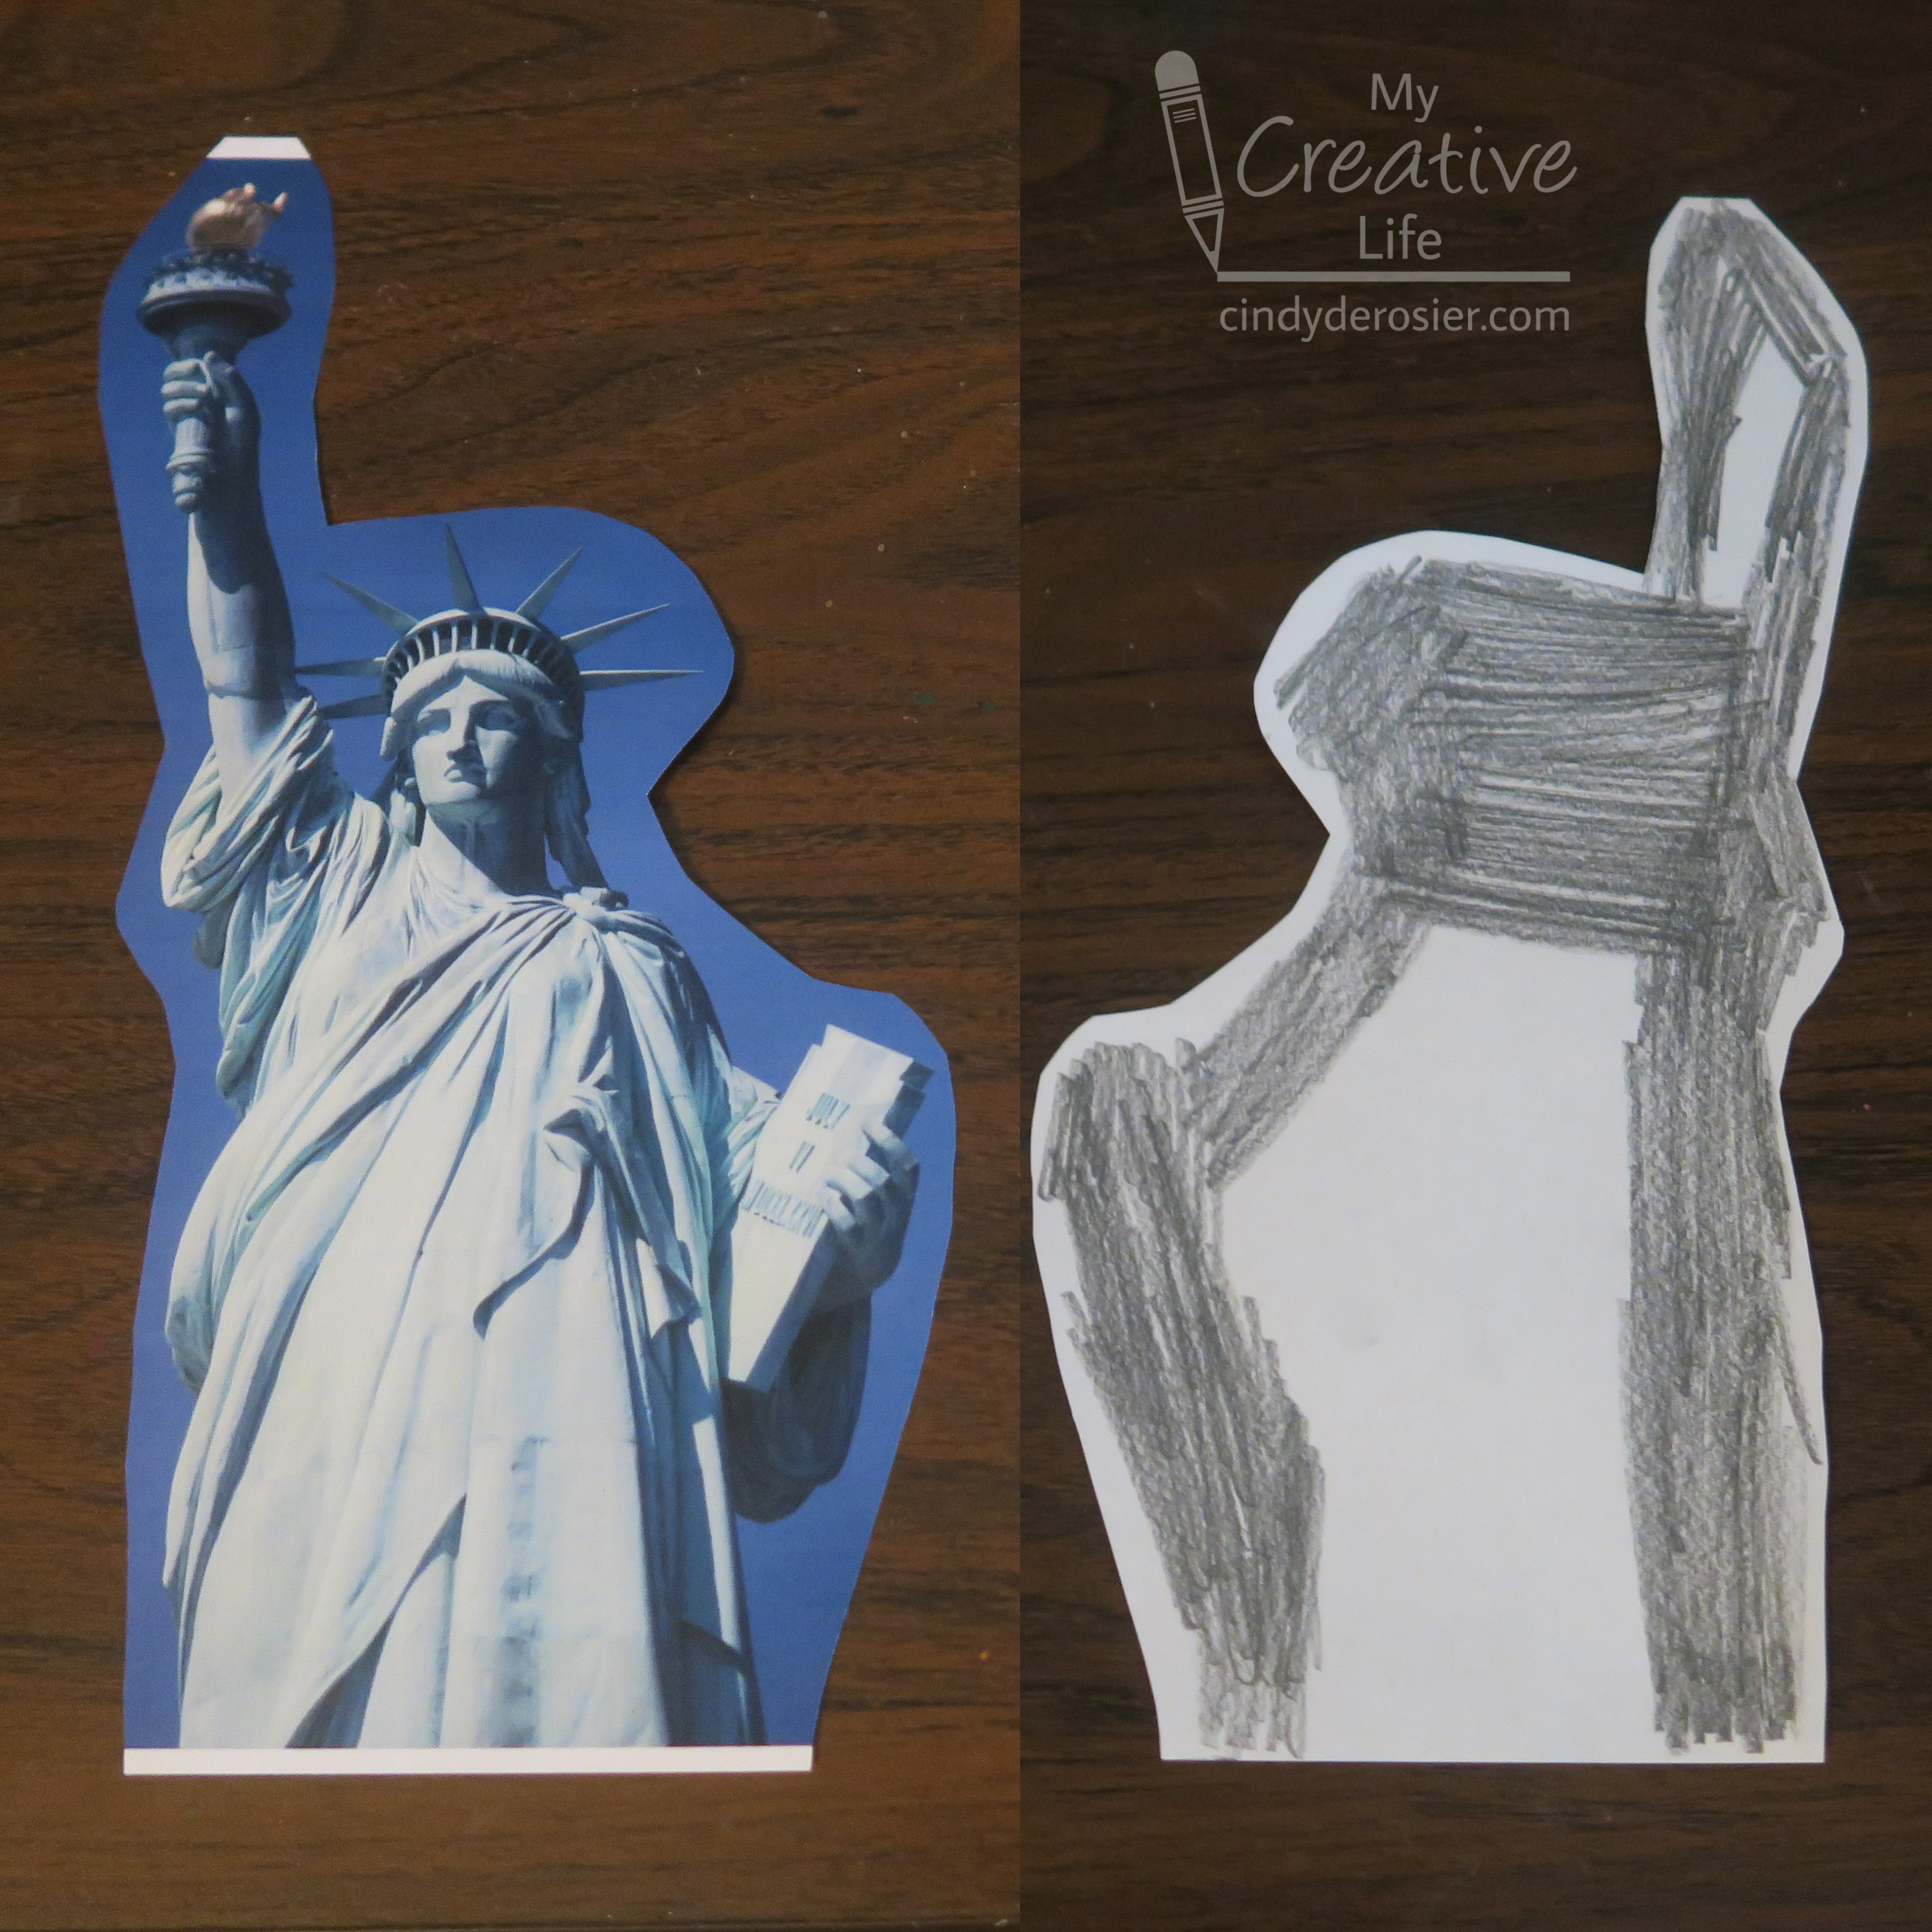
Print out a photo of the Statue of Liberty, then trim away the background. Turn it over and scribble on the back with an ordinary pencil. You'll be using this to transfer the image to the paper, so you only need to color the edges, as shown below. 


Tape the edges of the watercolor paper to the desk to keep it from moving, then use paperclips to secure the image to the paper. 


Trace along the outline of the Statue with a pencil, pressing firmly. Lift a corner to make sure the line is transferring well. 


When you've traced the entire outline, remove the paperclips and set the image aside. Fill in the traced area with black paint. 

 
I really enjoyed this project. It makes me wish I were still teaching 5th graders specifically so we could do this project and I could display a whole bulletin board's worth of these. 

12/9/22

Recycled Cardboard Box Penguin

This penguin project is the seventh craft in my series based on crowd-sourced responses to ten questions. Can you guess what the question was? 


Here's a hint:


I asked, "Name something you recycle." I chose the answer of cardboard boxes as the inspiration for my craft. And, in fact, that specific box pictured above helped guide my thinking. When I saw 'made with less material' printed on it, I guessed (correctly!) that it would be easy enough to cut into shapes with scissors. Standard cardboard is best cut with a utility knife, which is great for straight edges, but not for cutting out small, circular items. I designed today's penguin to test how difficult it would be to cut rounded shapes from this thinner-than-usual corrugated cardboard.

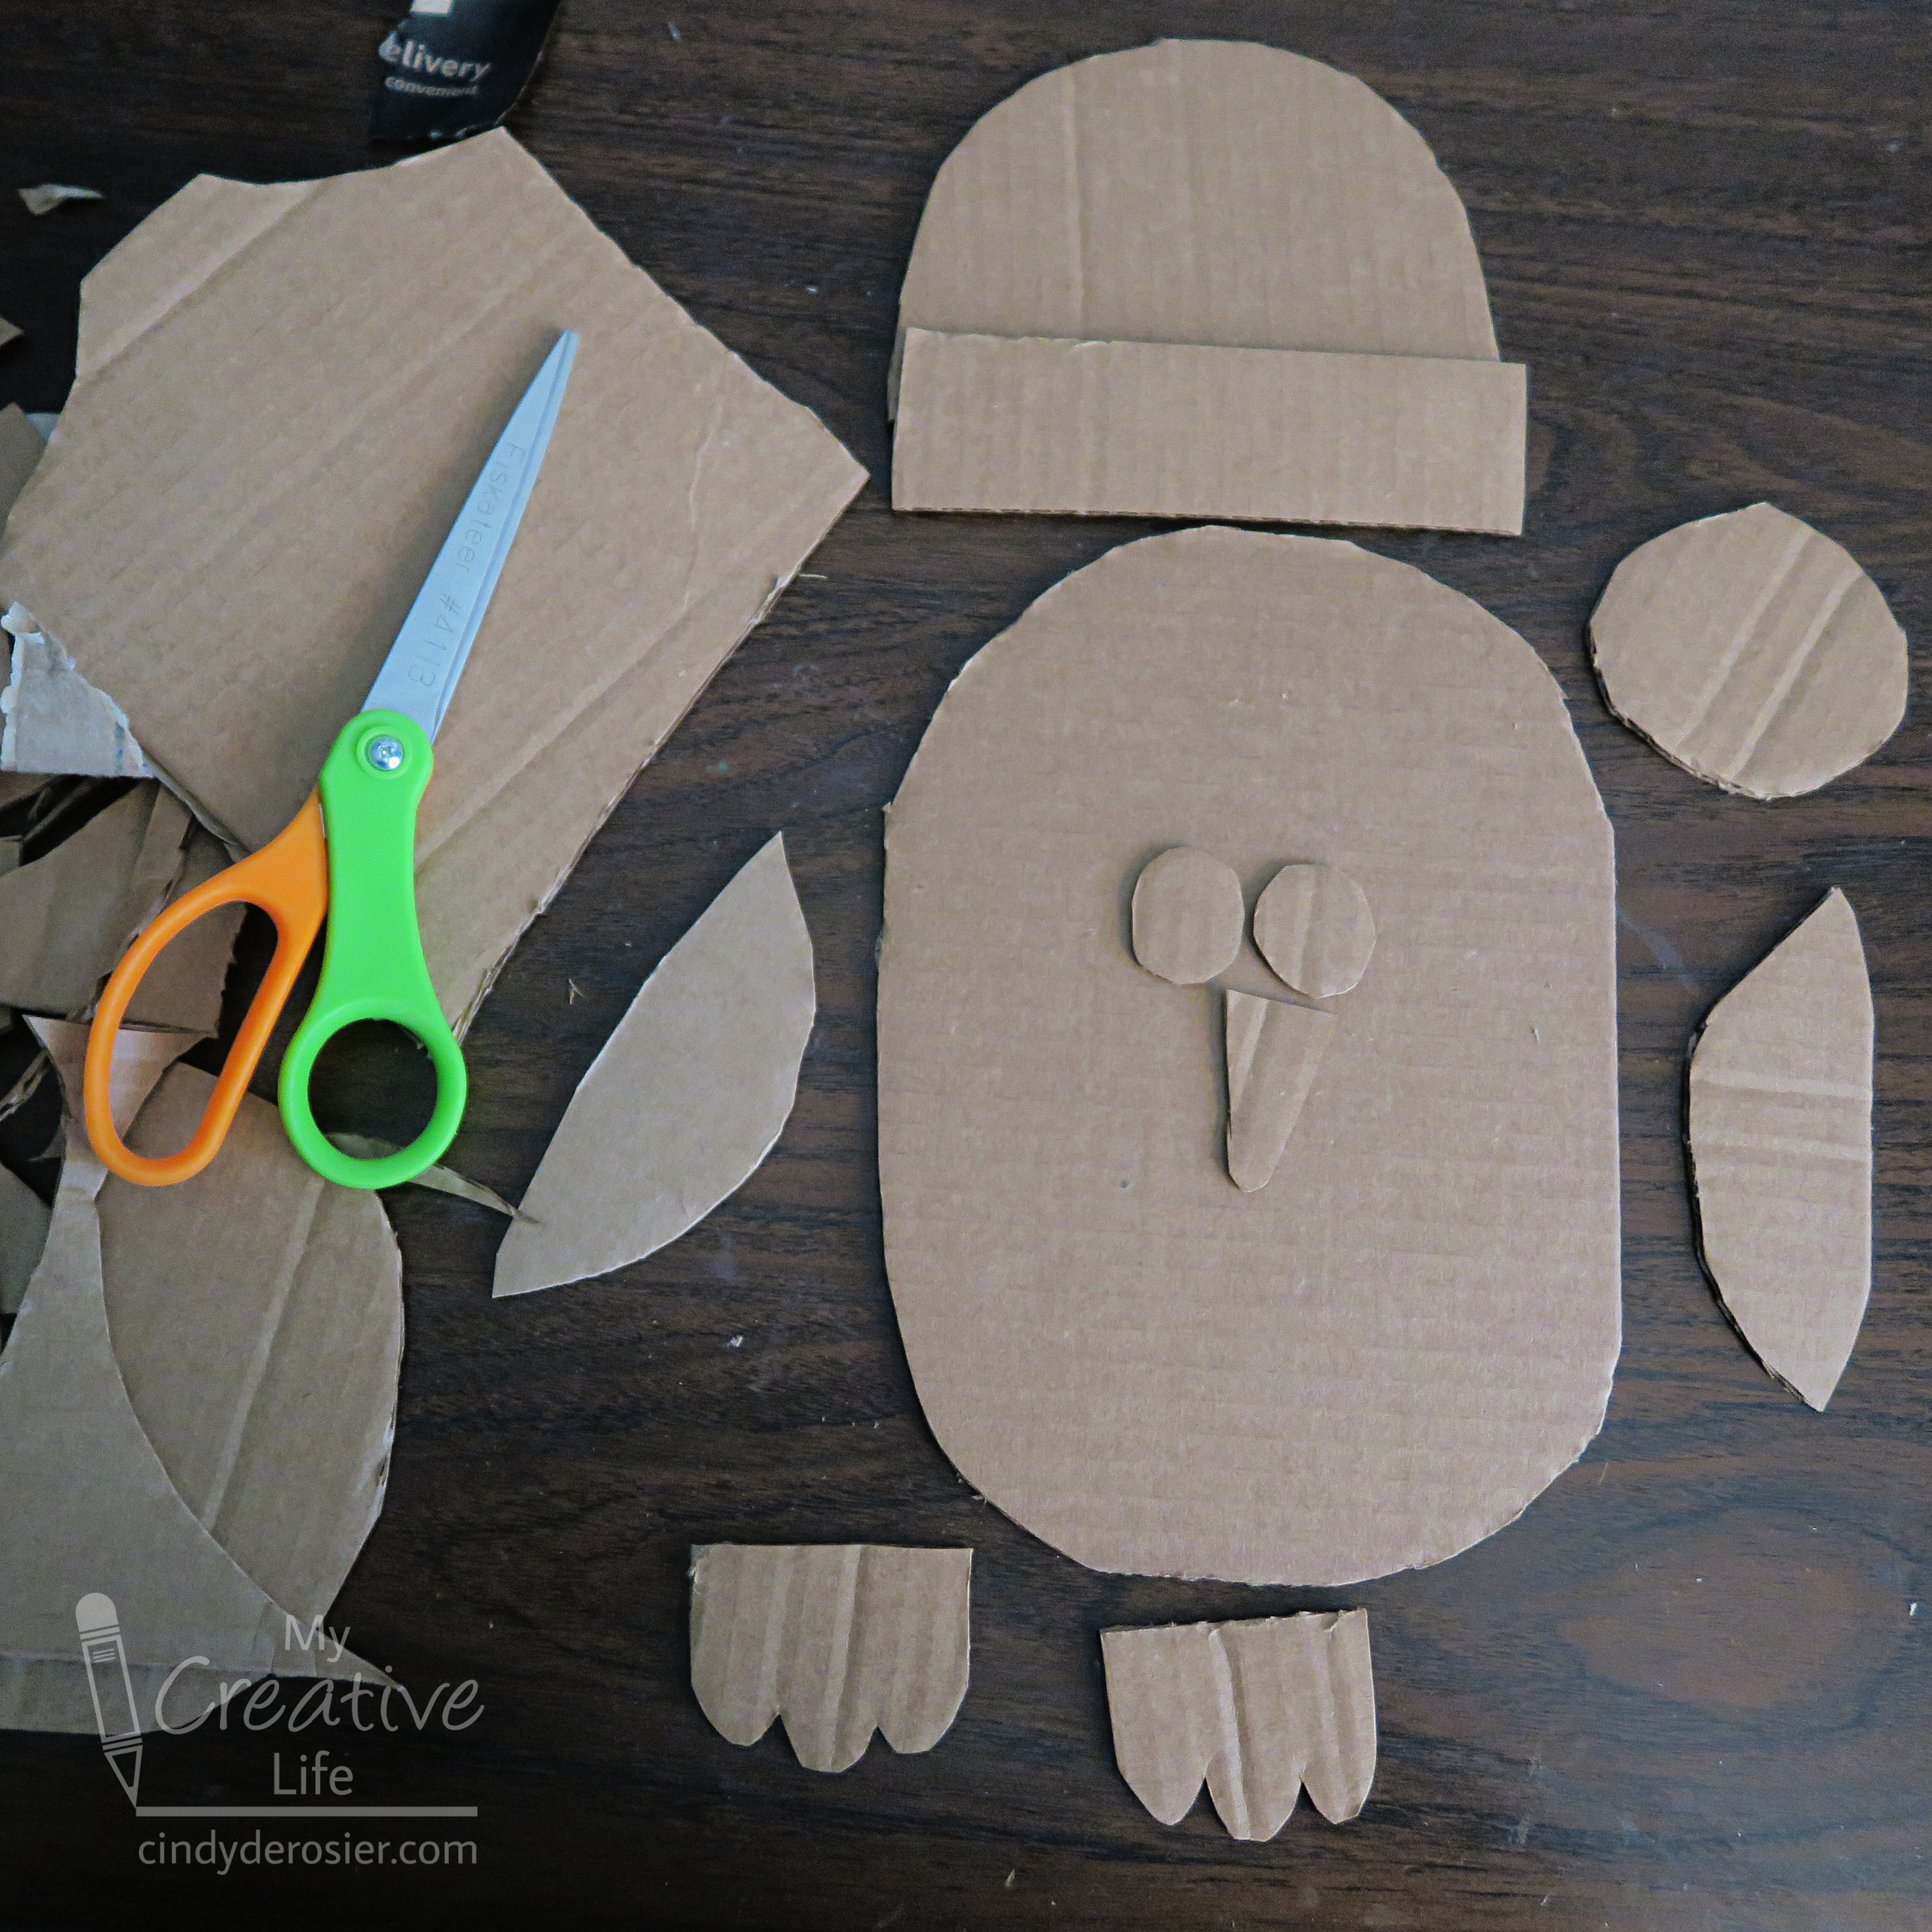
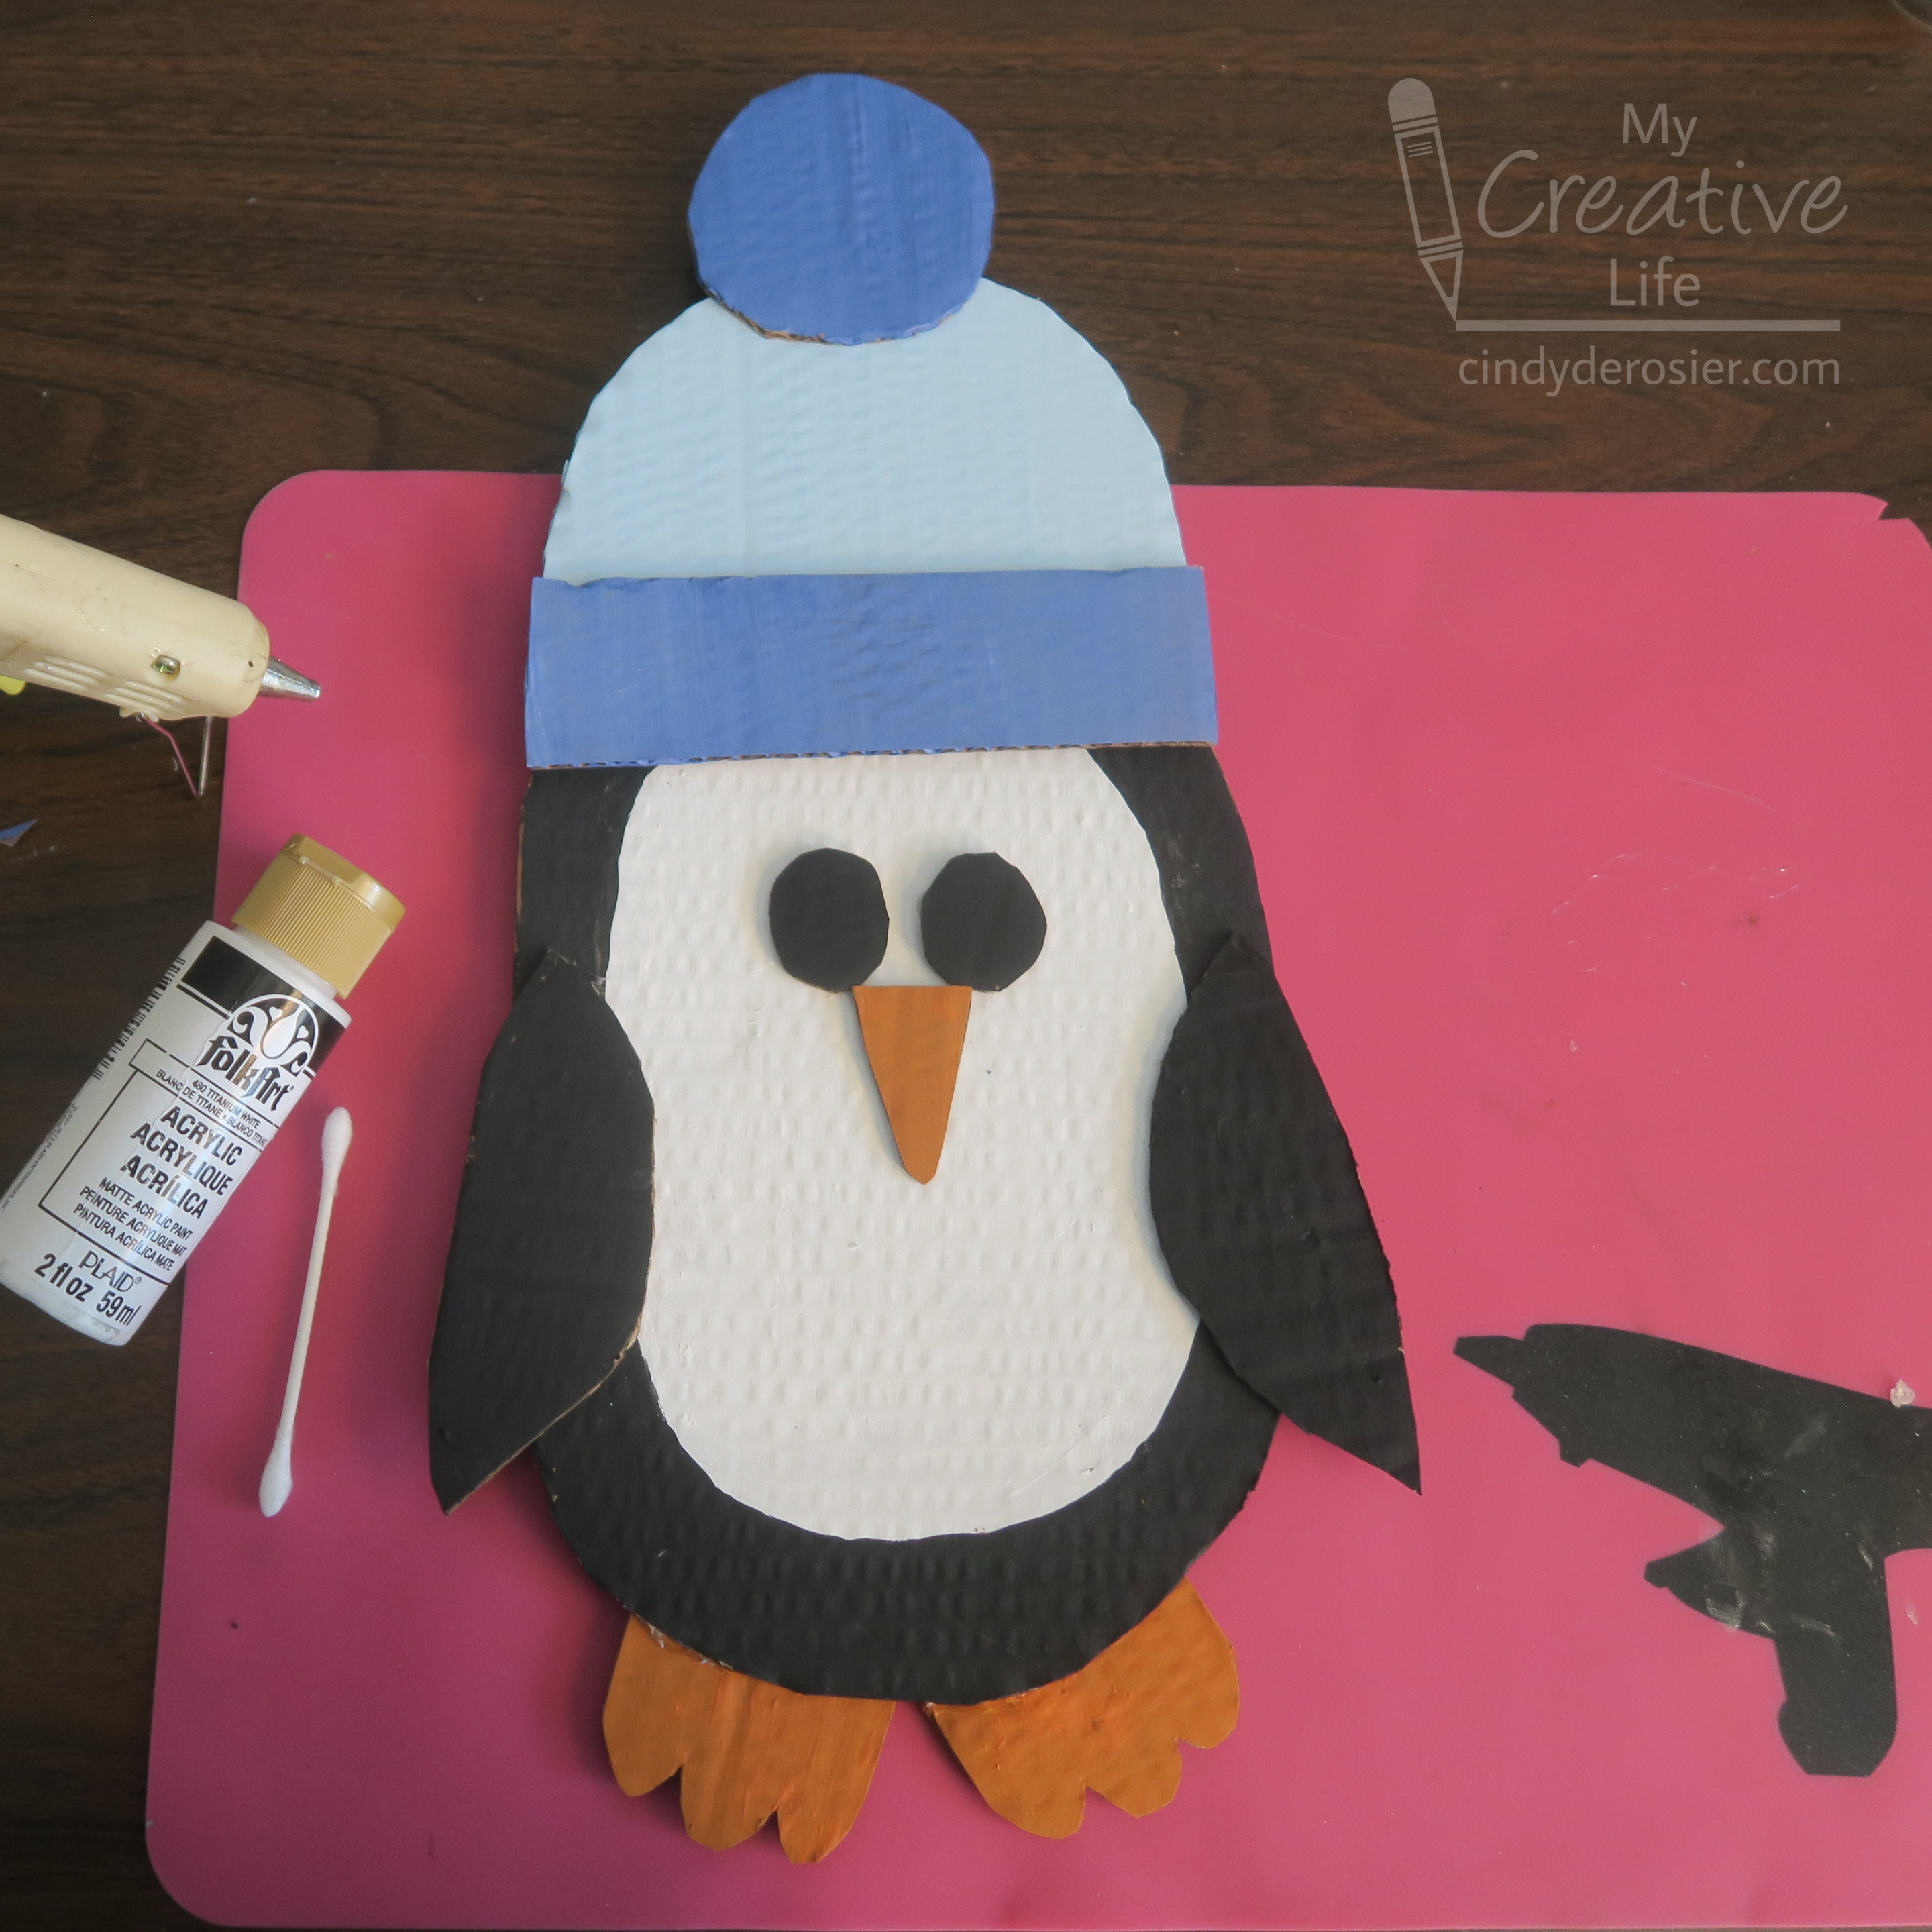
The answer? Not difficult at all! In no time, I had cut out an oval body, circular eyes, a triangular beak, a pair of wings, a pair of feet, a hat, the hat's trim, and the hat's pom-pom.  


I painted all the pieces with acrylic paint and let them dry. Incidentally, I thought it was really interesting how this thinner cardboard reacted to the paint. Look at the slightly lumpy texture. That didn't change when the paint dried. 


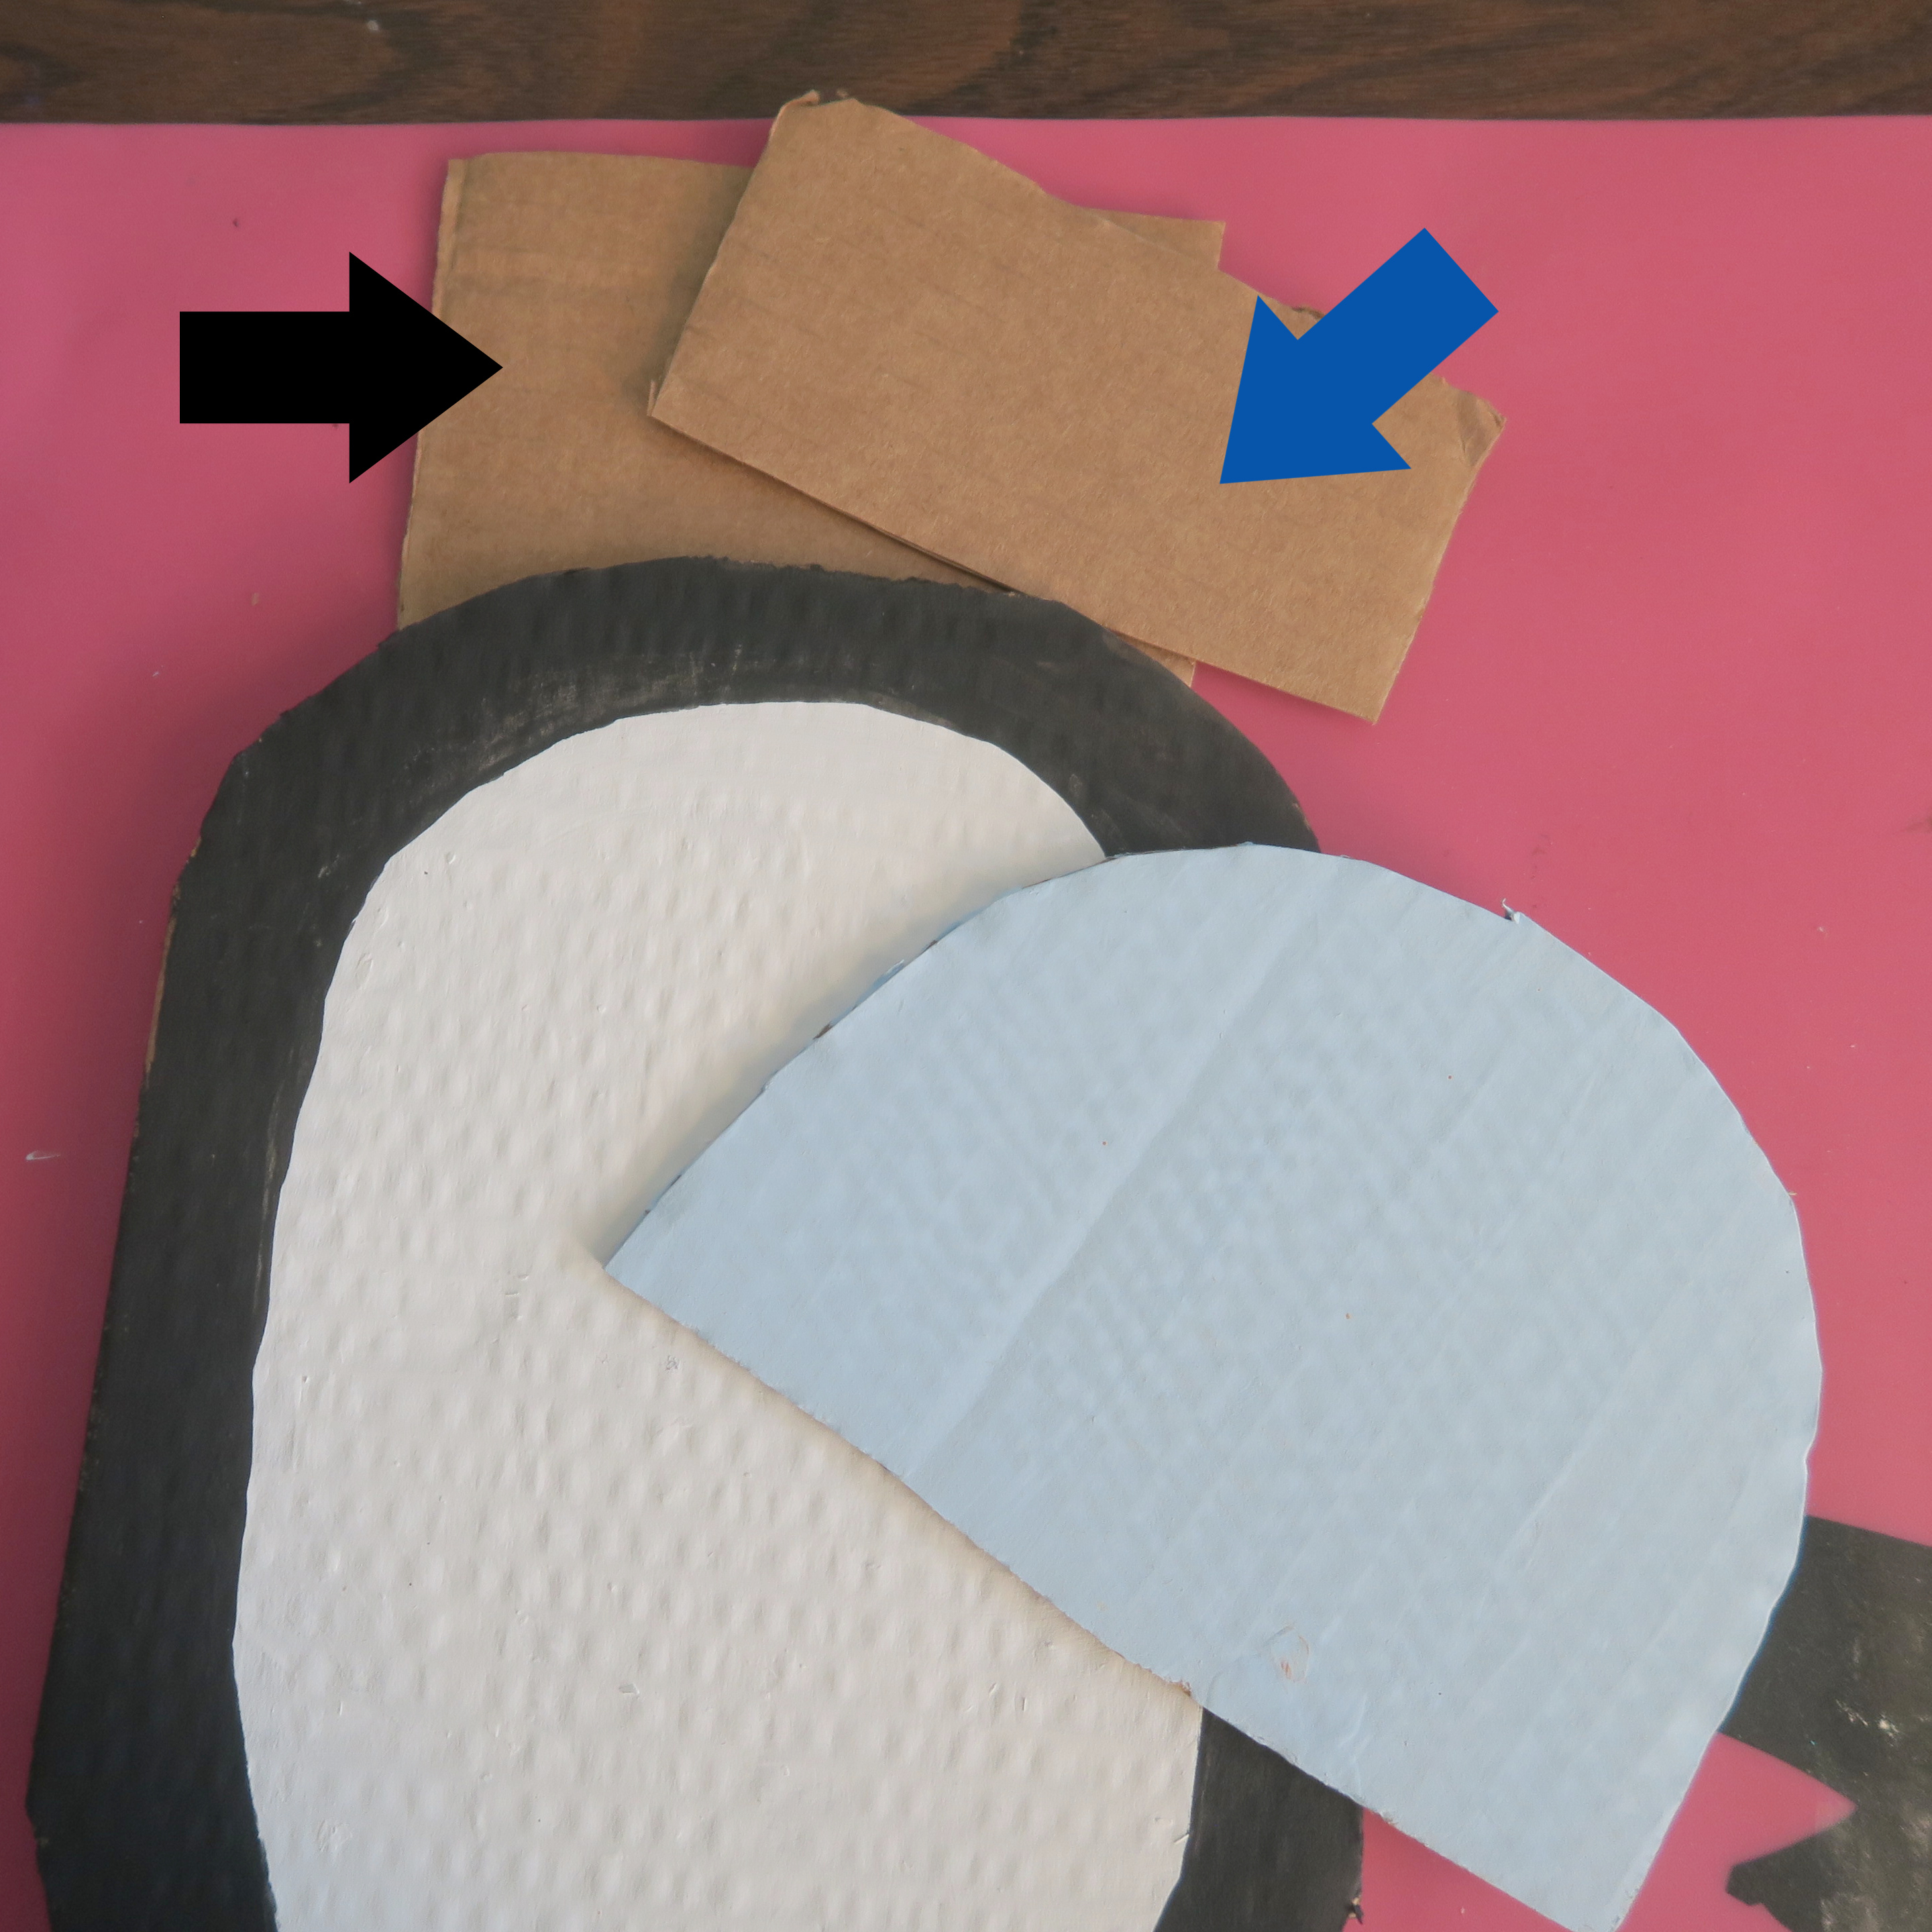
Before using the hot glue gun to assemble everything, I started by figuring out what my base layer would be. It's not the body - the feet are tucked behind the body. If I glued the feet to the body and then the hat and facial features on top of the body, the finished project wouldn't lay flat. I would need to prop up the gaps caused by the thickness of the cardboard. 

So I cut a piece of cardboard (marked by the black arrow below) that was slightly narrower than the penguin's body and positioned it so that it left room for the feet yet extended beyond the head. I glued it in place, then cut a second rectangle (blue arrow) to fill the gap created between the base and the hat.  

 
Here's how my penguin looked after I glued the rest of the pieces in place.  


And here's how it looked after I glued it to a robe-sized gift box. I plan to tuck a gift tag under his wing. 


I love that I repurposed the cardboard box that the gift came in to decorate the gift box I used to wrap it! The recipient can use the box again, giving the cardboard box an even longer life. 

12/8/22

Paper-Pieced Sloth Card

I love sloths. I've seen them at zoos, of course, but I've also seen them in the wild in Costa Rica. They're awesome and the subject of my sixth project in my series based on crowd-sourced responses to ten questions. 

Sloth tied with kangaroo and giraffe for "Name an interesting animal." Giraffe crafts are common; we have a bunch on Fun Family Crafts, four of which are mine. We don't have any sloth or kangaroo crafts, so I checked other places. I found that kangaroo crafts are easier to find than sloth crafts, so I went with the sloth. 


Paper-Pieced Sloth Card


Materials:

  • cardstock or construction paper (white, blue, green, black, tans and browns)
  • scissors
  • glue

Steps: 


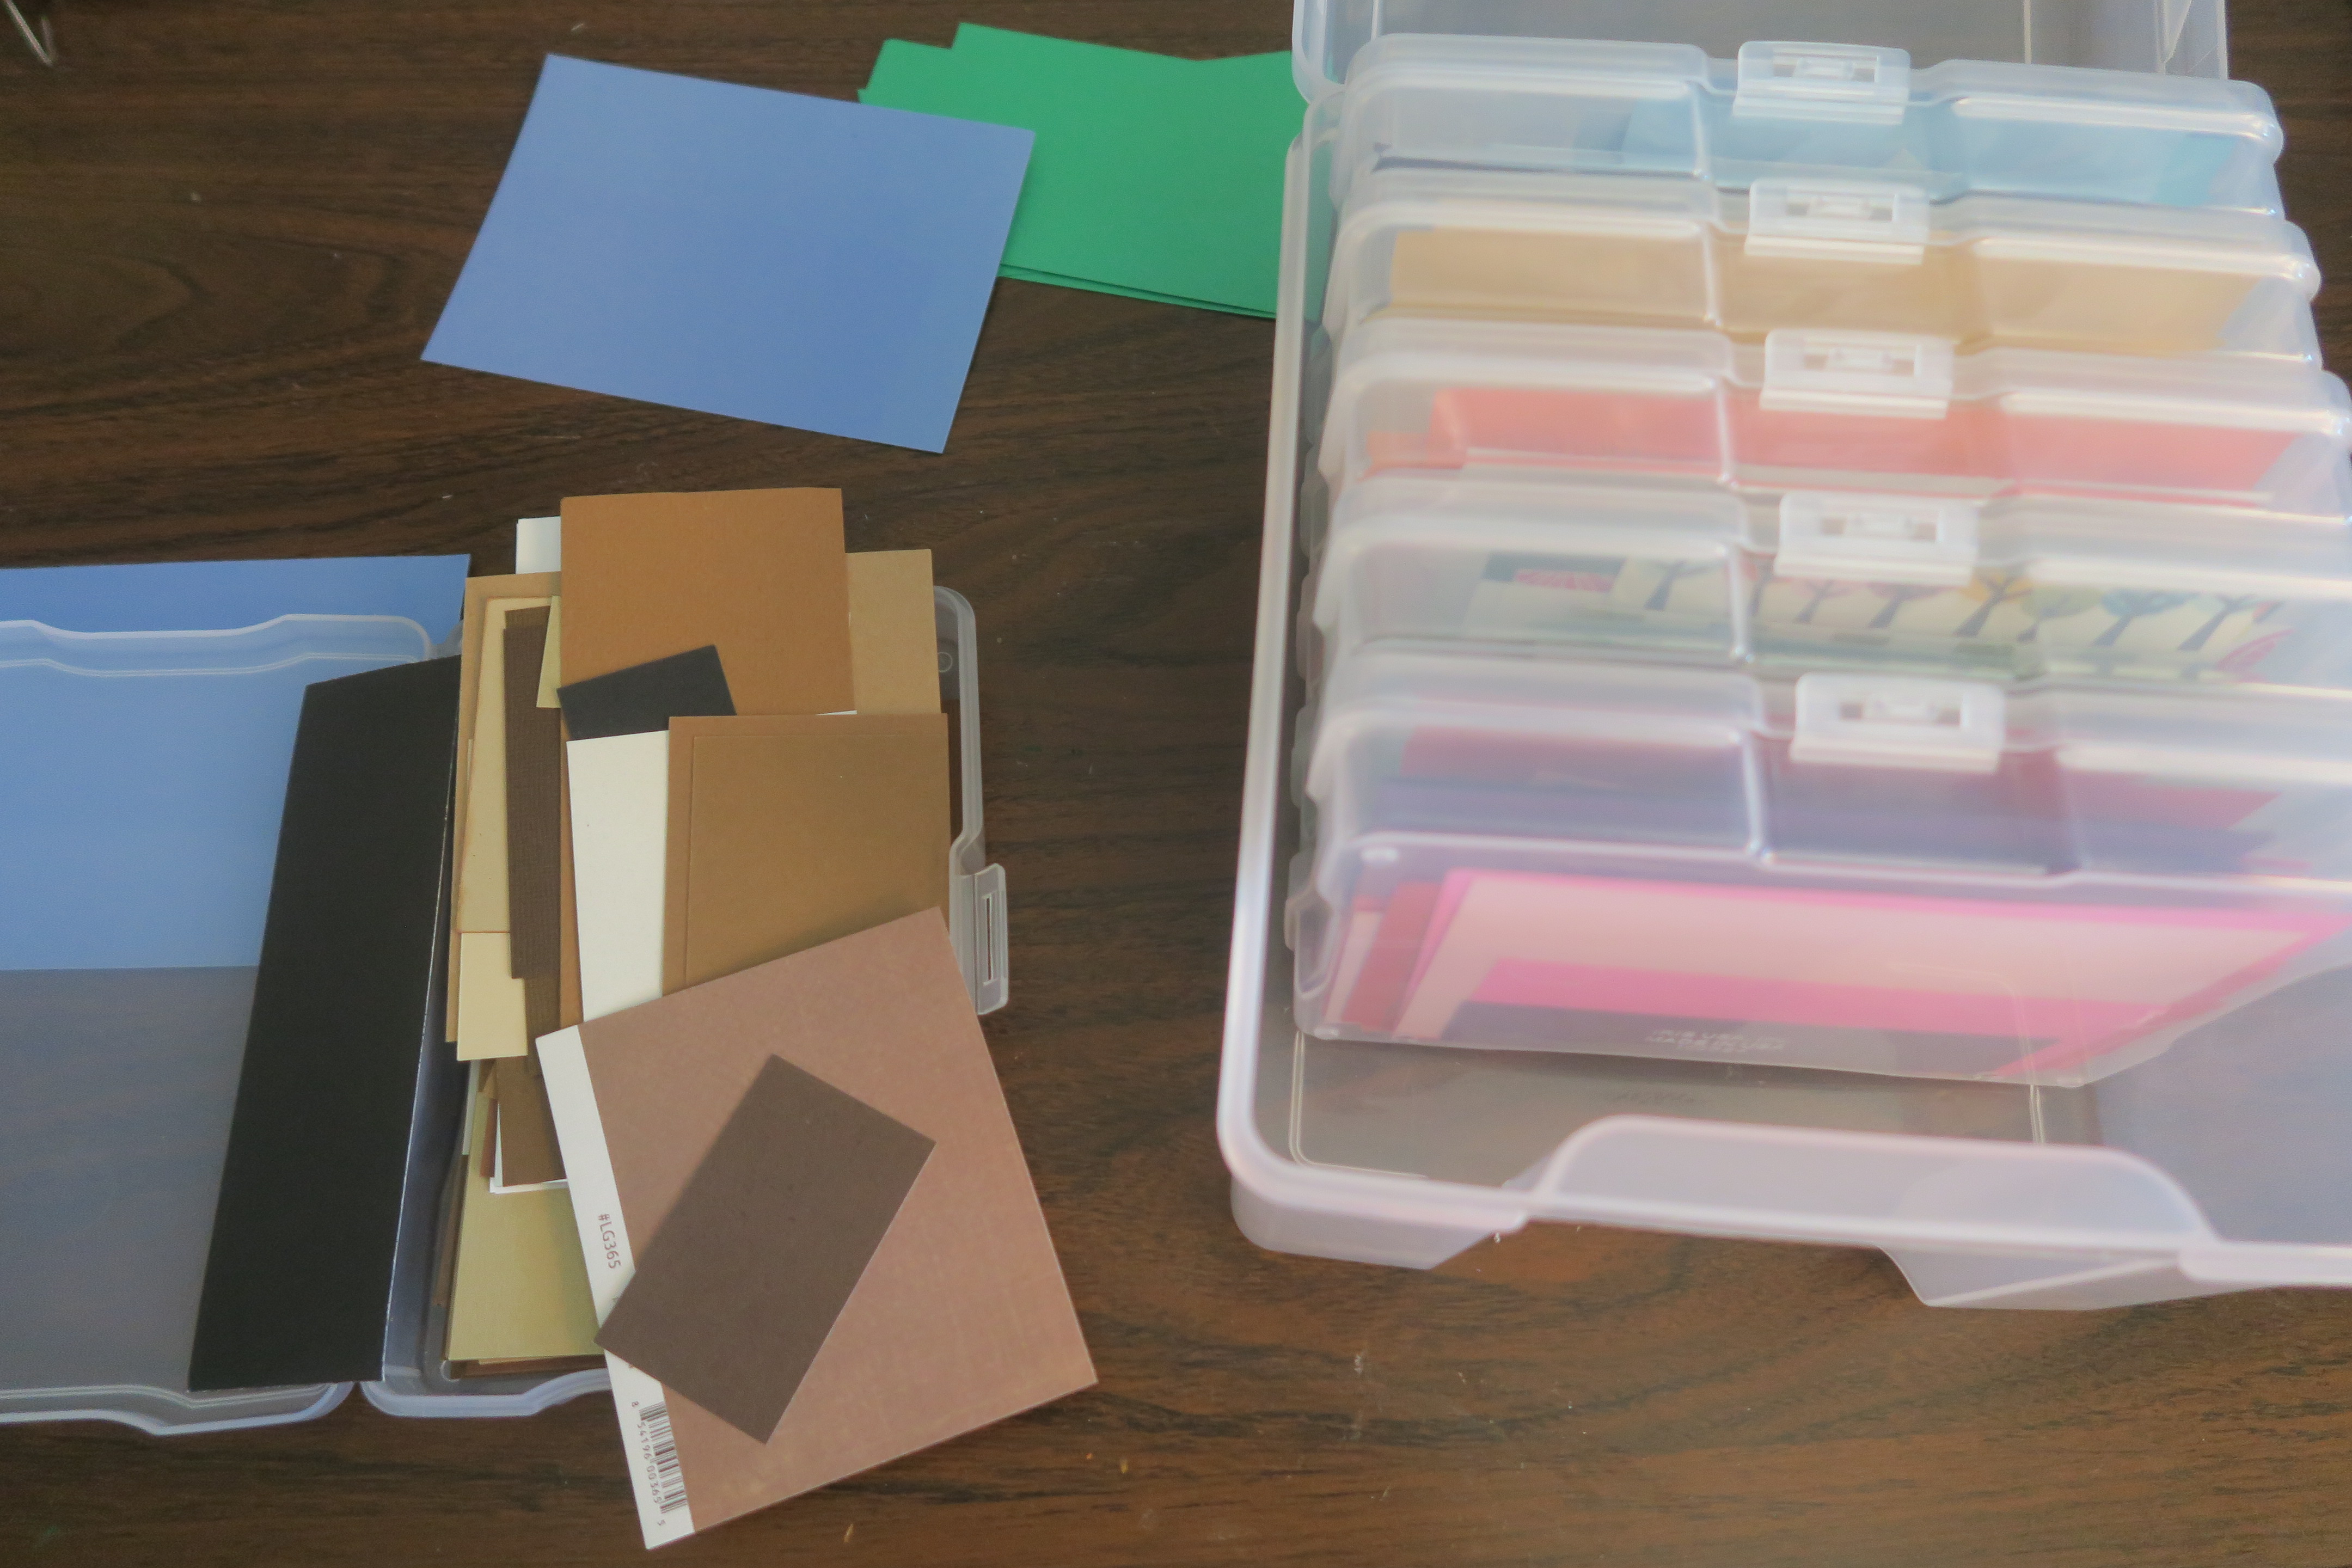
I started by making a white card base, then set it aside. I cut blue cardstock to make the card front, then went through my scraps to find green for the leaves and different browns and creams for the sloth and the branch. 


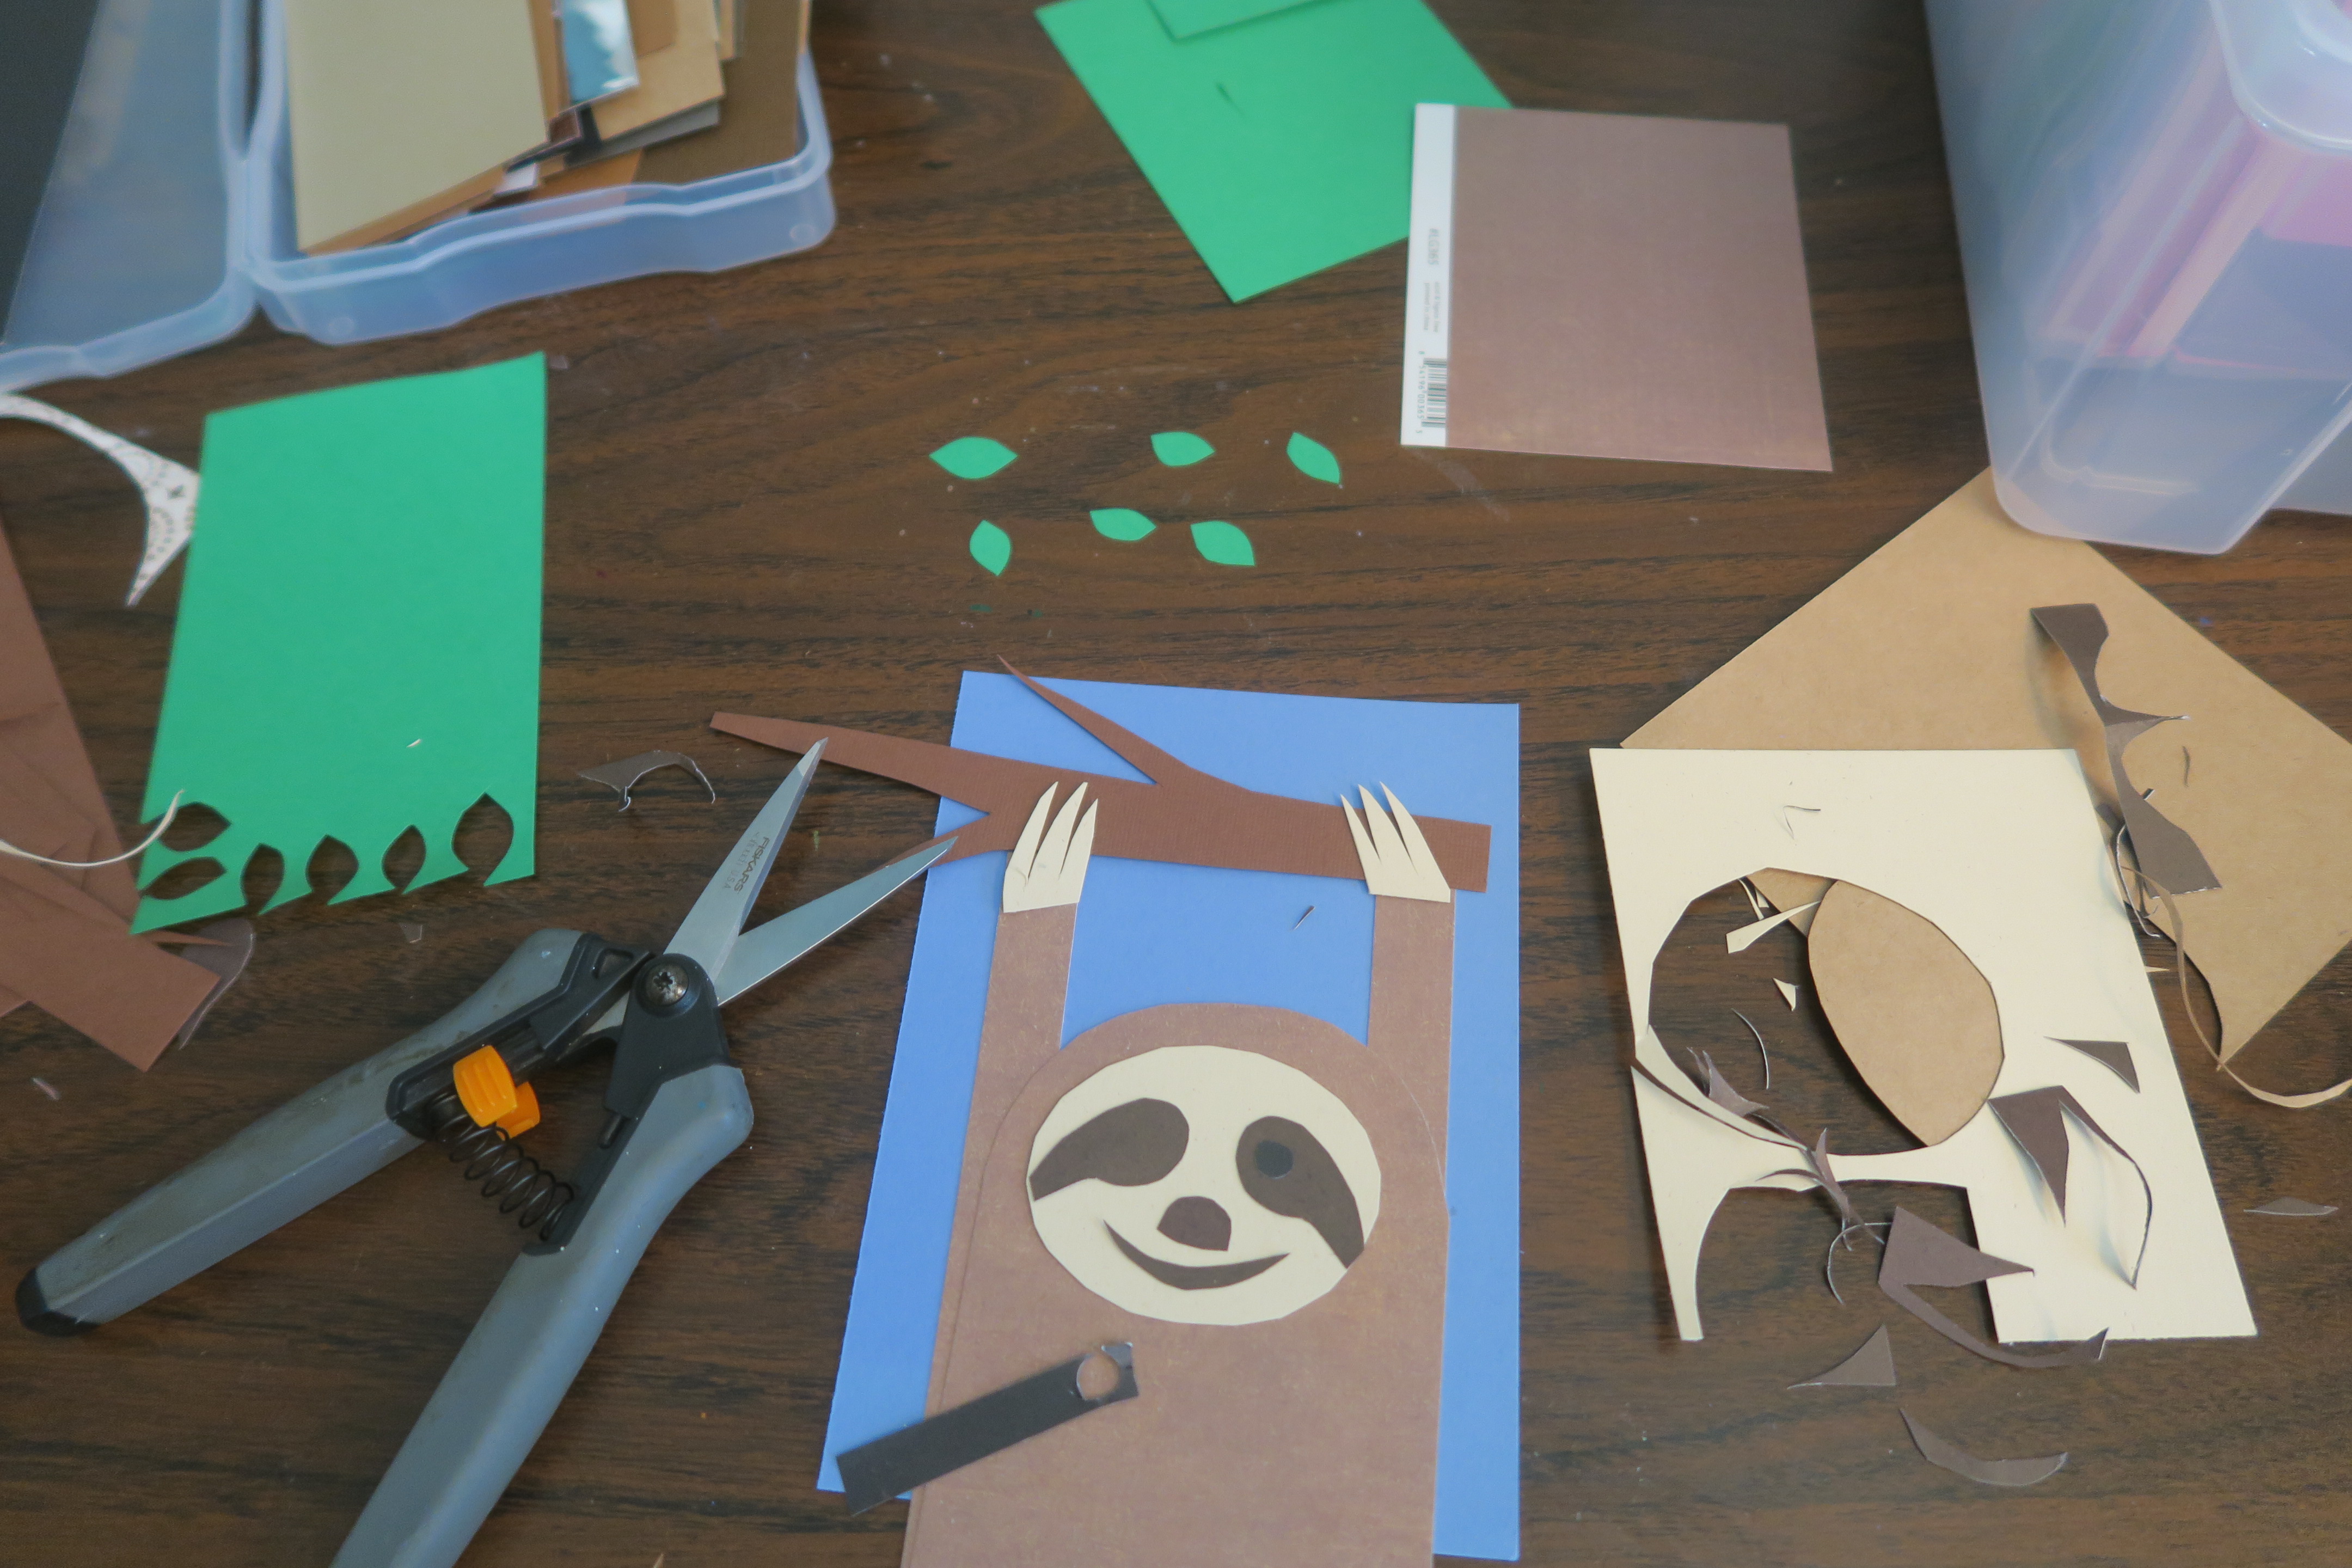
I picked a medium brown rectangle and cut two thin rectangles off the long side for the arms. I rounded off one end of the remaining piece to make the sloth's head. Then I chose a darker brown and cut a branch. I cut out some green leaves, then tackled the sloth's claws (3 on each arm).


I used these National Geographic photos (specifically #4) for my reference. Following the photo, I cut a cream-colored face, then comma-shaped eye markings, a nose, and a mouth from dark brown. I added black eyes.


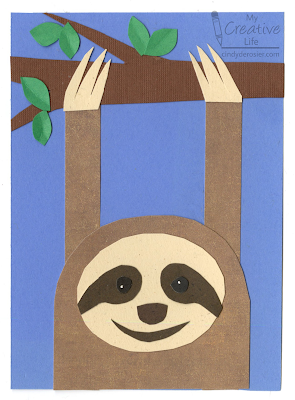
Once everything was cut, it was time to assemble. I glued all the face pieces in place, then used a white gel pen to add tiny catchlights to the eyes. I glued the face to the body, then moved the body out of the way so that I could glue the tree, arms, and claws. Then I added the body. I trimmed off the excess that hung off the edges, then folded the leaves in half to give them dimension and glued them to the branch. Finally, I glued the card front to the base. 


I haven't added a sentiment to my card yet, but there are lots of possibilities. Send a "Hang in there" card to someone who is struggling, or a "Sorry I was so slow..." card for a belated birthday. Anyone would appreciate "Keep Smiling." For someone who is working toward a goal, remind them that "Great things take time."