Showing posts with label caterpillar. Show all posts

8/31/23

Very Hungry Caterpillar Card Using Souvenirs from Massachusetts

I don't usually buy souvenirs when we travel. Steve buys pins, and Trevor buys decks of cards, flags, and pressed pennies. Although it is really rare for me to buy something, I couldn't resist doing a little shopping when we visited The Carle in June. 

I used my goodies to make this card for a baby shower:   
 

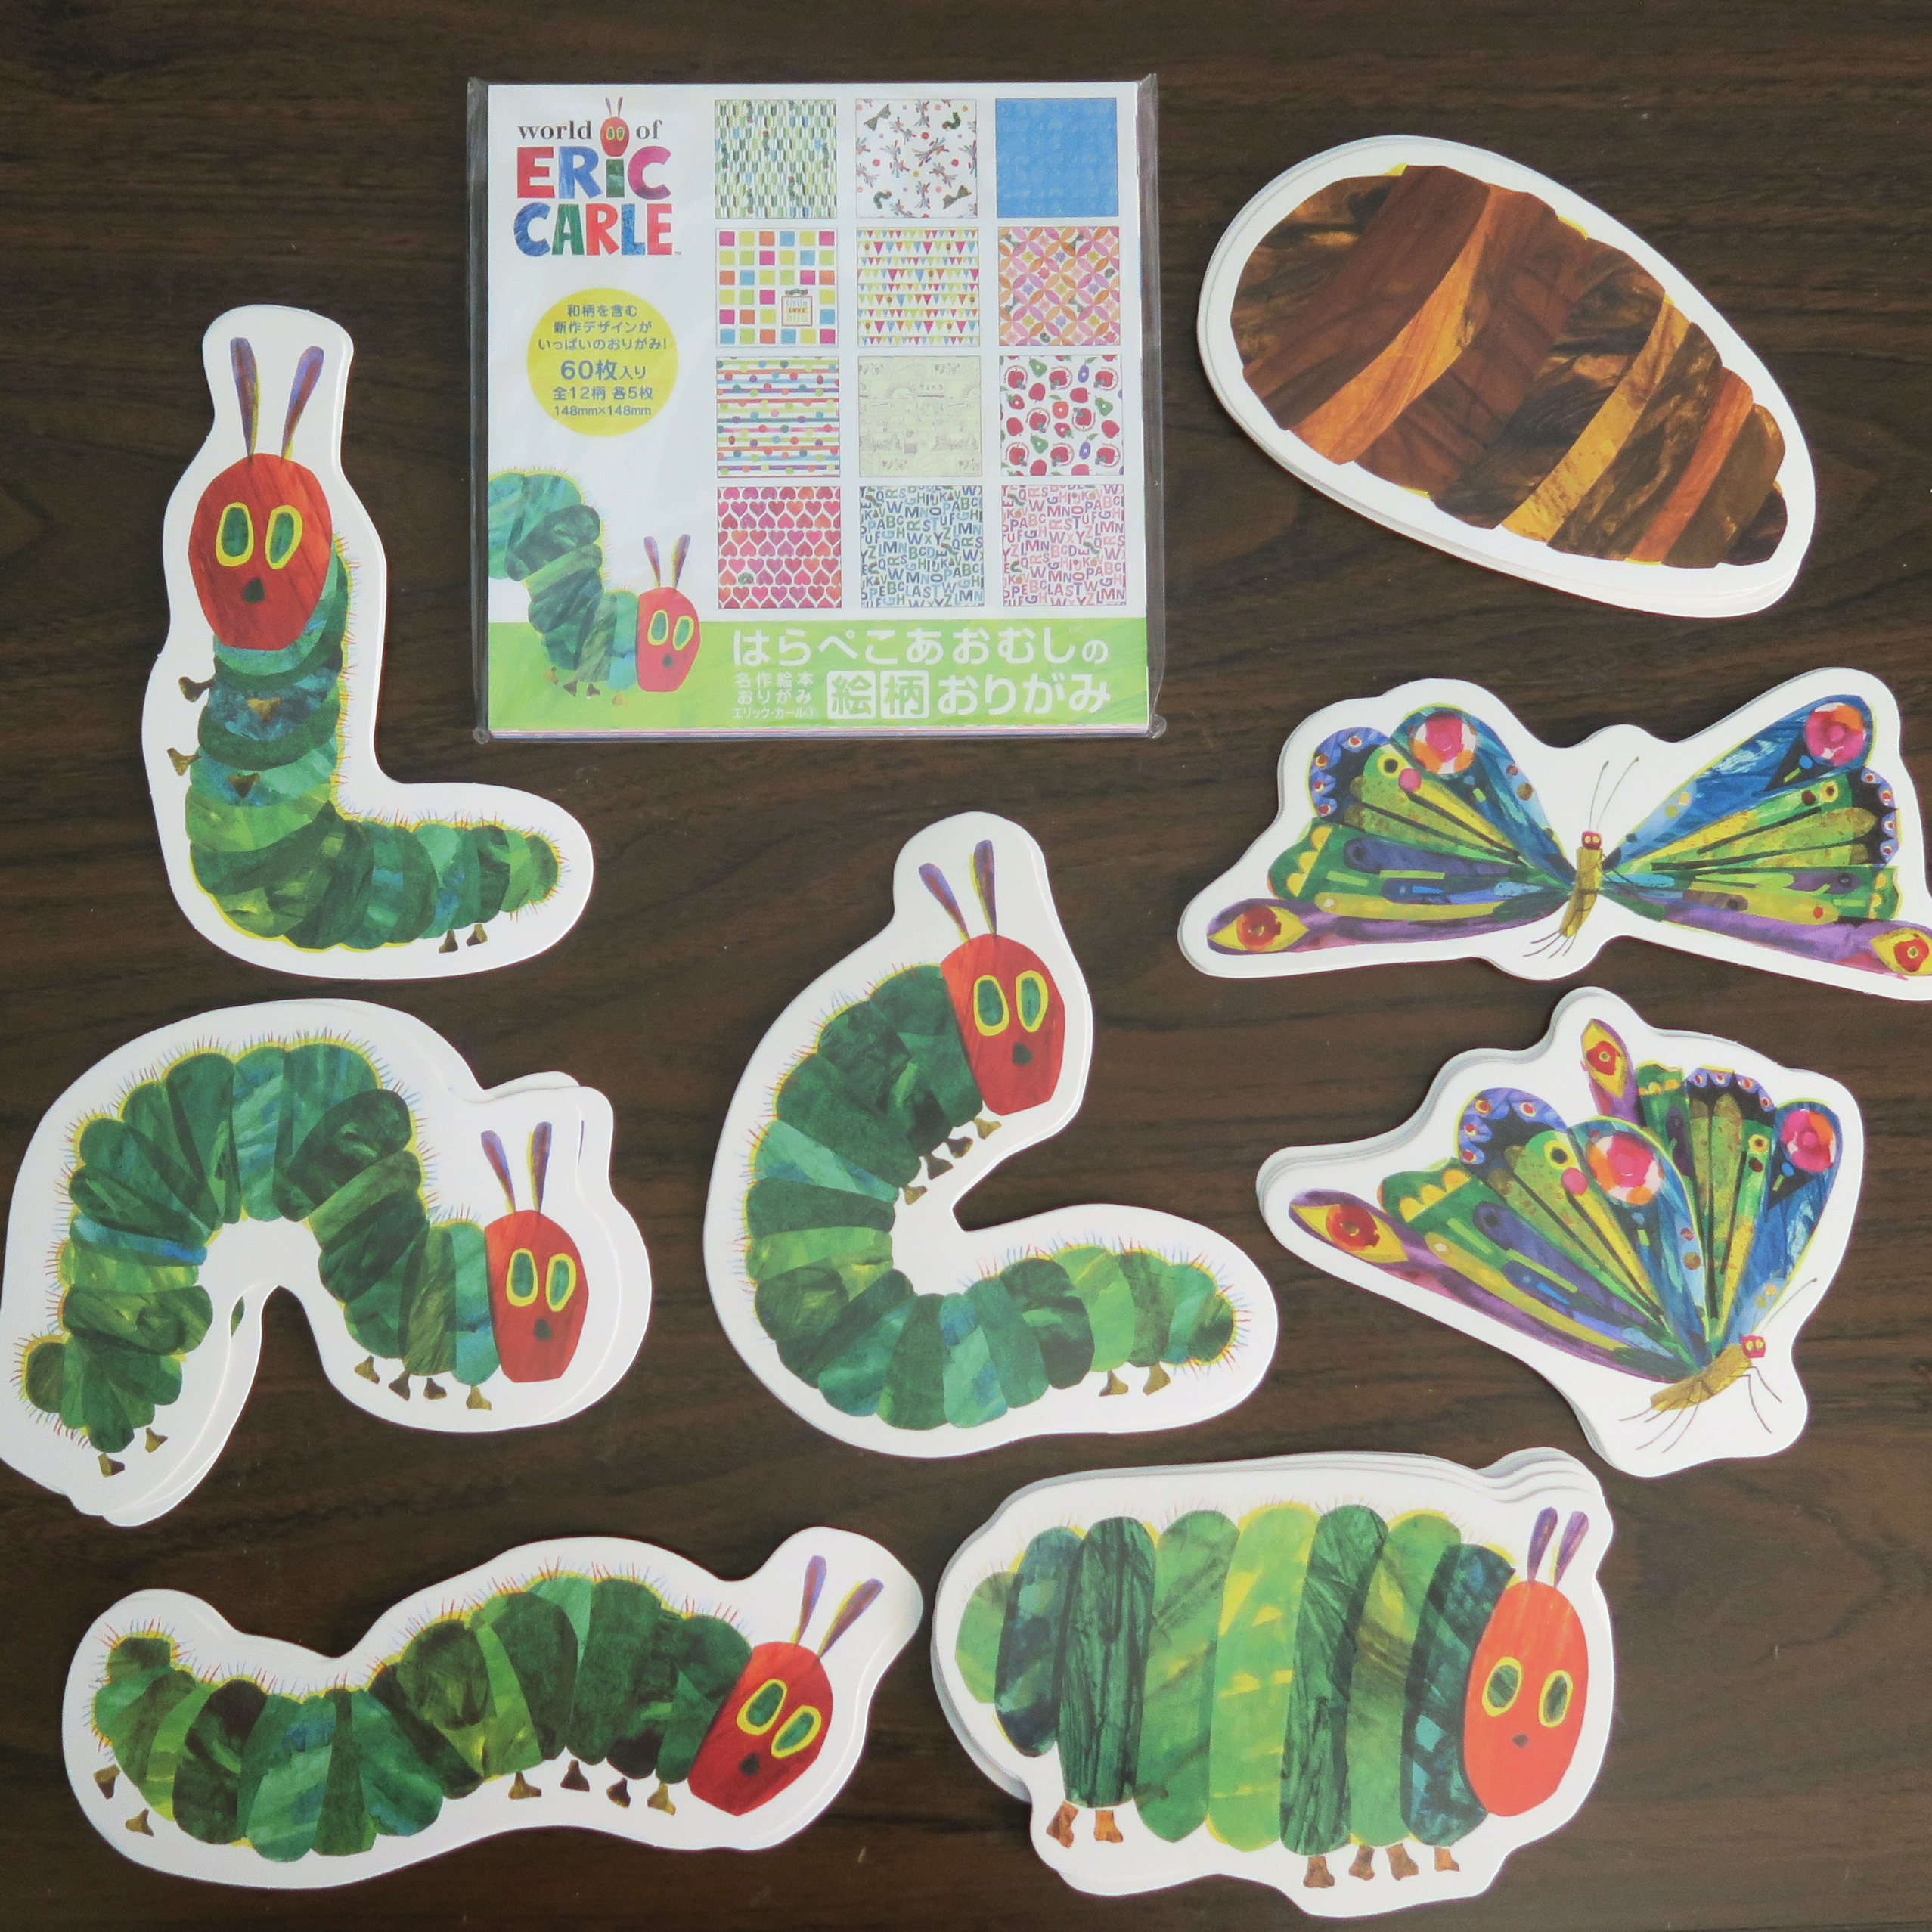
I got a super cute pack of Eric Carle origami paper, plus a pack of Very Hungry Caterpillar die-cuts (affiliate link here and below). 


I made a card base using the white cardstock I now use for everything, trimmed a sheet of origami paper to fit, then added the caterpillar. I chose the one who is just about to make his chrysalis to symbolize that the baby is almost here. I thought about using the chrysalis itself, but it didn't make a very cute card. So I went with the caterpillar.

This was probably the easiest card I've ever made, but I think it's really cute. Best of all, the parents-to-be liked it. 


5/16/23

Egg Carton Very Hungry Caterpillar

I'm certainly not the first to turn an egg carton into the Very Hungry Caterpillar, but I used a technique to paint it that I haven't seen before. I'm such a huge fan of Eric Carle and I love how my caterpillar turned out! 


Egg Carton Very Hungry Caterpillar


Materials:

  • egg carton (paper, not foam)
  • scissors
  • acrylic paint - 2+ shades of green, 2+ shades of red, yellow, violet 
  • plastic wrap
  • tacky glue

Steps: 

Start by cutting apart your egg carton so that you have a 6-humped caterpillar. I checked both a 12- and 18-egg carton to see if one would be better than the other, but they were the same for this brand. Cutting is the most difficult part of this project by far. Adults should do this step ahead of time for young children. 

Use the egg carton lid to cut out two antennae, two oval eyes, and a round nose. 


Use a single shade of green and a single shade of red to paint a base coat on the caterpillar. The goal is to completely cover the egg carton so the color and writing don't show through. 

Paint the antennae violet, the eyes yellow, and the nose green. Let the paint dry completely. 

Add green pupils to the eyes and set them aside to dry. 

Use a piece of plastic wrap to cover the red head completely to protect it while you paint the body. On a second piece of plastic wrap, dot the different shades of green onto the plastic wrap, then use it to smoosh paint against the green parts of the egg carton. You'll get mottled color that mimics the look of Eric Carle's painted tissue paper.   


Let the mottled green paint dry, then wrap the green with plastic wrap to protect it. Add multiple shades of red paint to another piece of plastic wrap and dab it on the head. 

When the paint is completely dry, glue the antennae, eyes, and nose in place. 


This was so much fun to make! I have it sitting with my Very Hungry Caterpillar pencil, which totally makes me want to create more things inspired by Eric Carle. Soon, I hope!


4/5/23

Monarch Caterpillar Craft

Sharing the photo of Eric Carle's messy studio got me thinking about the Very Hungry Caterpillar, which in turn got me thinking about actual caterpillars. There are tons of butterfly crafts (here are six of mine) but with the exception of the Very Hungry version, there are not a lot of caterpillar crafts. Since the monarch caterpillar is distinctive, beautiful, AND the larval form of the state insect of 7 states (Alabama, Idaho, Illinois, Minnesota, Texas, Vermont, and West Virginia), it was the perfect choice. 


I chose to use yellow and white paint on black cardstock for my monarch caterpillar. If you use black and yellow paint on white cardstock, you'll get better coverage. If you want to avoid paint altogether, just cut the stripes from the appropriate colors of cardstock or construction paper. 


Monarch Caterpillar Craft


Materials:

  • cardstock or construction paper
  • paint and black pen (optional)
  • scissors
  • glue

Steps:

Cut out the following caterpillar body parts from cardstock or construction paper: 1 oblong body (slimmer than the one below- I trimmed mine later), two large tentacles (filaments) and two smaller ones, four prolegs, and three true legs. Insects, including caterpillars, have six legs but only three will show on each side. 


Paint white stripes onto the caterpillar's body. At this time, add a circle of white onto each proleg. If you are using paper instead, cut strips for the body and circles for the prolegs and glue them in place. 


When the paint has dried, paint every other white stripe yellow. (Or, glue strips of yellow in place.) Let the paint dry, then use the pen to draw black lines on either side of each yellow stripe. At this point, I realized my caterpillar came out a bit more plump than the real thing, so I trimmed it. 

Glue the tentacles, prolegs, and legs into place.  


Indulge me in a brief soapbox moment regarding monarch caterpillars. You may have pleasant memories of raising monarchs as a kid. It is fascinating to see them go through their life cycle and it feels amazing to release them into the wild. This used to be a fairly common practice in elementary classrooms, but captive rearing is now thought to be harmful. Those who care about the future of monarchs should focus on efforts to protect their breeding and overwintering territories. Our kids' kids and their kids deserve to have a world filled with monarchs, too.  


4/8/16

Very Hungry Caterpillar Pencil

Who loves Eric Carle? Everyone, that's who! I love all of his books, but like most people, my favorite is The Very Hungry Caterpillar. In fact, that was the theme for Trevor's 1st birthday party! I had so much fun designing and making the cake way back when. This Very Hungry Caterpillar Pencil would have been such a fun party favor. Too bad I thought of it nine years too late.


The inspiration for this project came from Easy Foam Crafts (affiliate link here and below). The project in the book is the Inch Worm Pencil. I made a few tweaks to the directions to turn it into a Very Hungry Caterpillar Pencil.


-------

Very Hungry Caterpillar Pencil


Materials: 


Steps: 


Begin by cutting the green foam into a long, narrow strip. Mine is around 9" x 1", but it's certainly not exact. Round off the corners, then use the hole punch (I used my Crop-a-Dile) to punch holes. Once again, it's obvious I didn't measure. Close enough! Cut the green scraps to make a roughly gumdrop-shaped nose and two oval inner eyes. Cut two oval outer eyes from yellow, then two antenna from purple.


Thread the green body piece onto the pencil, leaving the writing end free. 


Fold the end of the body over and glue it to the top of the pencil. (Skip this step if you want the eraser to be accessible. I used a color pencil without an eraser.) Glue the head in place. Add the eyes, nose and antenna.


I'm really happy with how my caterpillar looks. I might need to make some foam foods for him to enjoy....

9/16/13

Mini Ball Pan Attempt #1: Caterpillar Cake

Time to share our first adventures with the present I bought myself a few weeks ago! We FINALLY finished eating our zucchini cookies and zucchini cobbler, so I could justify making another dessert. I washed my new pan, greased it, made my batter, and consulted the directions that came with the pan to see how much batter to put in each cavity. The directions said to "put 2/3 cup batter into each cavity (about 2/3 full)." As I got out a 2/3 c. measuring cup, Steve commented that he couldn't believe I was actually going to measure. I almost never measure anything, so it was indeed worth noting. I filled the 2/3 cup with batter and started to pour it in the pan. It was immediately apparent that something was hideously wrong. There was no way 2/3 c. of batter was going to fit. Even 1/3 c. was too much. I double-, triple-, and quadruple-checked the instructions. I didn't read it wrong - it definitely said 2/3 cup. I checked the Wilton directions online and they said 2/3 c. too. I filled each with about 1/4 cup and popped them in the oven. This is what came out:


Clearly, 1/4 c. of batter was too much. OK, good to know for next time.  

We used a serrated knife to level off the bottoms, then arranged the cupcakes on plates. Trevor had requested that we make caterpillars, so that's exactly what we did. We used a star tip to apply green frosting, then added candy eyeballs, pretzel antennae, a red licorice smile, and grape licorice feet (affiliate links). 

By the way, we actually researched caterpillars to learn how many legs they have. We learned that they have 6 true legs (which they keep in adulthood as butterflies or moths) and up to five pairs of prolegs. These false legs help them move and cling to plants. Never let anyone tell you that cake decorating isn't educational.

Here's Trevor's caterpillar:  

 
Here's mine. Trevor took the picture and he kept telling me to get lower and lower until I was laying on the table like this.  

 
Here's a close-up of Trevor's caterpillar. "Hello!"


I made WAY too much green frosting, so expect a different green cupcake project from us in the near future.
