Showing posts with label Jelly Belly. Show all posts

1/10/23

Jelly Belly Factory Tour and Museum in Fairfield, California

Yesterday, I told you about our 12-hour trip to nowhere on Christmas Day, thanks to the Southwest Airlines meltdown. Did we end up flying to Little Rock on Thursday, December 29, as (re)scheduled? Nope. Long story short, that flight was canceled on Tuesday. We checked every possible airline to see if we could find a different way to get to Little Rock or to the next city on the itinerary. Nope and nope. There were very few flights to be found and those that were listed were as high as $8500. Per person. Basic economy. The cheapest we found would put us an 8-hour drive from where we needed to be for $1800 each (basic economy, non-refundable), a day later than we needed to be there. Um, no. We made the decision to cancel the entire trip. 

What do you do when you're a travel blogger who is supposed to be exploring museums and other interesting sites 2000 miles away but you are unexpectedly at home with a bunch of free time? You visit awesome places close to home. First up, one of my very favorites: the Jelly Belly Factory Tour and Museum. Because I blog about educational travel, our family received comped admission during this visit.


We live about three miles from the Jelly Belly Factory and it's completely awesome, so I've been there many times. We always take out-of-town guests there, plus we pop over every once in a while to see what's new. There's always something! 

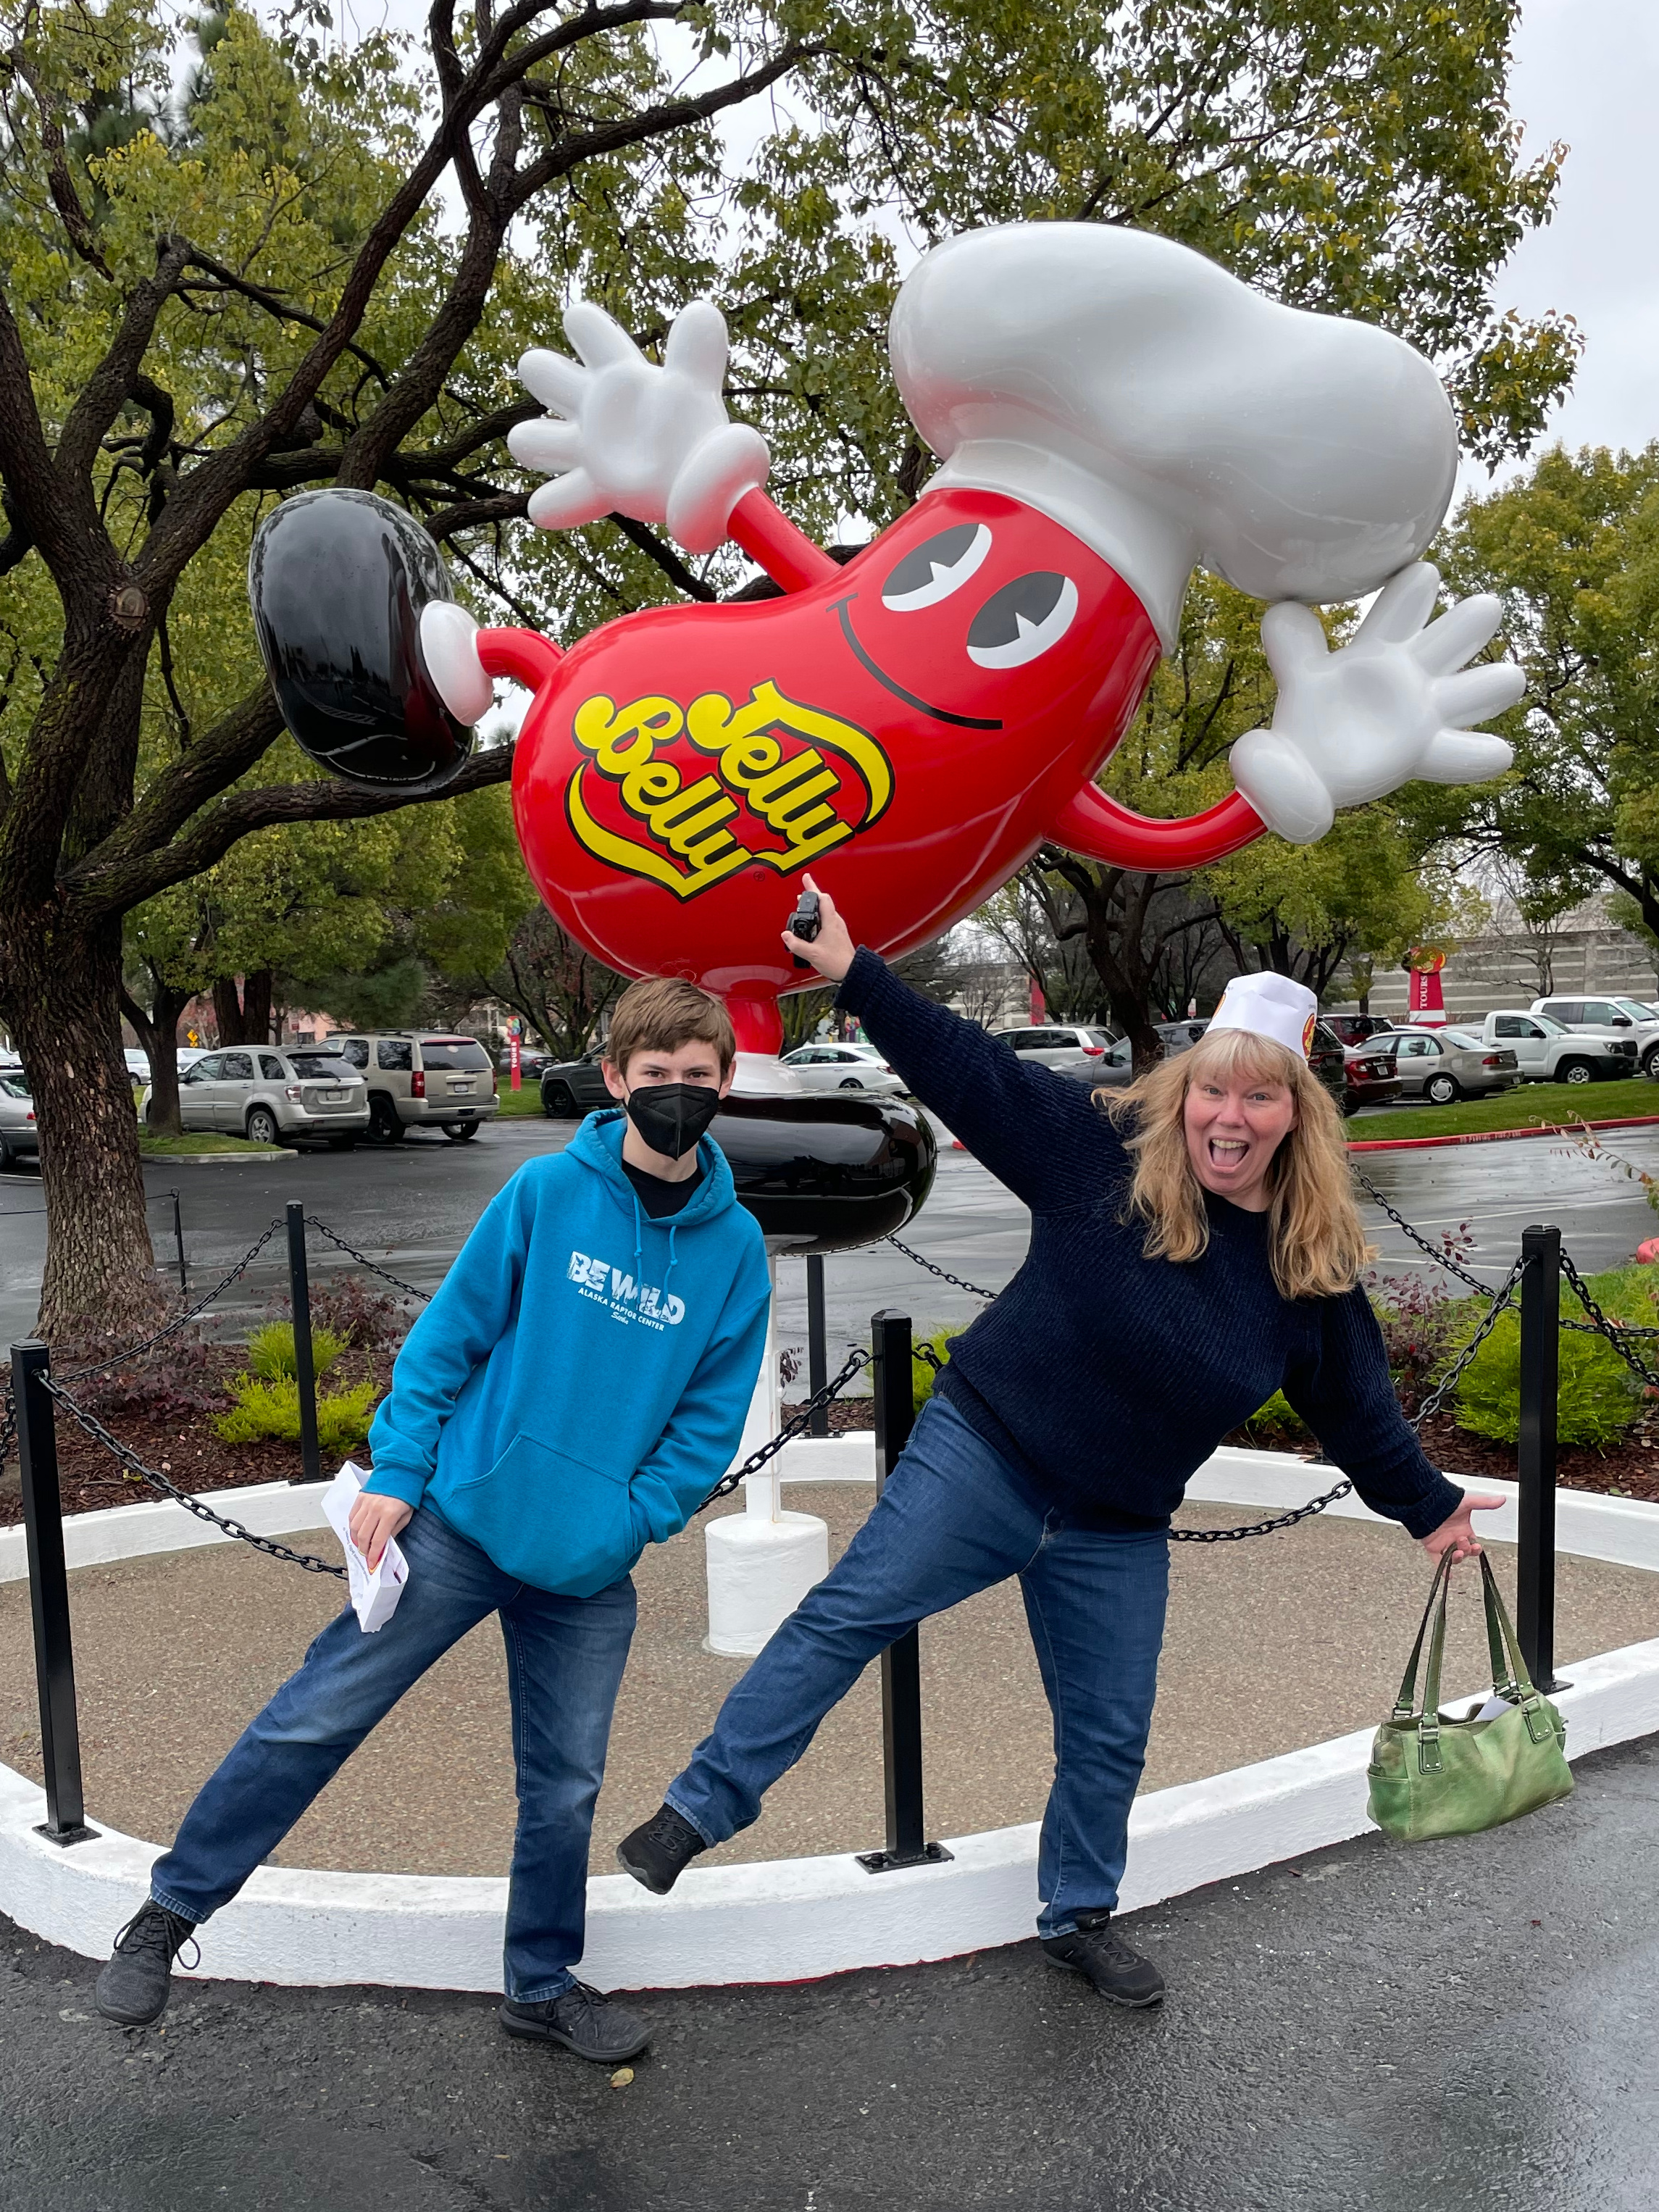
Mr. Jelly Belly and I have been friends for a long time.

Steve took the tour just a month ago when an out-of-state coworker was visiting, but it had been awhile for Trevor and me. None of us had seen the brand-new museum. There was a new scavenger hunt as well, the Jelly Belly Sweet Trail, complete with prizes!


The main tour is self-guided and takes you through the entire Jelly Belly making process, basically in reverse order. You start at packaging.


These are the gummy Jelly Belly centers.  


Here's where the candy coating is added to the gummy centers. It smelled strongly of Green Apple when we visited. The last time I was there, it was Juicy Pear. 


Speaking of scents, there's a row of scent stations toward the beginning of the tour where you give a sniff and guess the smell. There are other interactive exhibits as well. The whole tour is very kid-friendly. Trevor is blocking the toddler-height window on the lower left, but you can see one on the upper right. Kids of all sizes can watch the action without their parents having to lift them. 


Throughout the tour, there are many opportunities to see the famous Jelly Belly portraits. They're all over the factory (and museum, we would discover later). 


I have two favorite parts of the tour. First, seeing all the finished Jelly Belly candy sitting in bins by flavor....


... and second, watching them poured onto conveyer belts to be mixed for the assorted packages.


I love the Jelly Belly Art Gallery. This room used to be where tours began, back in the day when they were guided. Isn't the carpet fun?!


They've been making Lunar New Year sculptures for about 6 years. The Year of the Tiger is almost over, then we welcome in the Year of the Rabbit! I'll definitely be back to see that artwork on display. 


We didn't eat in the Jelly Belly Cafe this time, but have many times before. I highly recommend the bean-shaped cheeseburger or bean-shaped pizza! There are many other options as well. 

We headed across the parking lot to the Museum to check it out. 


I'm still wearing my tour hat, while Trevor is holding his. 

Like I said, the Jelly Belly Museum is brand new. It houses a bunch of interesting exhibits about the history of the Jelly Belly Candy Company... 


... Jelly Belly's most famous fan...


... two of the Vacaville Jacks...
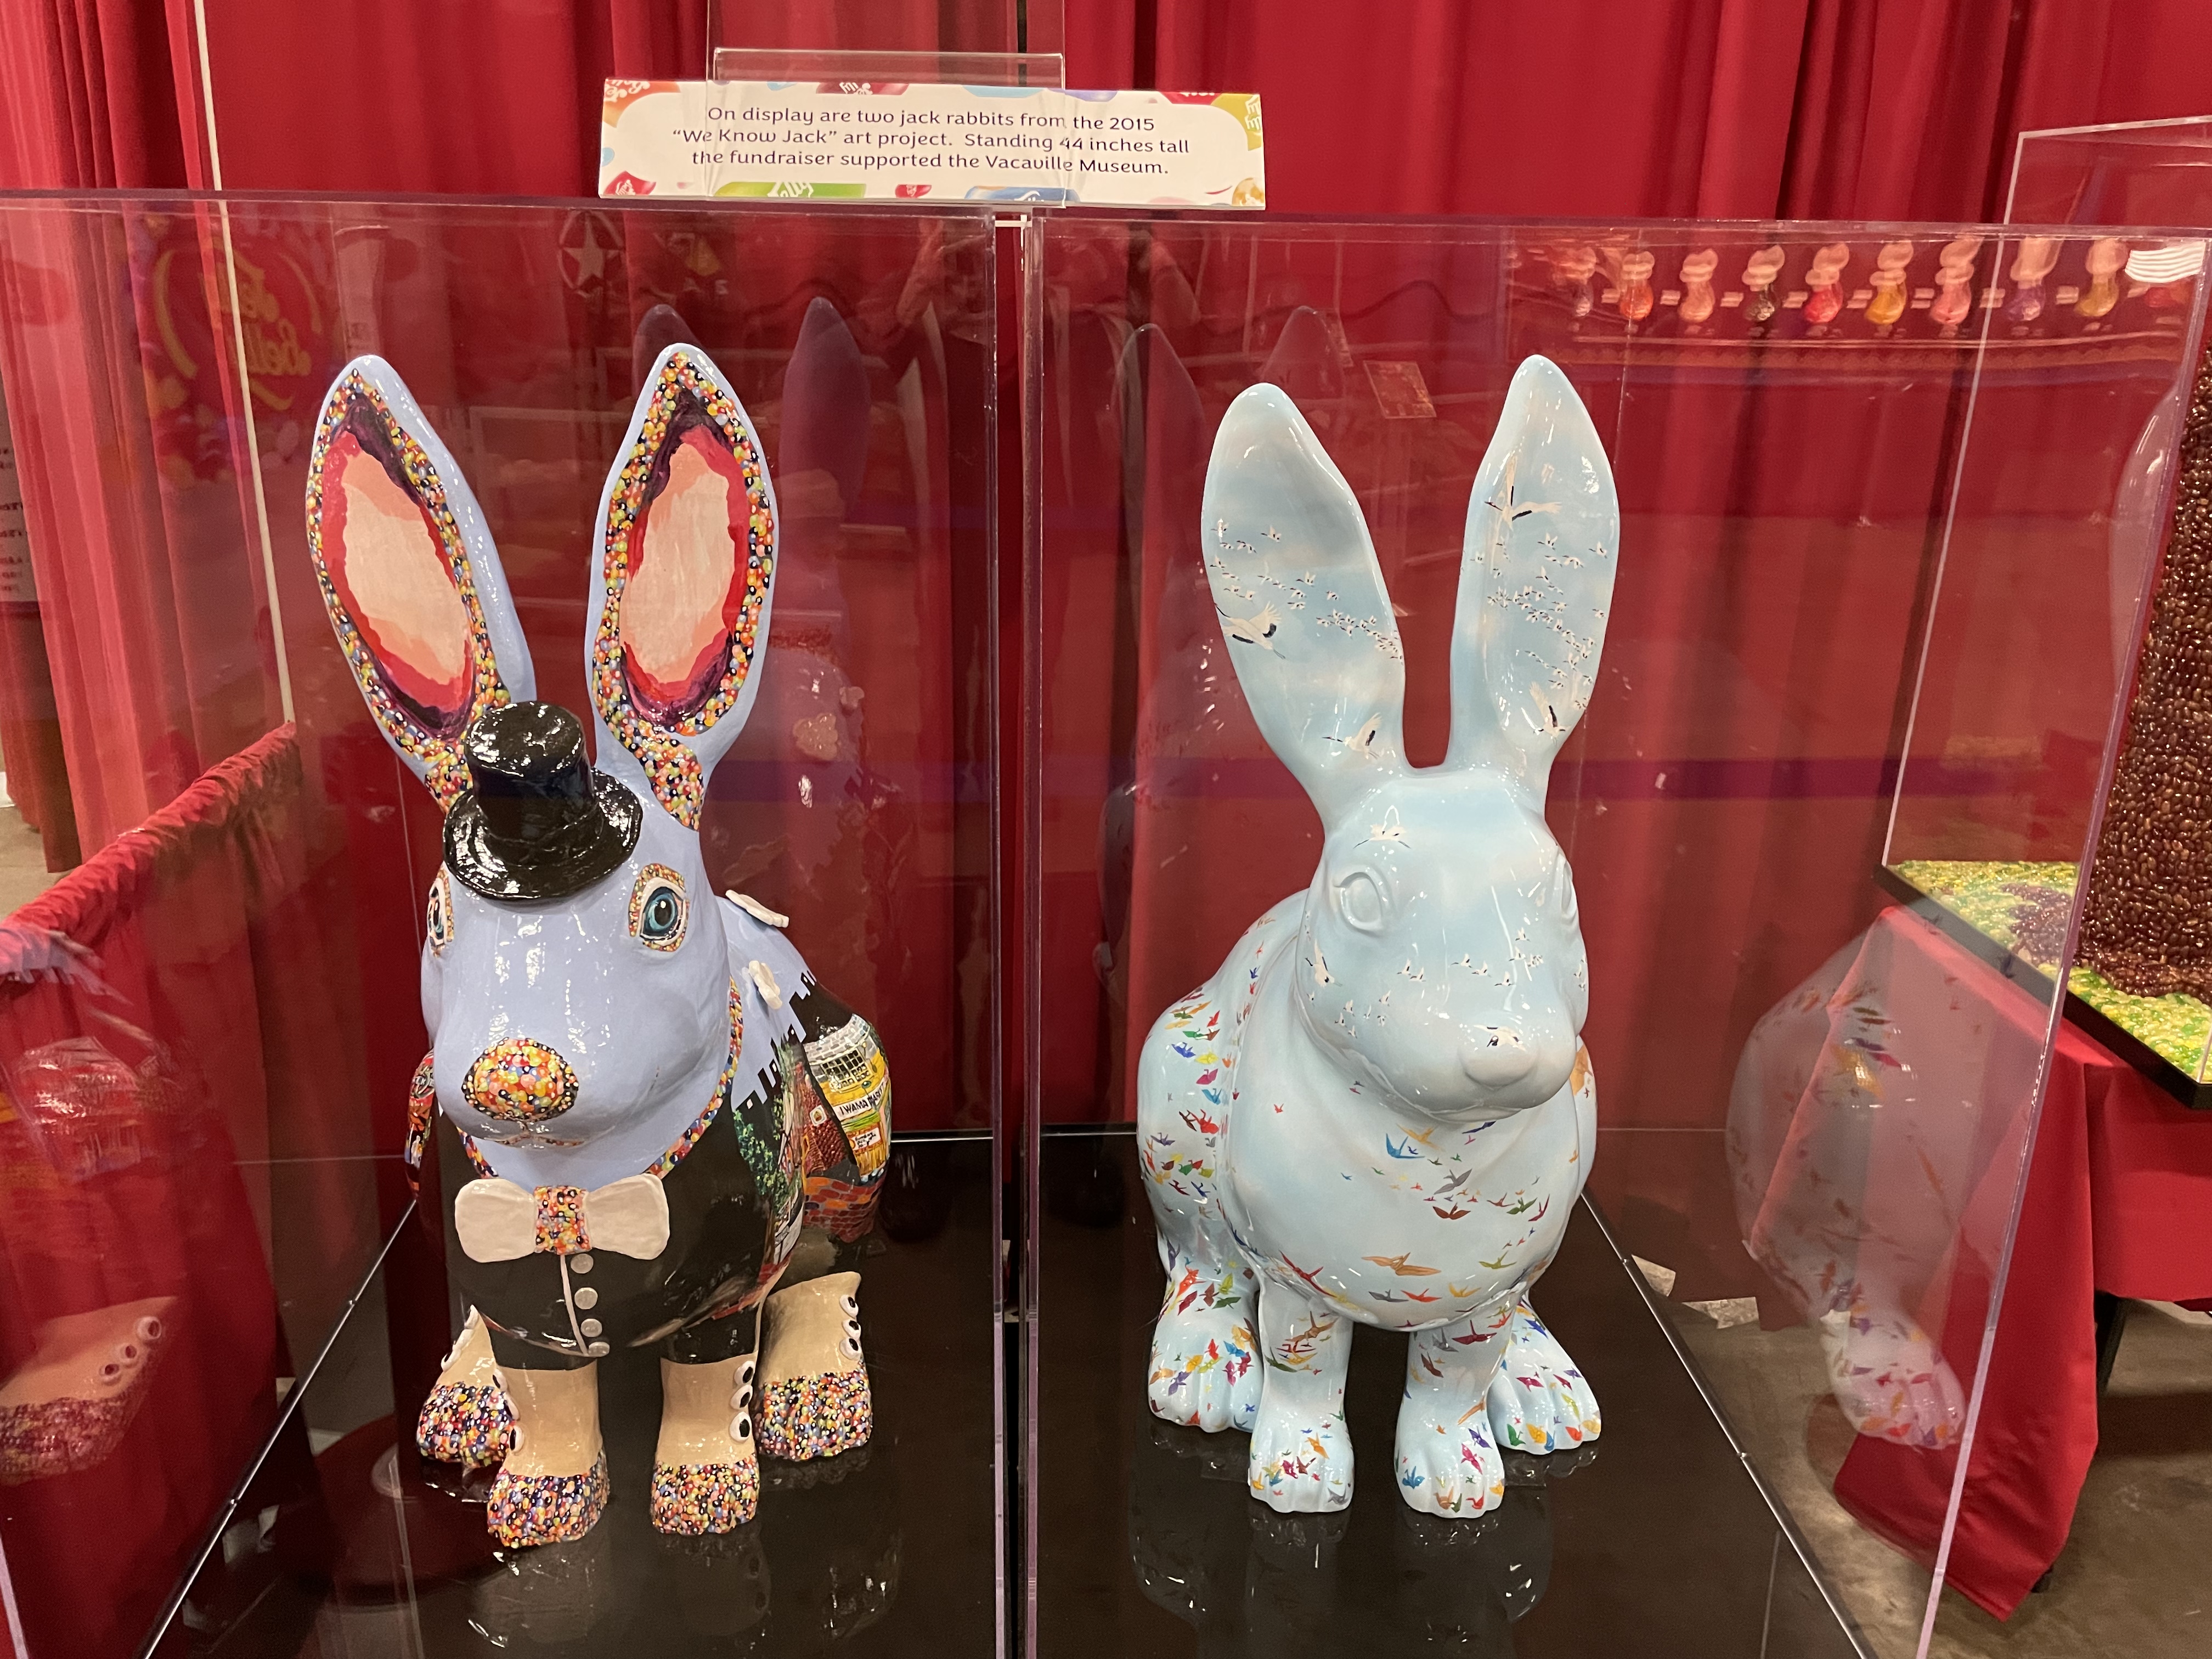

...Jelly Belly fashion...


... a Jelly Belly chorus line...


... and all sorts of vehicles. 
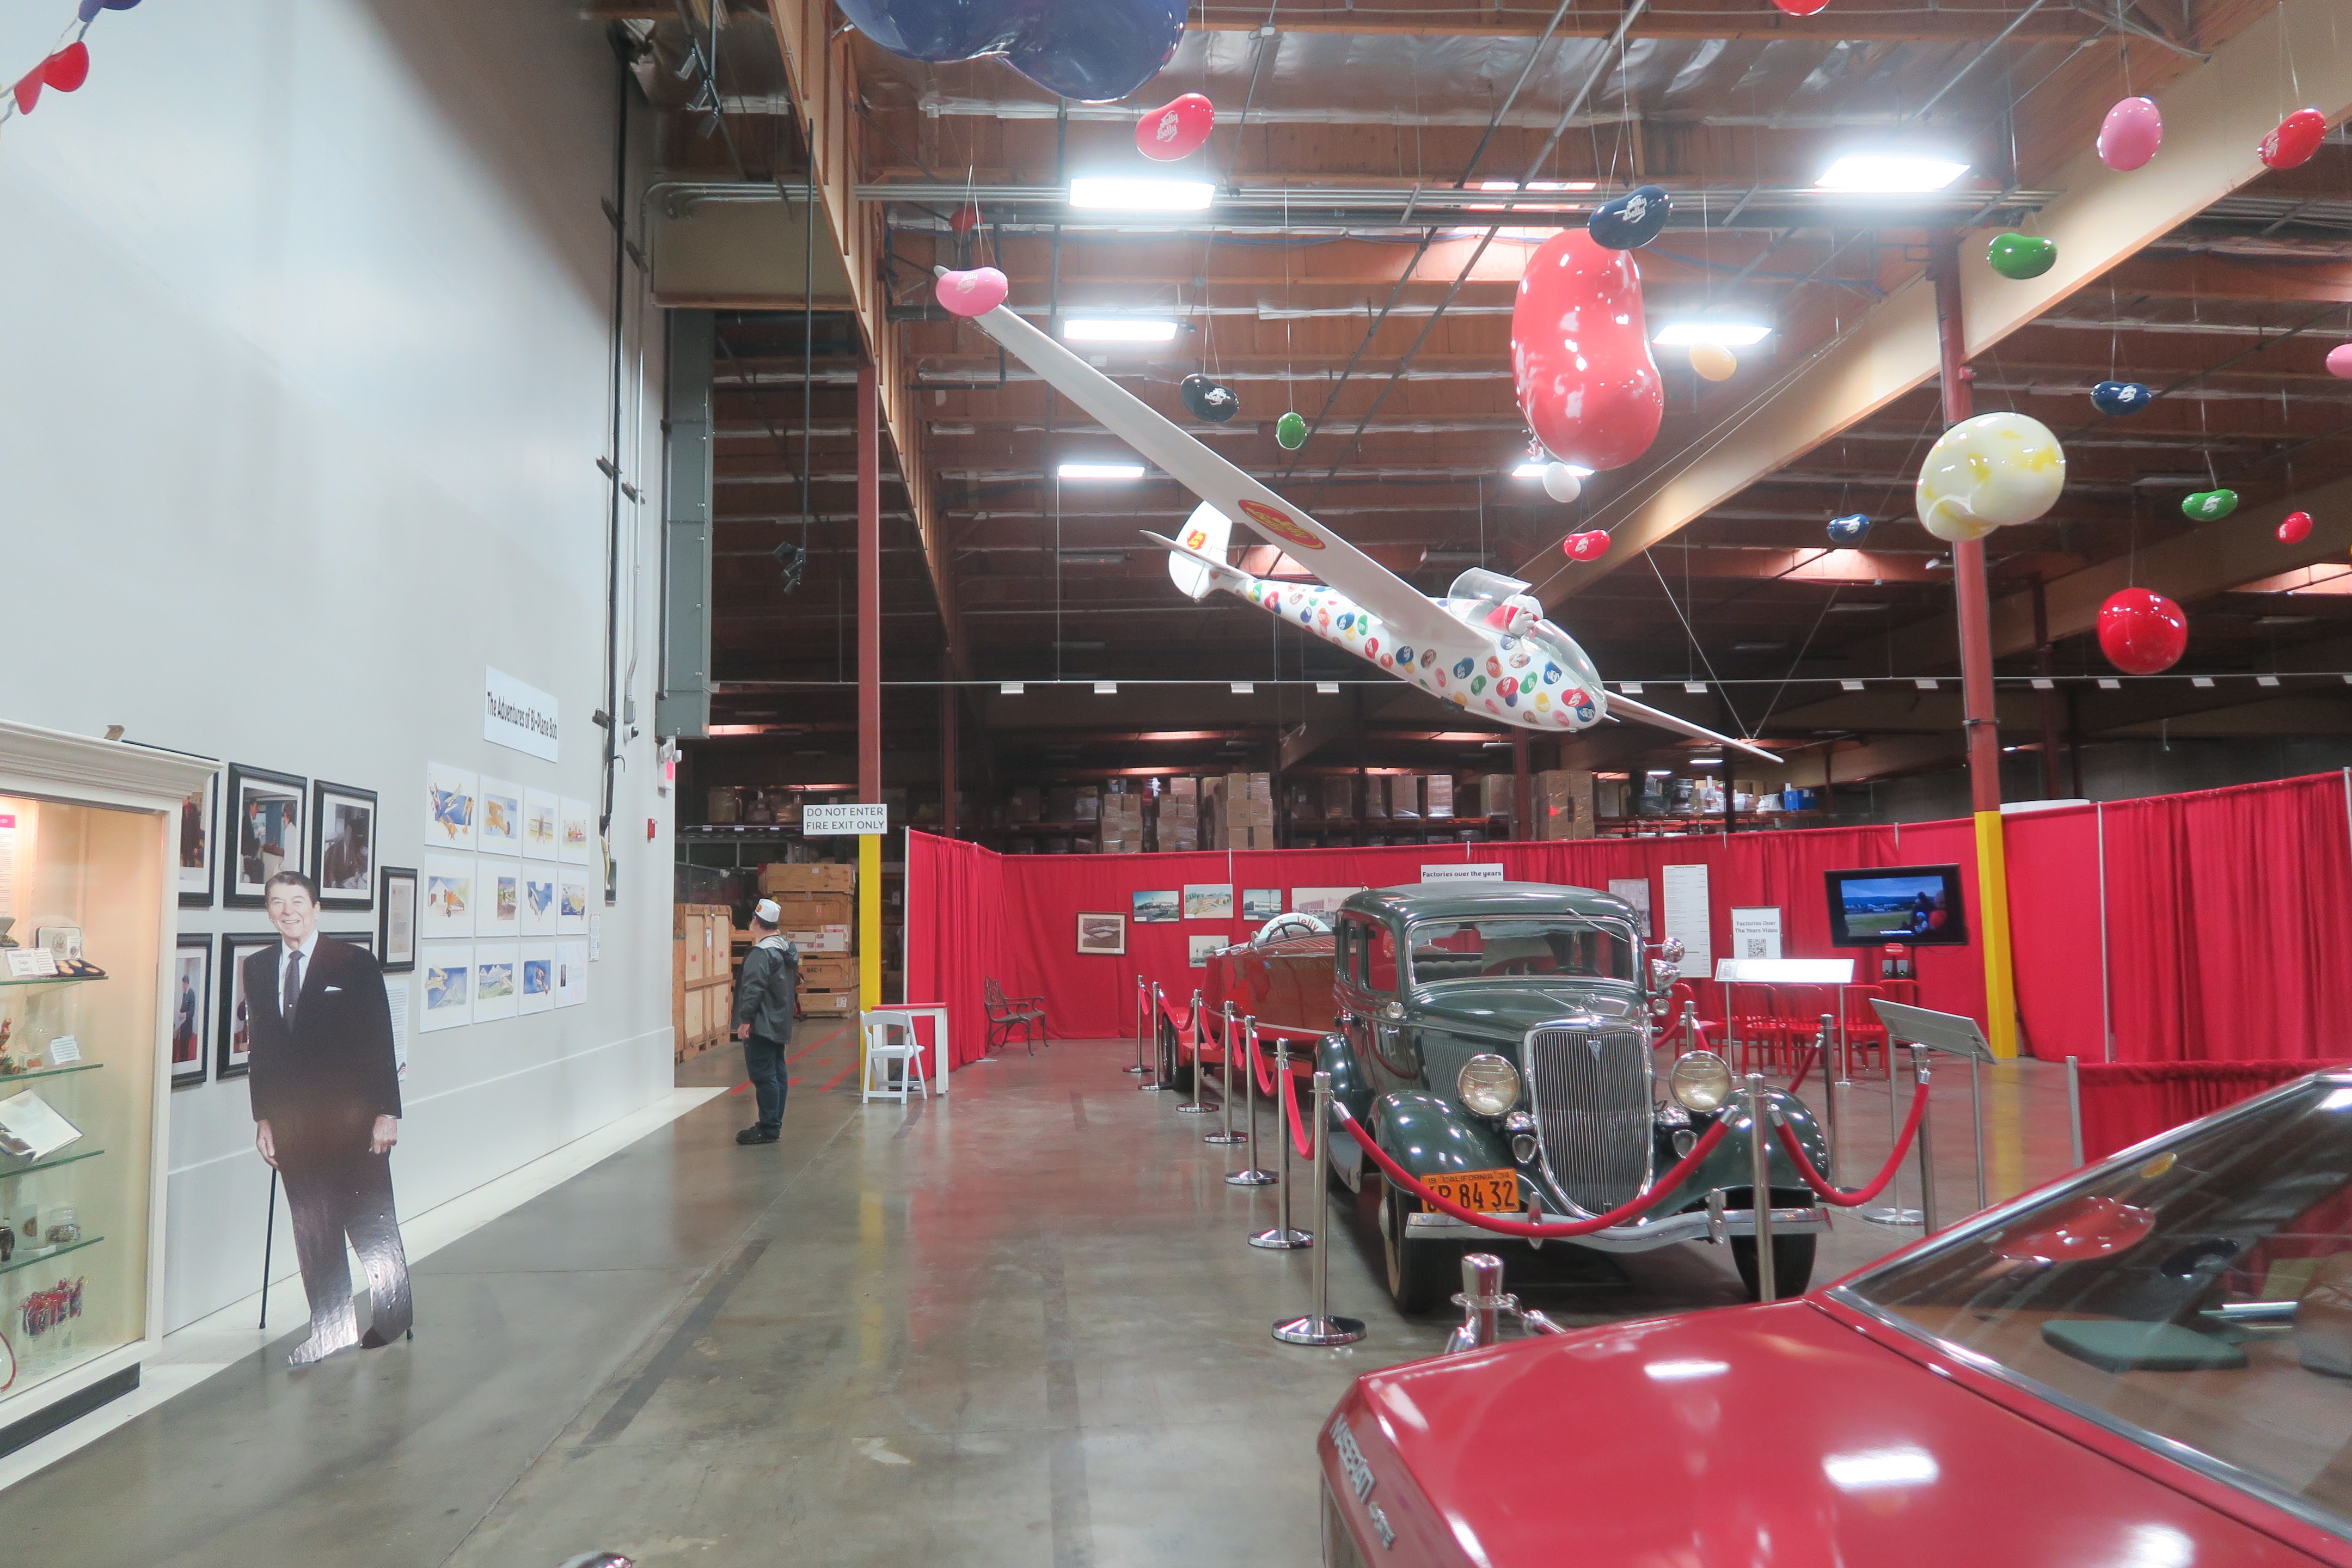


It's not unusual to see Jelly Belly cars or other vehicles driving around town, but getting the chance to sit on (or in Trevor's case, in) one of them was definitely new.

I highly recommend a visit to Jelly Belly! We had a great time, as always. Tomorrow I'll tell you about another local adventure we had. 

3/17/16

Miniature Edible Jelly Bean Bouquet

Here's a fun and easy gift idea for spring! Or anytime, really. Because who wouldn't want a miniature edible bouquet made of candy to brighten their day? Nobody, that's who. Affiliate links below.


Miniature Edible Jelly Belly Bouquet


Materials:


Steps: 


Pour your Jelly Bellies out on a clean surface. Pick out the shades that are best for flowers and leaves and set them aside. I used Cotton Candy, Orange Sherbet, Bubble Gum, Very Cherry, Lemon, French Vanilla and Green Apple. Eat the rest. Except for Buttered Popcorn and Top Banana. Those are completely disgusting.


Poke a toothpick into the end of each Jelly Belly, except for the green ones. Use the knife to split each green Jelly Belly lengthwise, then stick each half horizontally to one of the green toothpicks where leaves would be. It's sticky enough to stay put if you press a bit. Set the toothpicks aside.

Squeeze the marshmallow so that it is smaller in diameter than the condiment cup. Place it in the cup and sprinkle the mini M&Ms around it so the marshmallow isn't visible through the cup. Add extra M&Ms on top to hide the rest of the marshmallow. Now, poke the toothpicks into the marshmallow as if you were arranging flowers. Put them at different heights and mix the colors around. Finally, add a bow. It's ready to give to someone special!

Here's a photo of the bouquet in my hand to give you a sense of scale:


I didn't take photos of the intermediate steps because I was experimenting with a lot of things and wasn't sure what would work. Instead, here's a photo of what it looks like when you pull the marshmallow out of the condiment cup after you've given the completed bouquet away and it's ready to eat.


I could see making a bunch of these as party favors or place cards. I imagine using just one color for all the flowers could be really striking. I might just have to make more of these. Good thing the Jelly Belly Factory is just down the road!

3/19/14

Bunny Popcorn Cups (Bunny Week, Day 3)

People ask me where I get the ideas for my projects.  Sometimes I don't know - ideas just pop into my head all the time and I don't know why or how.  Other times, I know exactly what inspired an idea.  Such is the case with my Bunny Popcorn Cups.

I saw these adorable Snowman Popcorn Cups at Creative Kid Snacks:

  Source 

.... and I knew right away that I wanted to make a rabbit version.  


Materials: clear plastic cup, white and pink craft foam, googly eyes, pink Jelly Belly, monofilament or white cardstock, a white pom pom, scissors, black craft foam or a Sharpie, and a hot glue gun. And popcorn, of course.

Begin by cutting ears from craft foam.  Make whiskers from thin strips of cardstock (like I did above) or from monofilament (like Trevor did below).  Cut a mouth from black craft foam (like I did above) or draw a mouth with a Sharpie (like Trevor did below).  Heat up the glue gun and attach the ears to the inner rim of the cup, then add the eyes, whiskers, nose, mouth (if using craft foam), and pom pom tail.  Fill with popcorn for a tasty treat.


I should clarify that popcorn is a treat for humans, not for rabbits.  I've seen videos of people giving popcorn to rabbits and they seem to love it, but popcorn is not safe for them.  Appropriate treats for rabbits include tiny amounts of dried fruits (Trouble especially loves raisins and Craisins), fresh fruits (banana, apple, peach, etc), and sweet vegetables (carrots).  Check out the House Rabbit Society's food page for excellent information about exactly what to feed rabbits to keep them healthy and happy. 

Speaking of healthy and happy rabbits, I was working upstairs the other day and heard Trouble doing a Super Run so I grabbed the camera and raced to the stairs to try to catch it on video.  I missed the Super Run and instead got to watch him go from sitting to lounging.  It's pretty cute.  He does it all the time, but I've never managed to record it before.


3/18/14

Upcycled Bunny (Bunny Week, Day 2)

You know you're a crafter when you see this:


And your mind immediately goes to this:


Trevor did some volunteer work awhile back and was given a flat of these Snapple Jelly Bellies as a thank-you.  I've been saving the empty containers to hold all sorts of small items, like sequins and brads.  To make the bunny, I started by removing the label from the container (it peels off easily, leaving a perfectly clear container behind).  Then I dumped out the Jelly Bellies from two different Snapple containers, mixed them, and refilled the container with the mix.  I gathered my materials: white felt, a pink ink pad, a white pom pom, googly eyes, monofilament, a Sharpie, scissors, and the glue gun.  

I started by cutting out outer ears, inner ears, and a nose from white felt.  If I had had pink felt at home, I would have used that for the inner ears and nose, but I didn't, so I used pink ink to tint the relevant pieces.  Using Trevor's idea from yesterday's craft, I cut pieces of monofilament for the whiskers.  I drew the mouth in place, then used hot glue to attach the whiskers, nose, eyes, ears and pom pom tail.  Here is a full Snapple container side-by-side with the completed bunny:
    

Return tomorrow for Day 3 of Bunny Week!

7/12/13

Kidding Around: Tourist in Your Own Town

Day 11 of Kidding Around asked us to be tourists in our own town. We live in Fairfield, CA, which has one major tourist attraction: the Jelly Belly Factory.  We were there three weeks ago when friends came to visit from Colorado, so it didn't make sense for us to go there again so soon (even though it is completely awesome).  Instead, we decided to check out the black light mini golf at Driven Raceway.  We hadn't been to Driven Raceway yet since Trevor doesn't meet the minimum height to drive their karts, but mini golf is open to everyone.

He was really excited to go through the curtains and check it out. 
 
It was so cool in there!

 
These pictures don't quite capture it. It was much darker than it appears in the pictures and the colors far more vibrant. It was very challenging since it was too dark to aim unless you were right near your target, but that was half the fun.


It's a 9-hole course and we were encouraged to play as many rounds as we wanted. We played two rounds.  Both of us improved on the second round since we knew where we were aiming! 

When we got home, we glued our scorecards onto the left-hand side of our journal and wrote about our experience. On the right-hand side, we did a "Best of Fairfield," listing our favorite restaurants, parks, and other attractions.

Here's Trevor's:


And here's mine:


What a fun day! Visiting Driven Raceway and doing the "Best of Fairfield" page helped us appreciate that we have so many wonderful destinations where we live.