
When Trevor made his A-Z list for The Cursive Project, it was no surprise that he put "rabbit" down for Letter R. But we've done tons of rabbit crafts together (listed here under B for bunny), so I told him to think of a second choice for Letter R. He chose Rubik's Cube.
After finishing his Rr cursive page, he zipped to the games cabinet and pulled out the Rubik's Cube. He was mesmerized.

Meanwhile, I got out a square Kleenex box, with the plans that we'd add gesso, paint it black, then cut colored squares of craft foam and glue them in place. Turns out that a square Kleenex box is not really square. Close, but not nearly close enough for an object that really has to be a cube. Darn. All attempts to find a cube-shaped box failed, so I told Trevor that instead of making a craft version of a Rubik's cube, I'd teach him how to draw one. He loved the idea.
Step one: Trace something square on a piece of white paper. (Trevor is using an empty Godiva chocolates box that I found while digging around looking for a cube-shaped box.)

Step two: Move the box up and to the right without rotating it, and trace again. Use a ruler to connect each corner of the first box with the corresponding corner of the second box. Erase any lines that wouldn't show if the cube were solid and not see-through. (Trevor, like most kids his age, had already learned how to do this during a geometry unit at school.)
Step three: Measure each side and make marks to divide it into thirds. (The Godiva chocolates box was exactly 9 cm. across, which meant Trevor made marks at 3 cm" and 6 cm".)

Step four: Connect the marks to form the squares of the Rubik's Cube.

Step five: Color each square blue, green, yellow, red or orange (or leave it blank for a white square), leaving each pencil line white. If you care about accuracy, use an actual Rubik's Cube as a sample so that you don't inadvertently invent an impossible configuration.
Step six: Use a ruler and a black Sharpie to trace over the pencil lines, which should fill in any white spaces. Do touch-ups as needed.

Done!

Here's a closer look at Trevor's drawing:
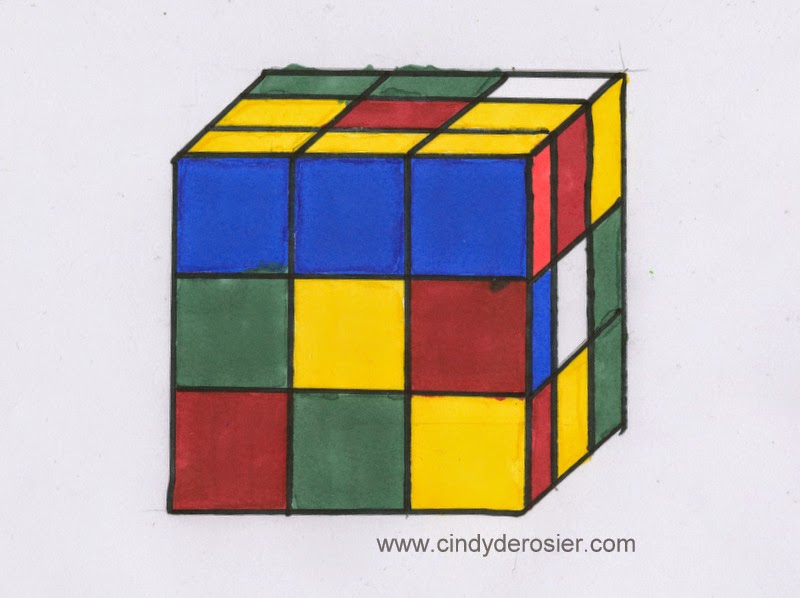
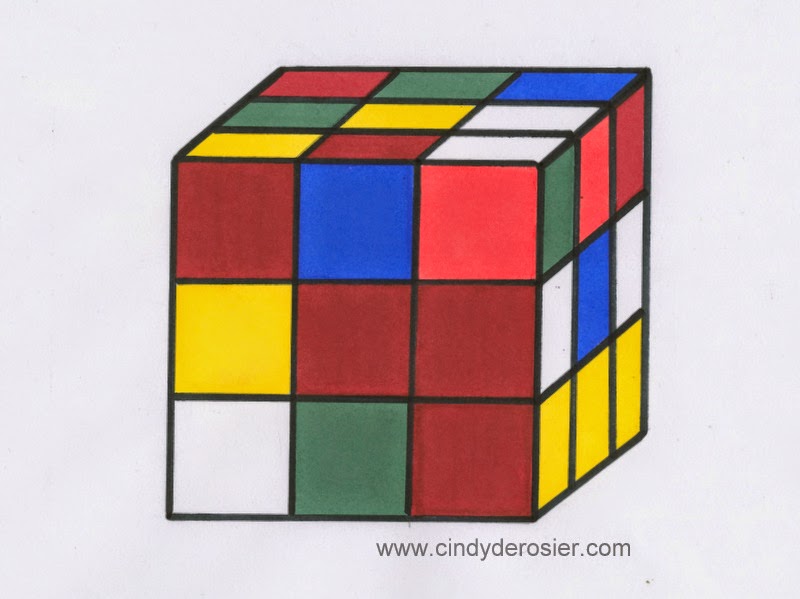
This is mine. I've already added an orange Prismacolor art marker to my Amazon wishlist, as the orange we used on these is clearly not orange. It didn't look that bad as we were coloring, but I hate the way it looks on the monitor. I'm going to add a brighter red to my wishlist too.
I'm thinking we should frame these and put them on display next to these guys:

(Tutorial here)
And some of these:

(Tutorial here)
I could have a lot of fun redecorating a room with 80's-inspired crafts! Hmm... something to ponder...

I remember drawing those boxes as a kid, but never thought to go as far as turning them into Rubik's cubes! I guess I just didn't have the imagination...come to think of it, I wouldn't have thought to do that now! Hahahahaha! BTW - I was never able to solve the real Rubik's cube! Errrr!
ReplyDeleteOhhhhhhhhh I love love love your Rubik's Cubes!!!!!
ReplyDeleteHow fun! Love playing it...
ReplyDeleteThat's so cool! Was Trevor able to solve it? I used to cheat and take it apart, LOL! :)
ReplyDeleteNo, he couldn't. Me neither!
DeleteThis comment has been removed by a blog administrator.
ReplyDelete