
Sometimes crafts come together exactly how I'd imagined them. Such is the case with this 'Lucky' photo holder made with alphabet blocks. I'm so happy with how it turned out! That's my niece, Allison, and my nephew, Timothy, in the photos. Both pictures are ridiculously out of date. (Hint, hint... Aunt Cindy needs new portraits.) Affiliate links below.

---------
Lucky Alphabet Block Photo Holder
Materials:
- wooden alphabet blocks
- Folk Art white gesso
- Folk Art green paint
- hot glue gun
- Twisteezwire
- wire cutters
- large star punch / small star punch
- Folk Art Treasure Gold paint
Steps:
Find blocks to spell LUCKY. Color doesn't matter, which is fortunate because the one blue with four yellows looks ucky. Literally.

Give each block a coat of white gesso. It doesn't matter if you can still see a slight color difference. That will be hidden with the next coat of paint. Use a glue gun to connect the blocks.

Carefully paint the letters and the border of the blocks green. Let the paint dry completely. Punch out some stars from scraps of cardstock and paint them gold.
Cut two lengths of green twisteezwire, one approximately 12" and one 10". Curl one end of each wire around something round with a small diameter, like a pencil. Make two complete loops, then remove the pencil. Gently bend each wire against something round with a large diameter, like a basketball.
Arrange the two wires so that their arcs bend outward. Check that the length of the wire puts the photos where you want them to be. Trim as necessary, then attach them to the back of the center block using the glue gun.
To display your photos, just slide the pictures between the loops. I opted to sprinkle the stars on and around the photo holder without attaching them permanently to it, but you can glue them in place if you wish.

It would be easy to adapt the design to display more than two photos. Simply add a third or fourth wire with enough space between them so that the photos aren't crowded. I don't think I'd add more than four wires on a LUCKY design, but you could squeeze in a whole bunch if you spelled out something like GRANDCHILDREN. That would be really cute and would make a great gift.
---------
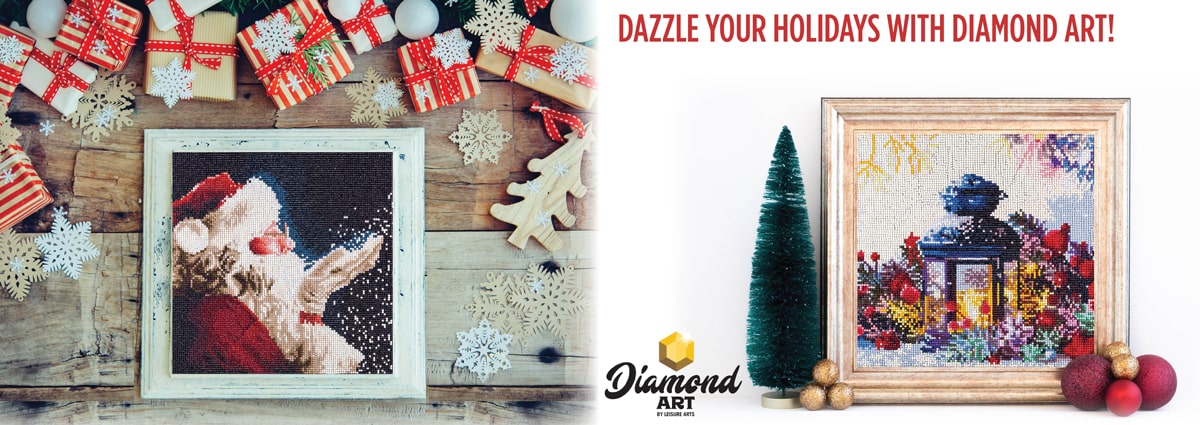
Now, the winner from the Diamond Art giveaway! Thank you to everyone who entered. All of you correctly identified my latest Diamond Art project as the Hot Air Balloon. It's soooo pretty in real life. The sparkle is amazing. I loved reading which kit each of you would pick if you were the lucky winner. Congrats to....
AMY MARTIN!!!

Please email me your address and I'll have Leisure Arts get the Rainbow Tree kit out to you asap! Thanks again to Leisure Arts for sponsoring this giveaway and for being such an amazing company. For those of you who didn't win, think about adding the Diamond Art kit you wanted to your holiday gift list. Or buy it for yourself before the holidays... you deserve it!

Oh my gosh!! I cant believe I won. Yay. Thank you so much Cindy!! I will send an email ASAP. I love your lucky photo holder!! What a great idea.
ReplyDeleteThat looks awesome!!! And congrats Amy!!!
ReplyDelete