10/13/23

Serendipity Zombie Drawings

I hate hearing people say that they can't draw. Of course you can draw! Maybe you can't draw realistic portraits because you haven't been taught how and haven't practiced enough, but you certainly can draw. Today's zombie project is perfect for people who "can't draw." Zombies aren't real, so there's no right or wrong when it comes to drawing them. Literally anything goes! 

This is my first-ever attempt at drawing zombies. 
 

I'm calling these Serendipity Zombies because I started by drawing random shapes on a piece of paper. I didn't try to make face shapes or think about how each would look as a zombie - I just drew rounded shapes using a black flair pen (affiliate link here and below). 


Then I started drawing details (bulging eyes, gaping mouths, exposed brains, missing teeth, random wounds...) in each one. 


Then it was time to color. While I spent less than 5 minutes total drawing the faces, I took my time coloring so that I could practice blending and shading with my Ohuhus. I limited myself to using one set (rather than using all 460?? markers) so that I'd be forced to blend. I chose the Kaala Landscape set, one of my very favorites. 


I will be doing this again because it was SO MUCH FUN! 

10/12/23

Trying Crayola Paint Sticks

While I love using my growing collection of artist quality supplies like Prismacolor and Ohuhu, there's a special place in my heart for Crayola. It was the first art brand I loved as a kid, the brand I used in my classroom as a teacher, and the one I introduced to Trevor when he was a young toddler. Crayola products are the best among student-grade art supplies and their huge product line provides kids (and adults) a very affordable way to explore different media. My favorite Crayola products are their iconic crayonscolored pencils, Model Magic, and Silly Scents.   

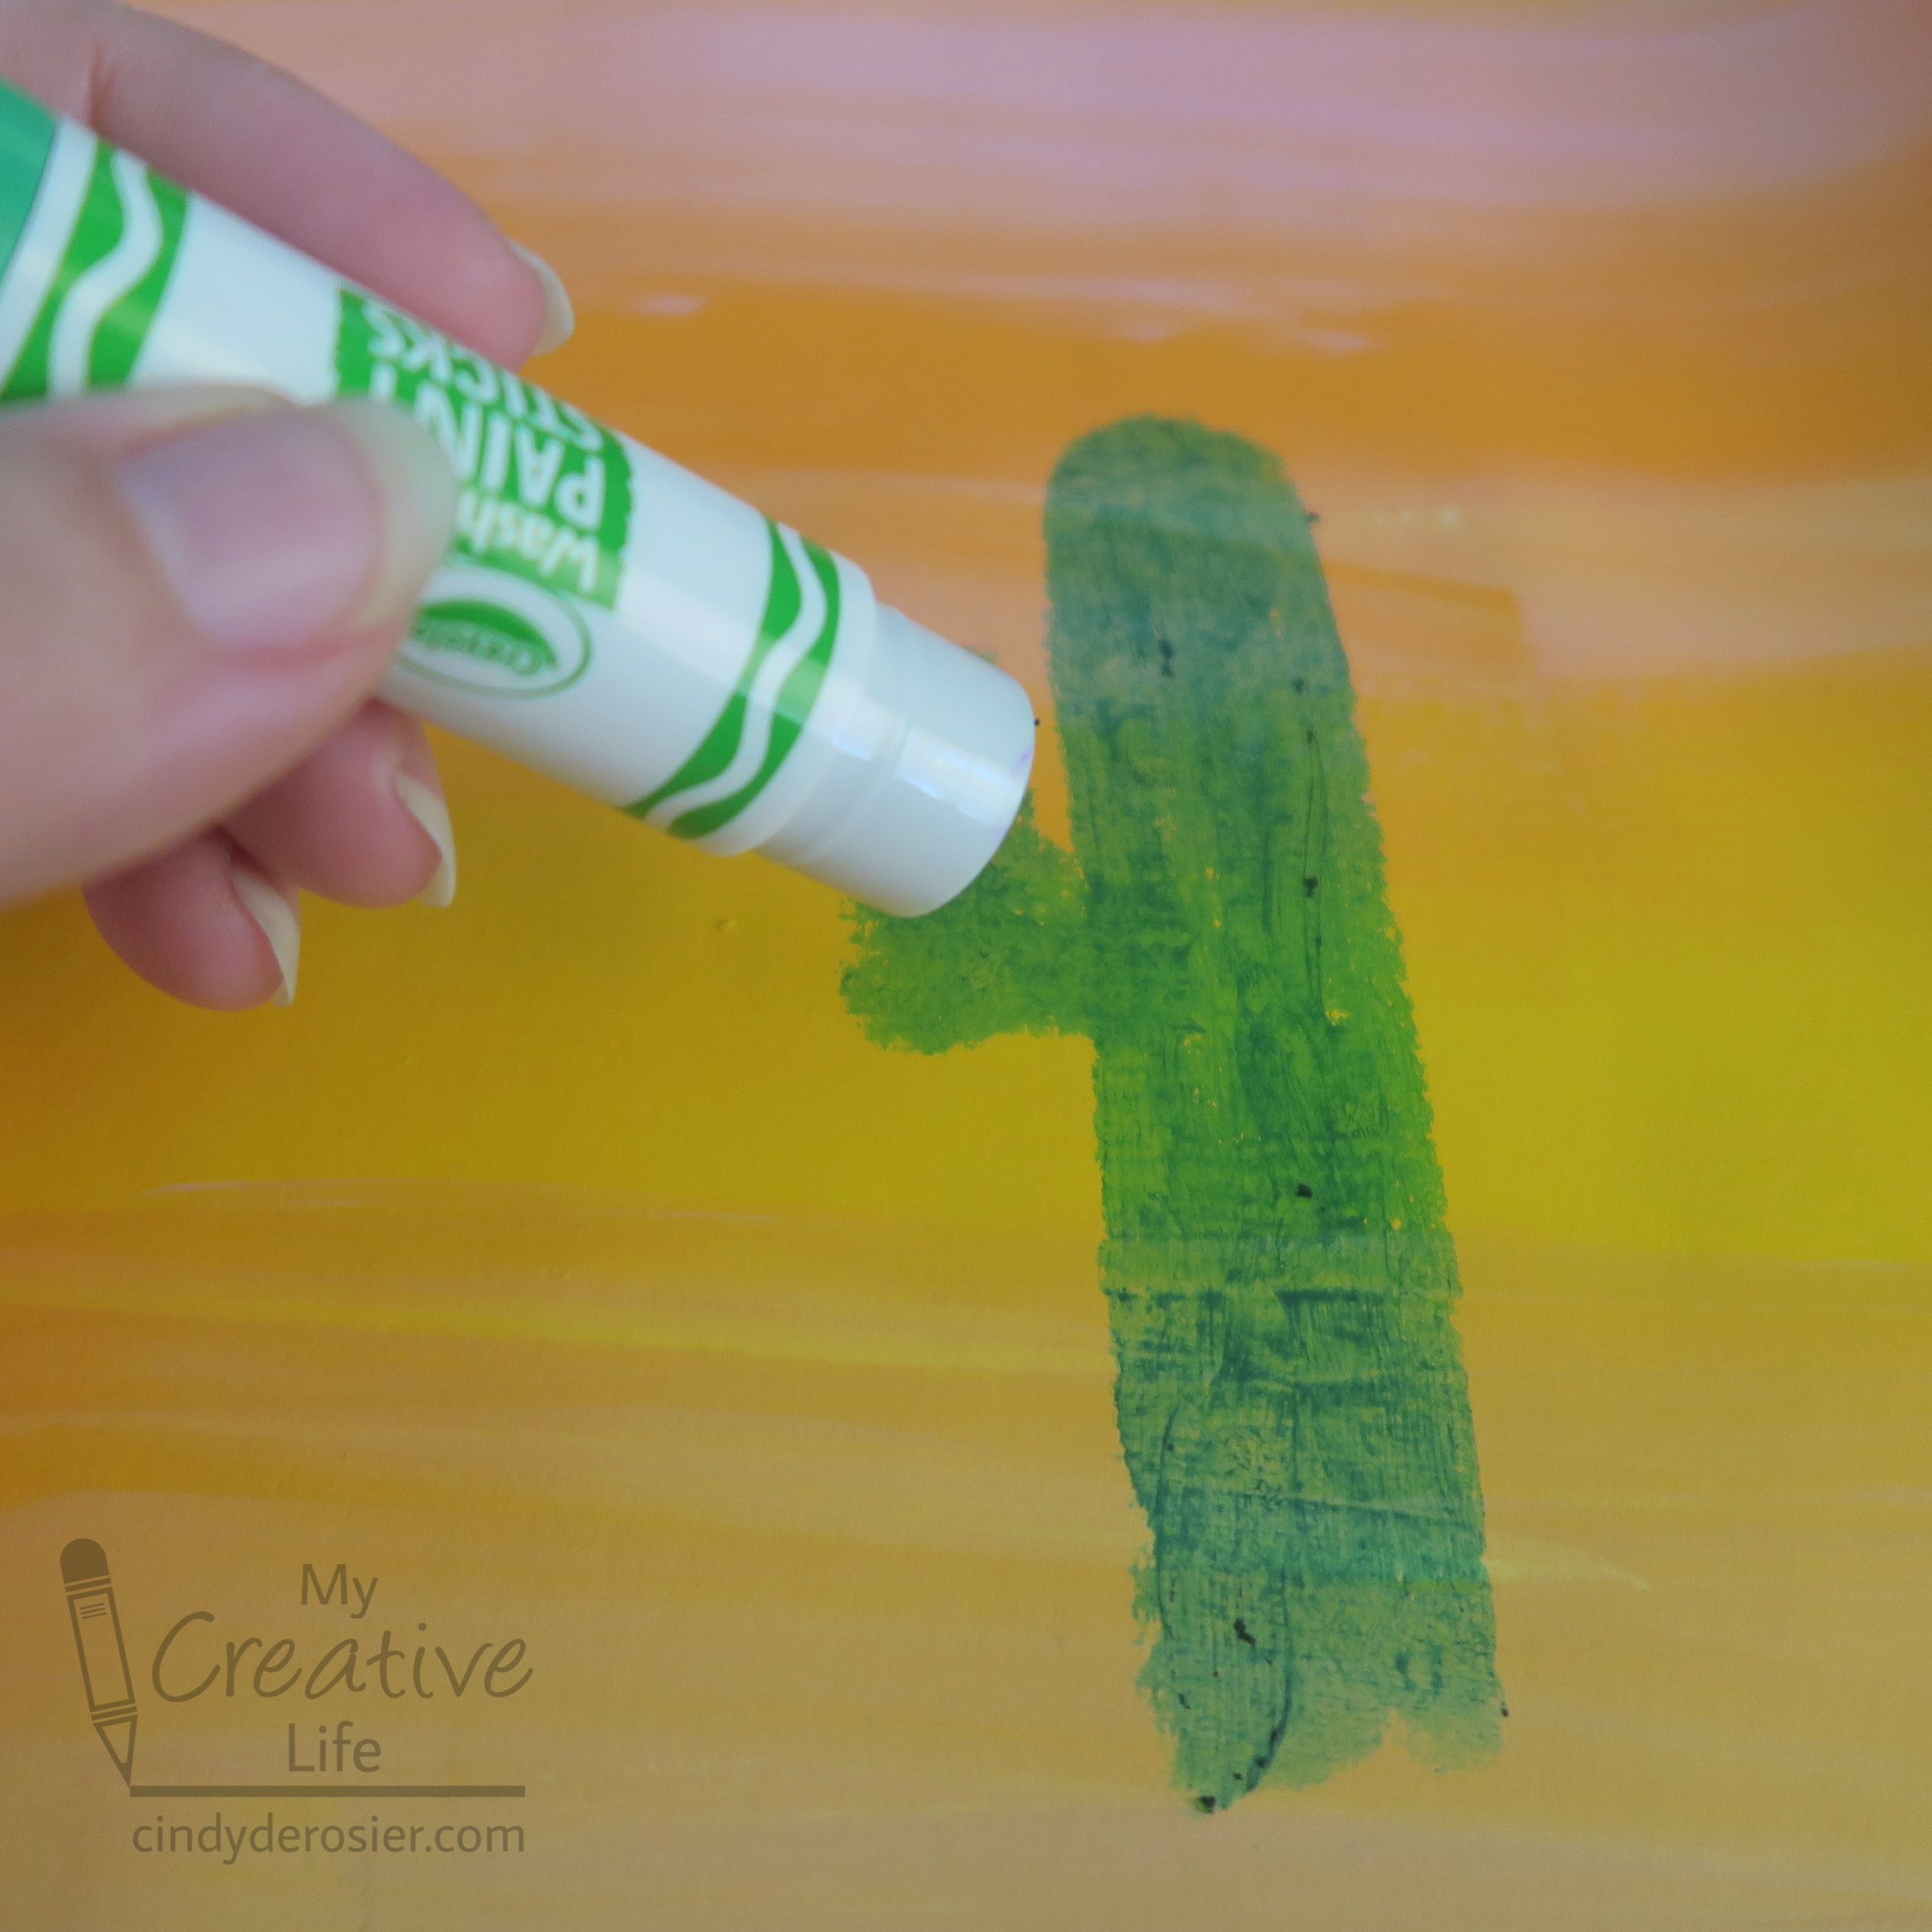
Crayola's Washable Paint Sticks (affiliate link) have been around for a couple of years, but I hadn't tried them. I thought it would be fun to get my hands on some and give them a go. I got the 12-pack, which contains the usual rainbow colors plus silver and gold. The paint sticks are about the size and shape of a glue stick and the paint is similar in consistency. I tried them on some pre-painted paper I had laying around to see how they would perform. The paint went on fairly smoothly with decent coverage but some small paint blobs.  


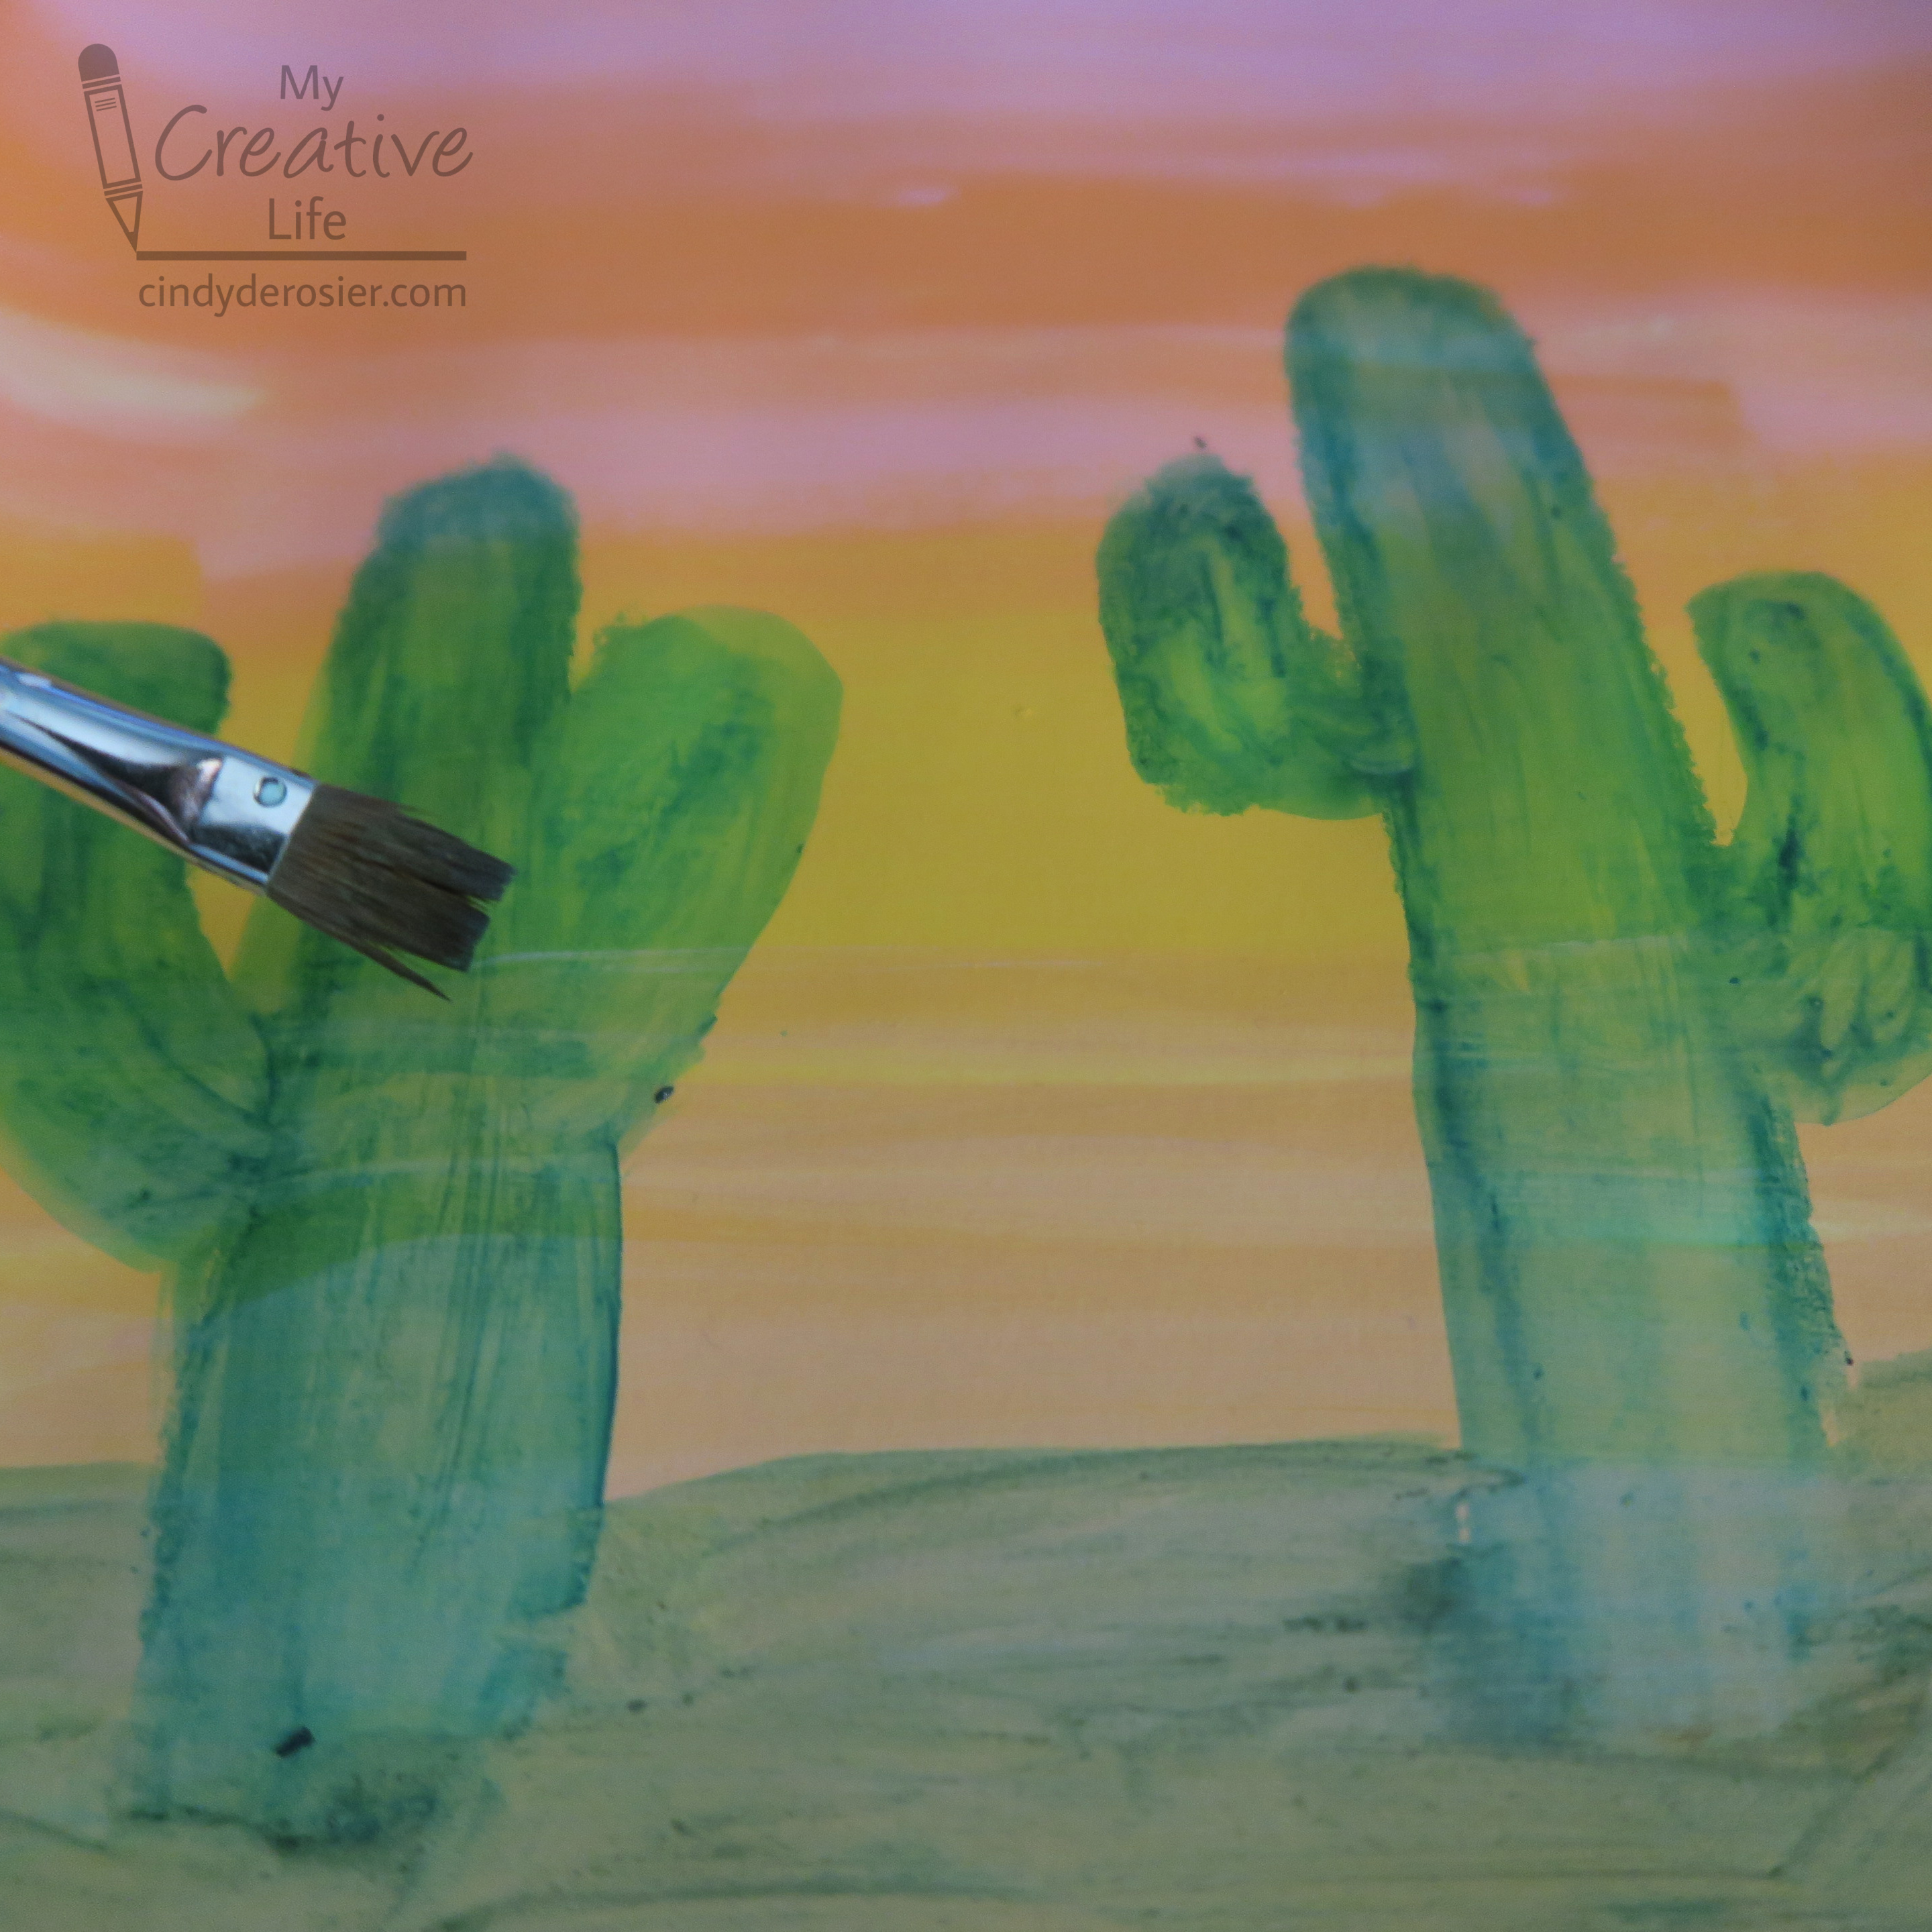
I thought I'd be able to smooth out those blobs with a wet brush, but instead the water basically erased the paint. The more I tried to smooth it, the more of the background showed through. I tried applying the wet brush directly to the paint stick and then painting with that. Meh.  


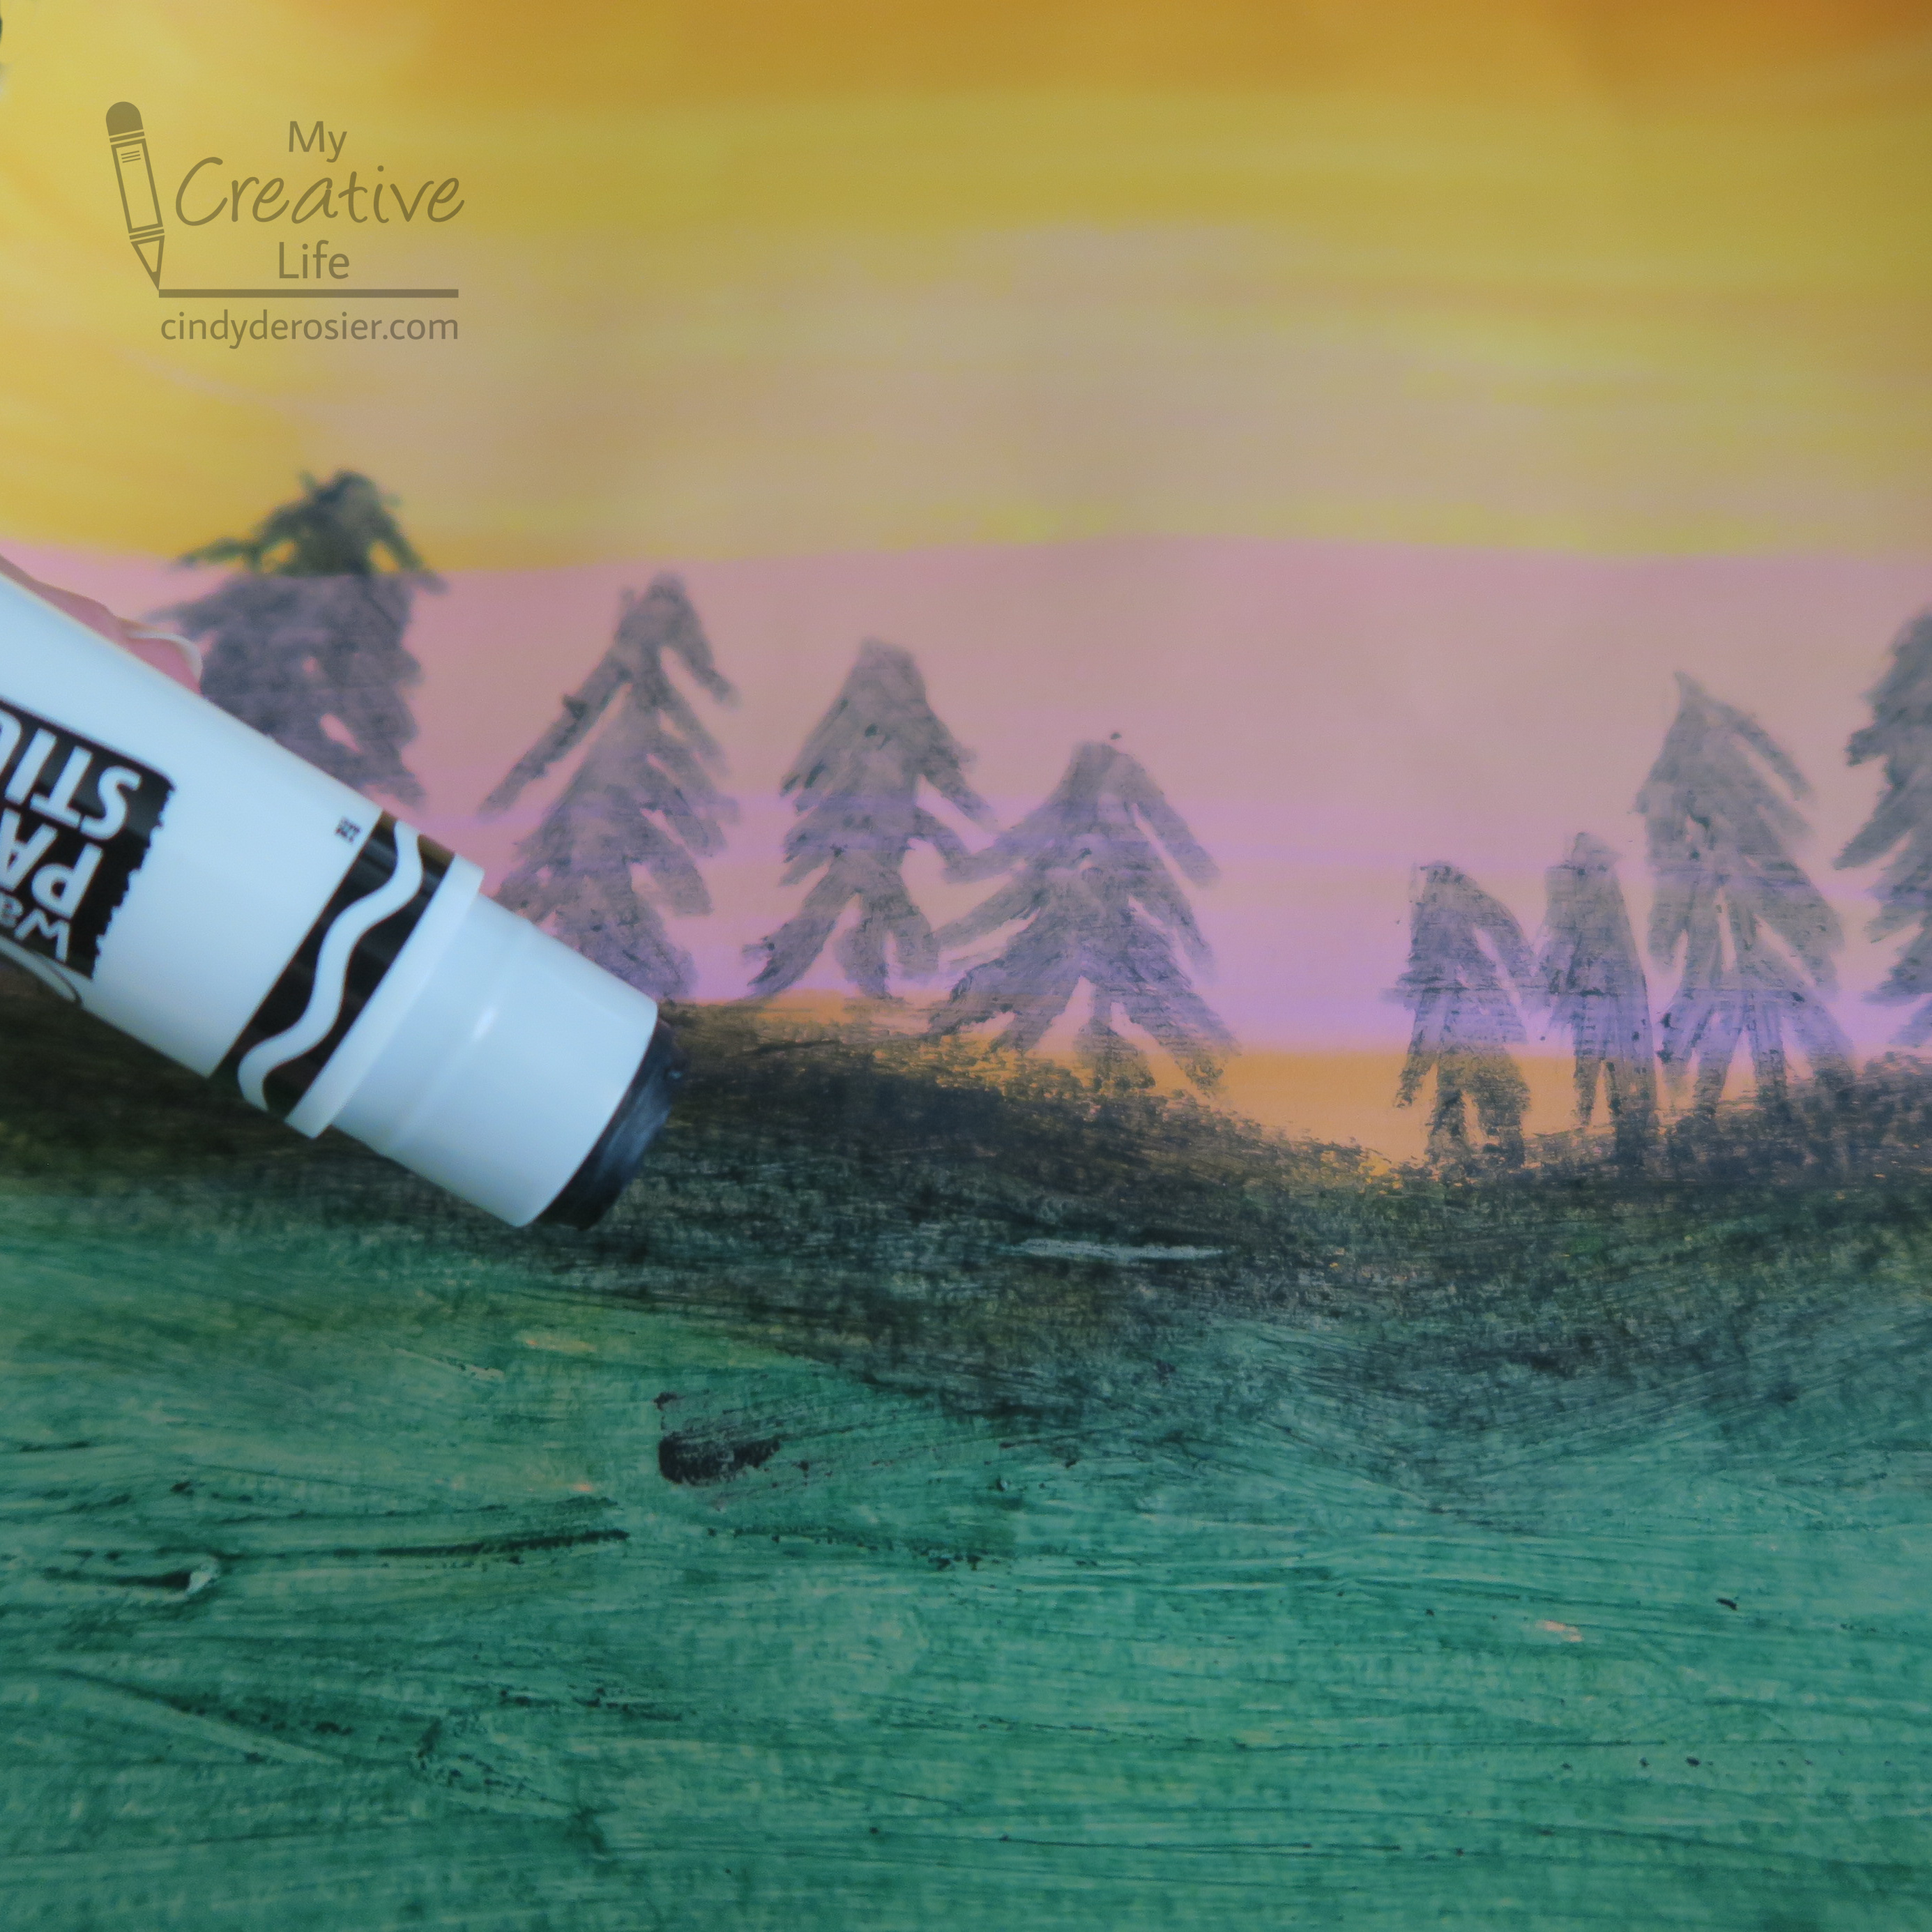
I used a different section of the pre-painted paper to see what kind of detail and blending I could get with just the paint sticks. The black really didn't want to go over the existing paint, especially the pink areas. 


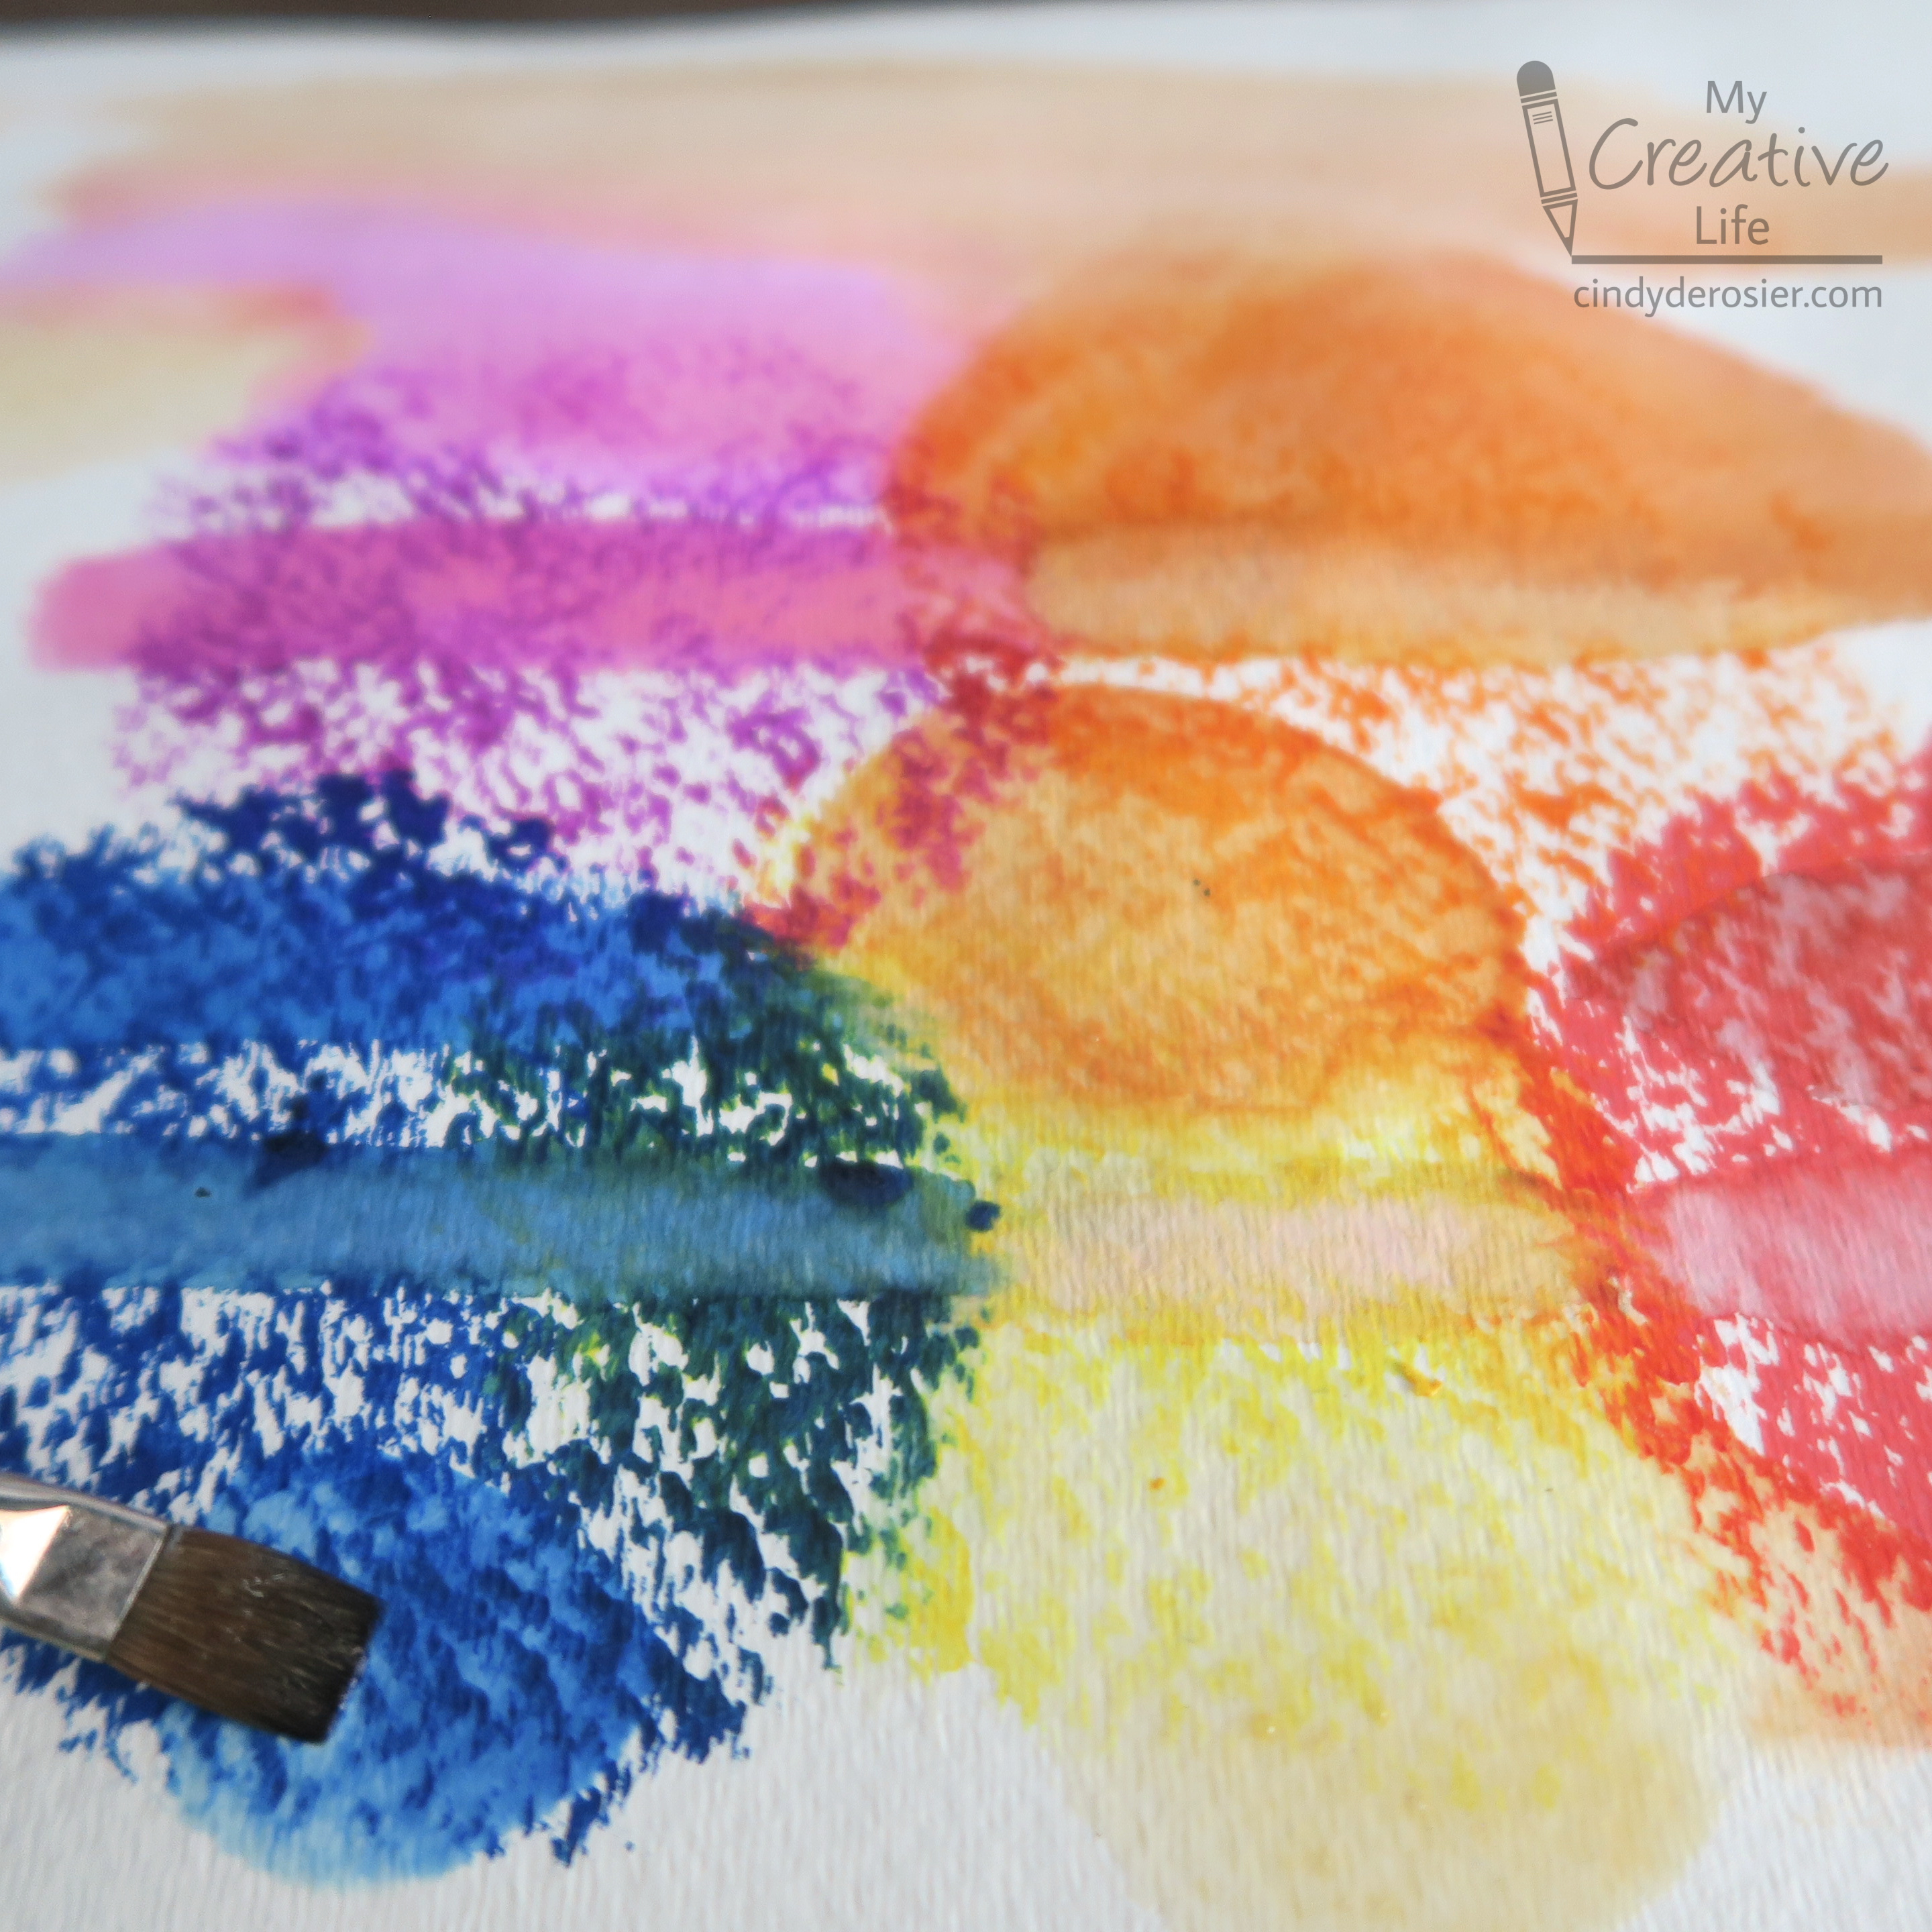
I switched to watercolor paper and made some blobs of color with four different paint sticks. 


Then I dragged a wet paintbrush through them. Very satisfying!


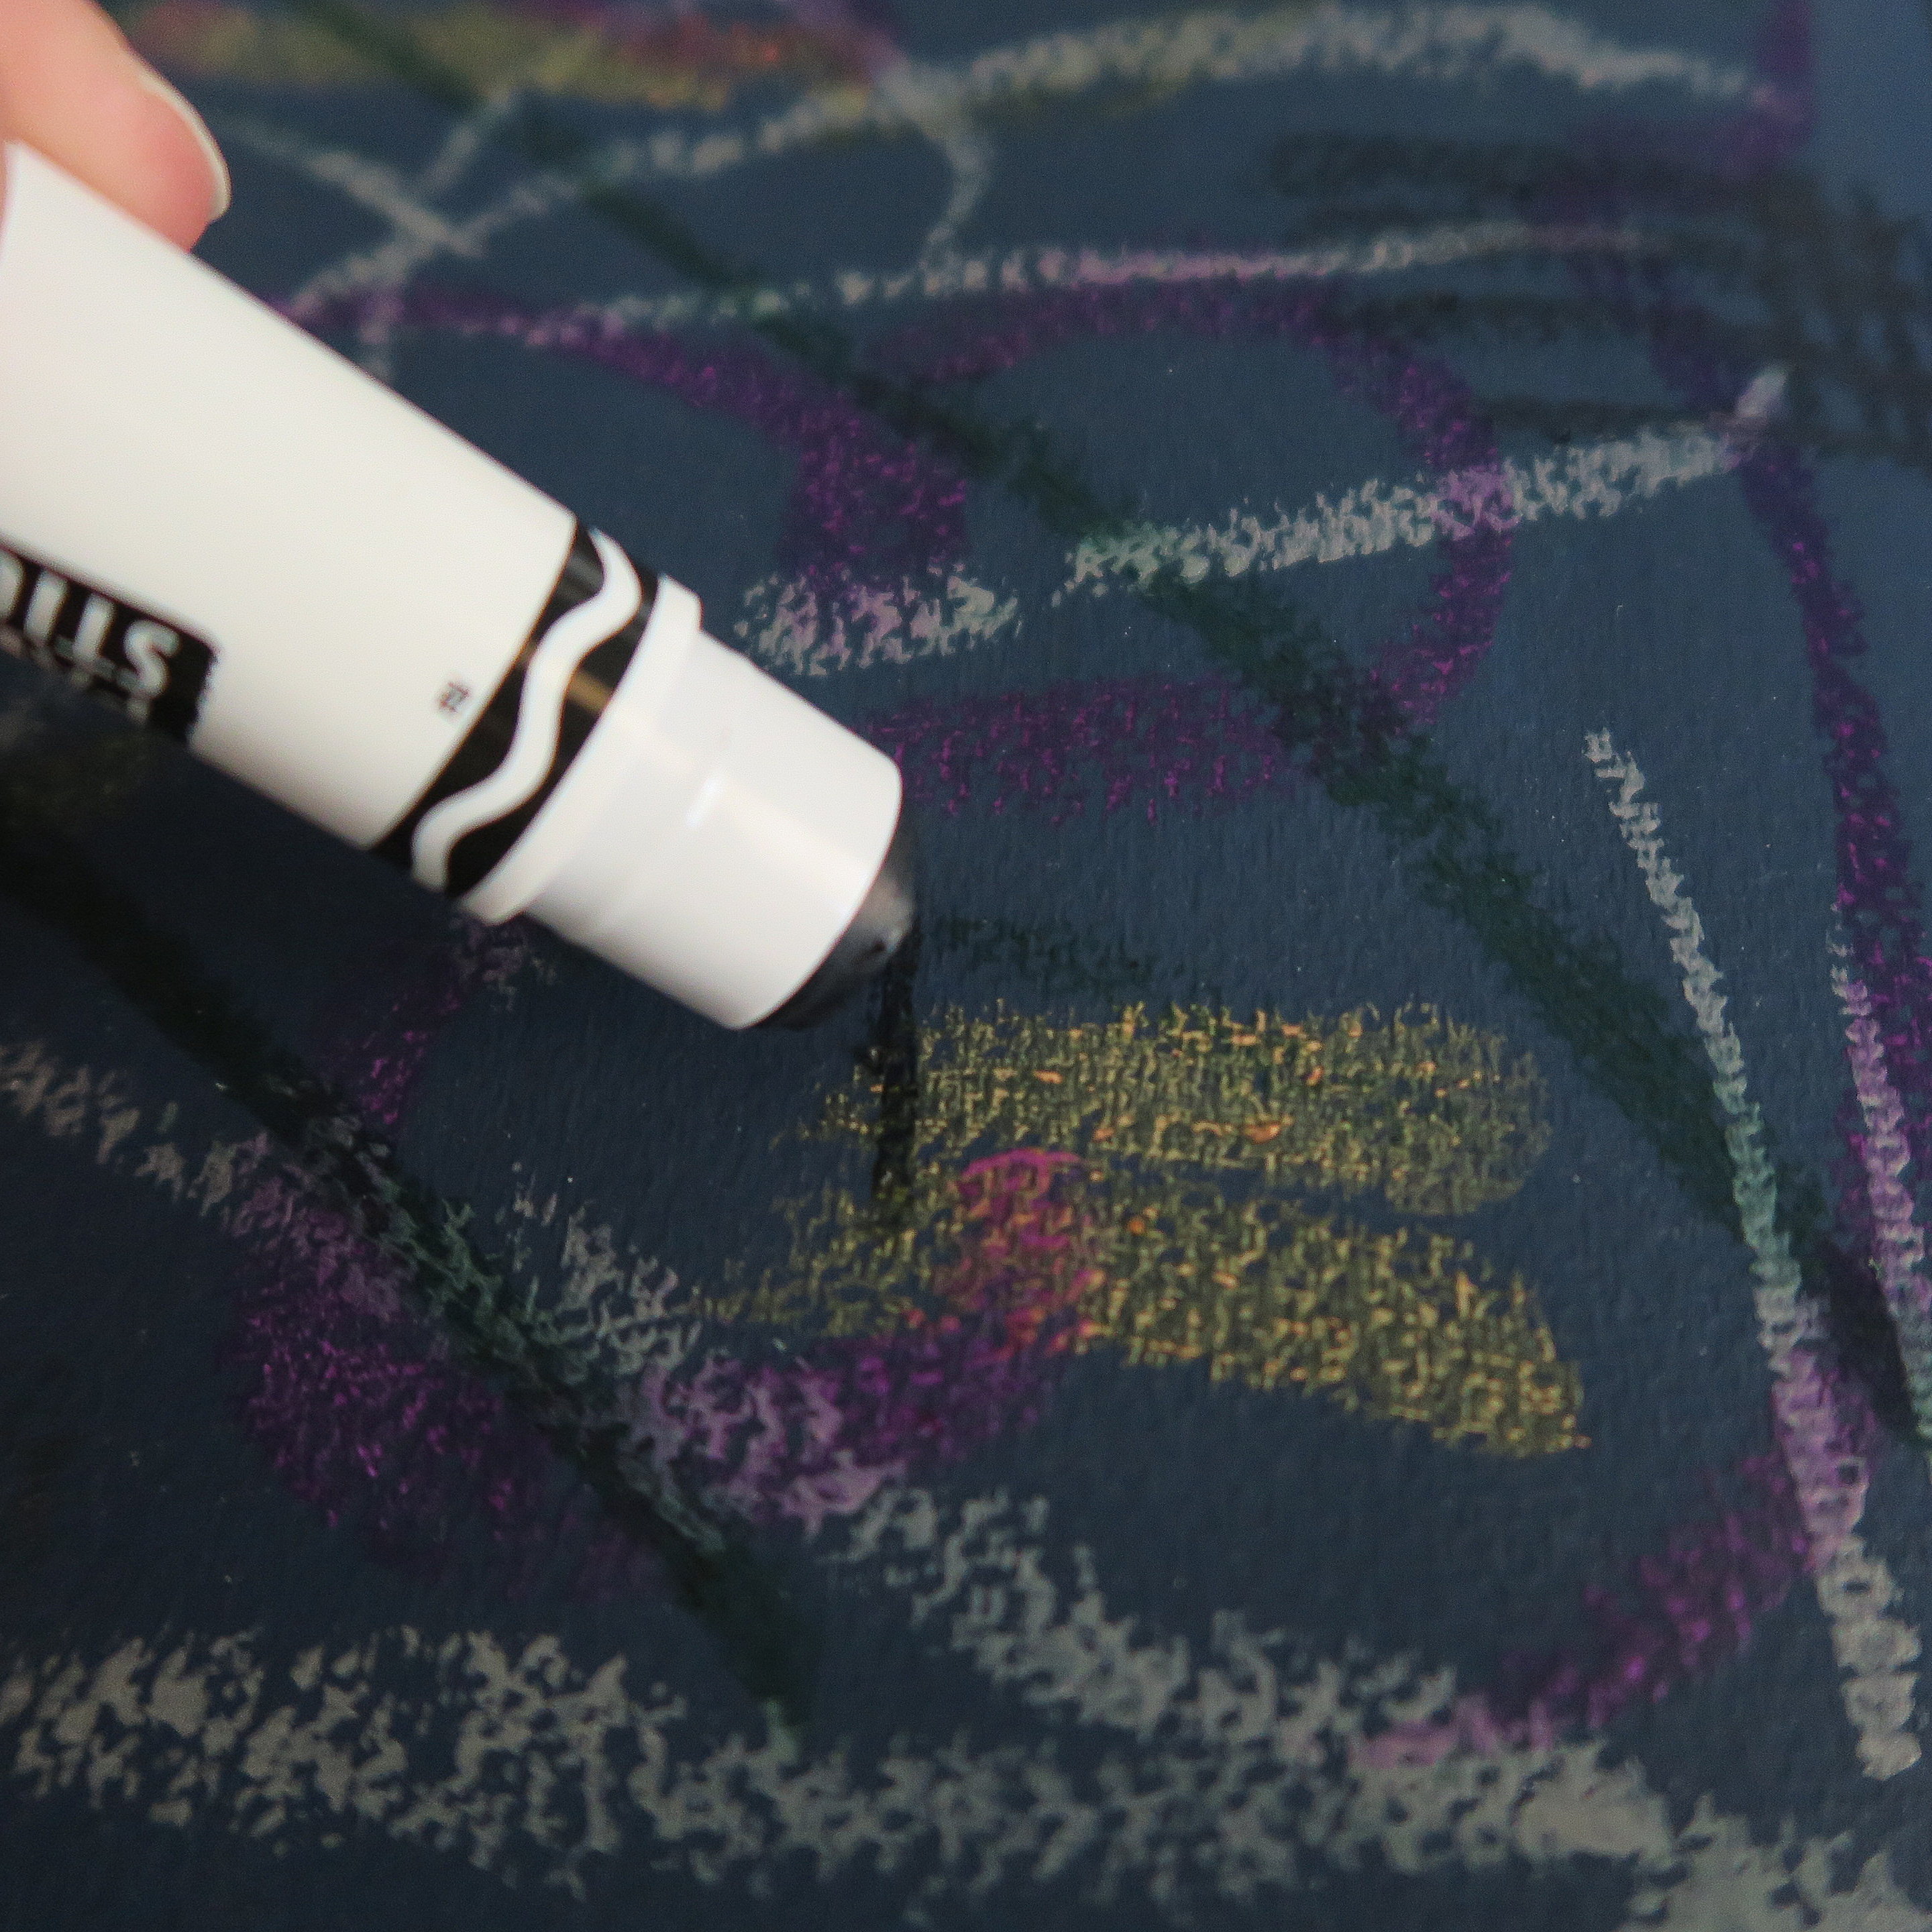
I tried each of the colors on a pre-painted dark navy page in my sketchbook. This is where the gold and silver worked best. 


Overall, I had fun trying out Crayola's Washable Paint Sticks. Like all washable art supplies, they are marketed toward young children. That's definitely the audience that will appreciate them the most. I can see myself using them in abstract paintings like this one, but otherwise I'll save them for crafting with young kids. 

Have you tried Crayola's Washable Paint Sticks? Or a different brand? Tell me what you think in the comments.

10/11/23

Trick or Treat Halloween Jar Coloring Page

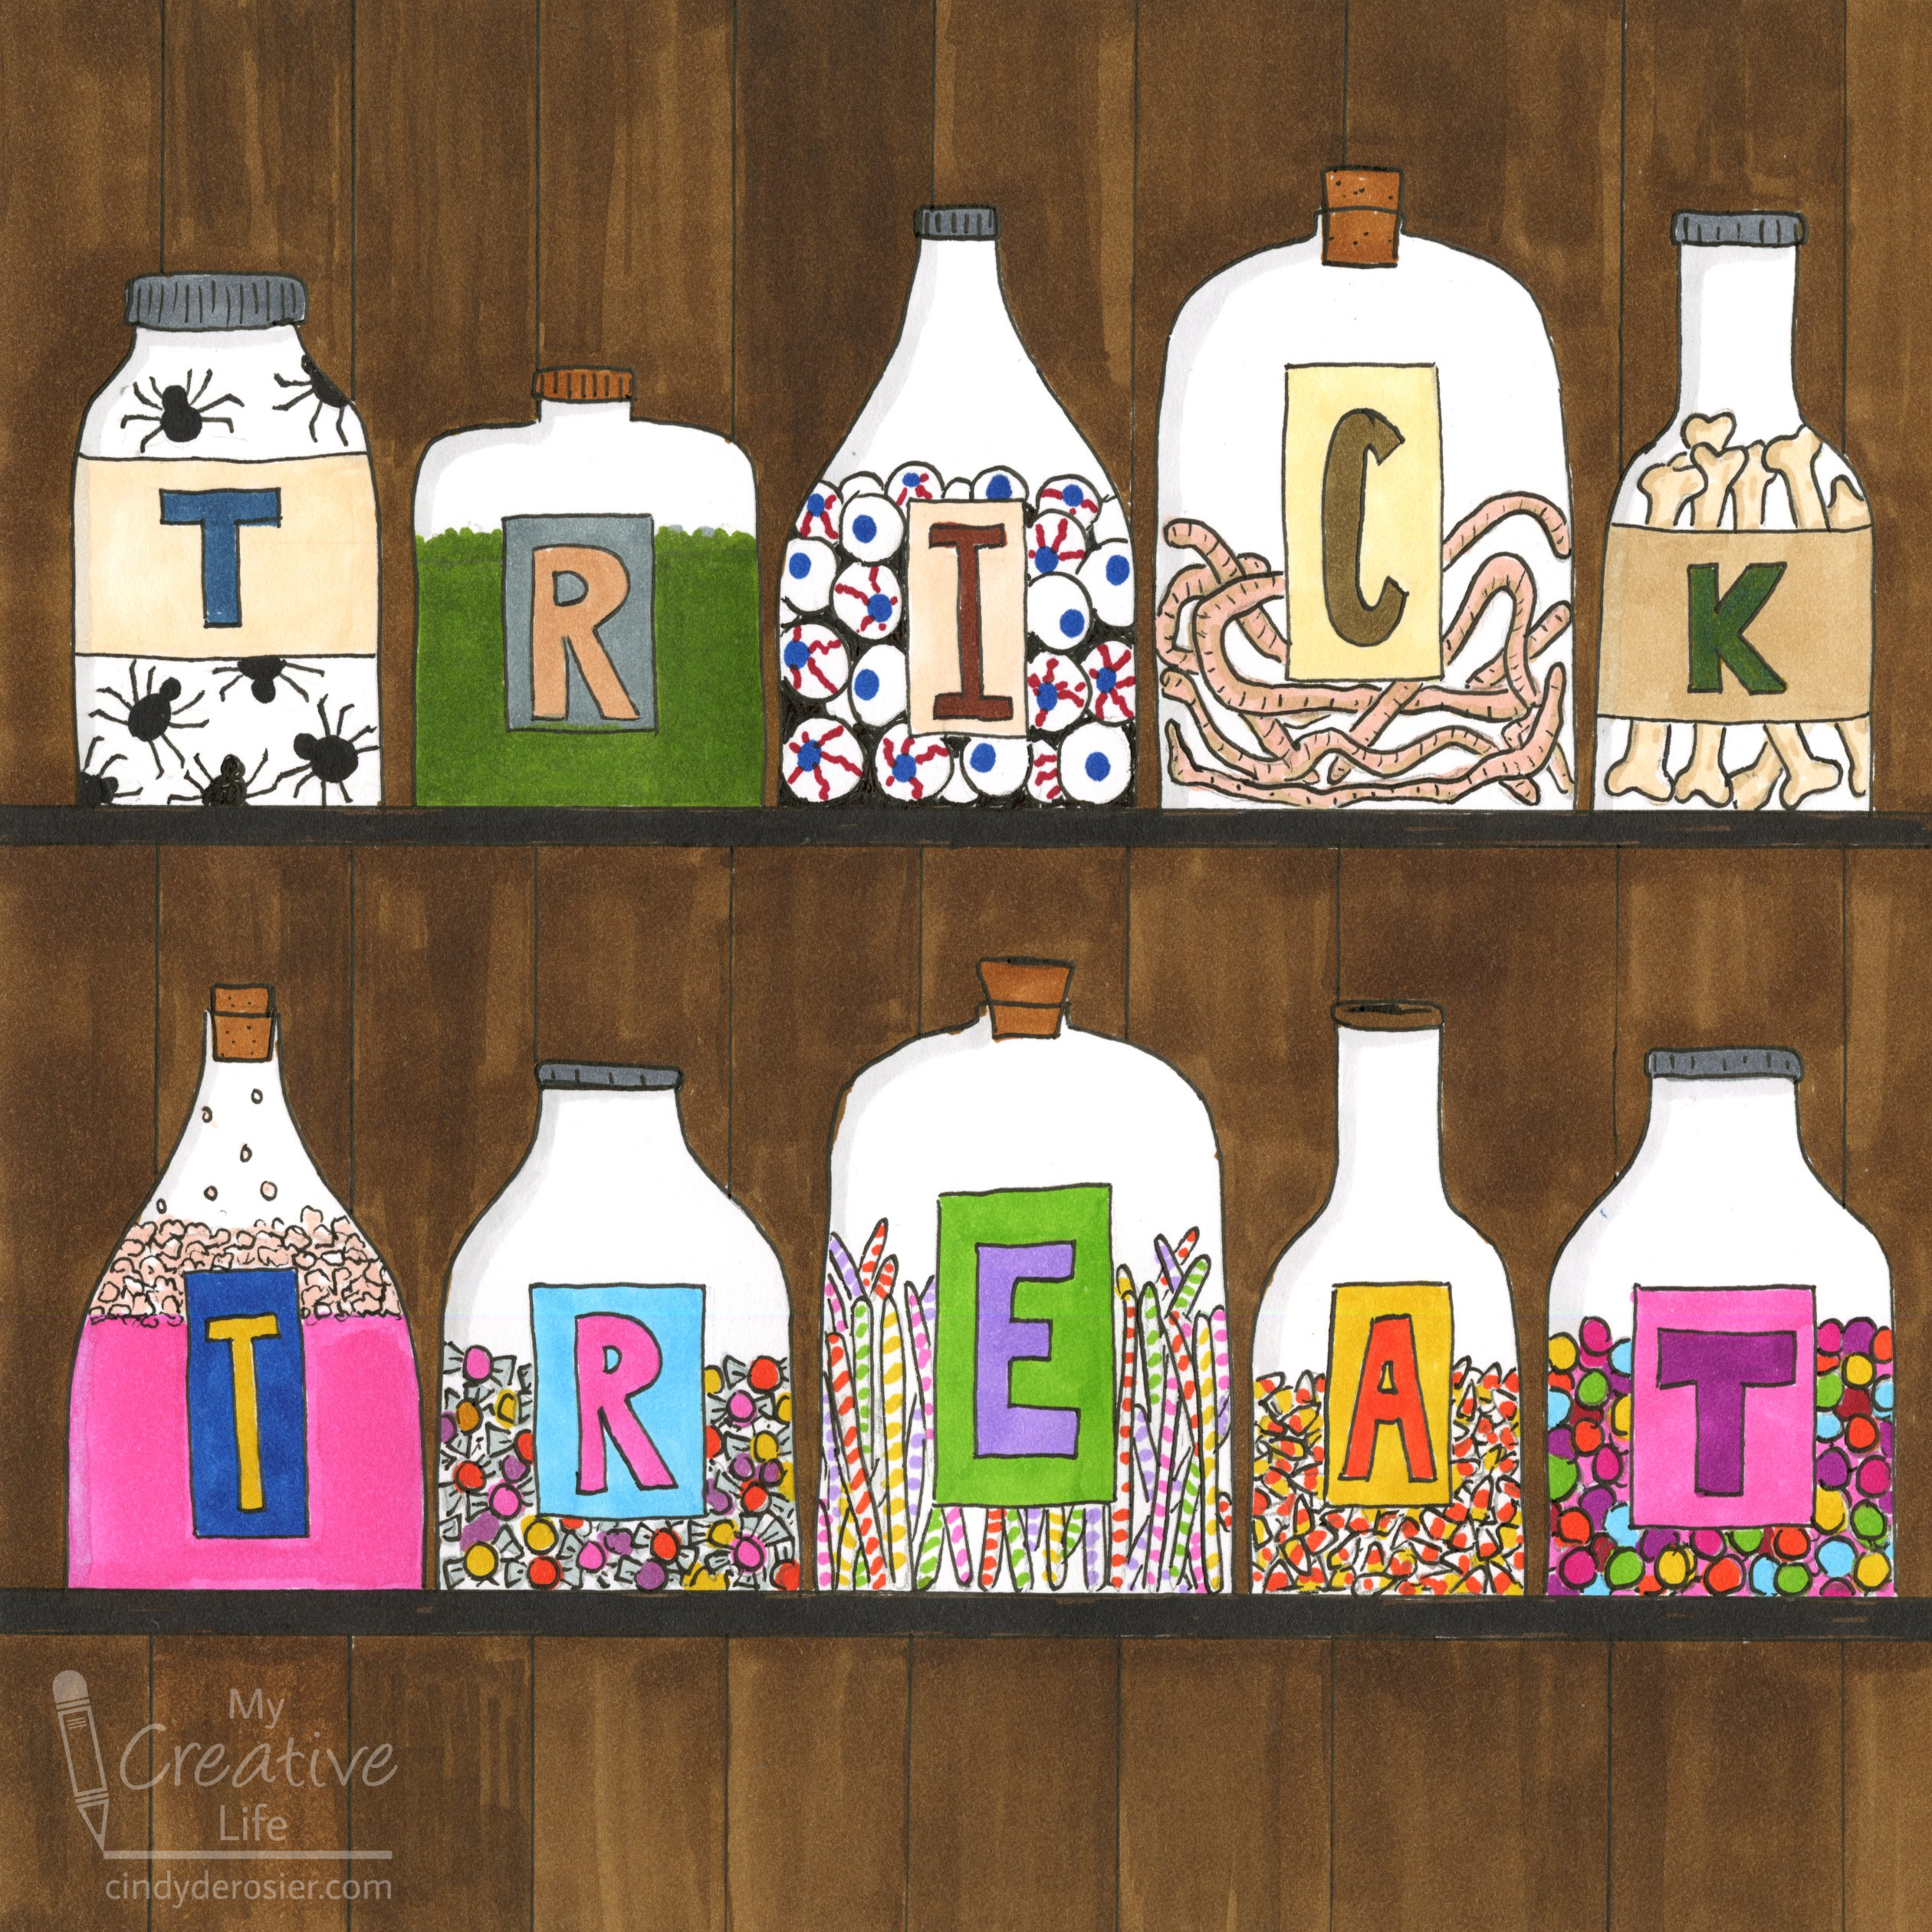
I was in the mood to color, so I pulled out my awesomely huge collection of Ohuhu markers and drew this:
 

Halloween crafts are so much fun! I loved deciding what trick or treat options someone might put in jars on their shelves. In retrospect, perhaps the eyeballs should have gone into a jar with a larger opening though. 

Below you'll find all the steps I did to make my drawing. If you want to skip the first steps and print out my line drawing as a coloring page, feel free. Affiliate links below. 


---------


Trick or Treat Halloween Jar Coloring Page


Materials:


Steps: 


Fold a scrap of cardstock in half. Cut out half-jar shapes along the fold so that they open to make a complete jar. Repeat with jars of different shapes and sizes, making sure they'll fit nicely on the drawing paper you're using.  


Use the fineliner to draw two horizontal lines on your drawing paper. These are the shelves. Position your jars the way you want them, then add a tiny dab of repositionable adhesive to the back of the jars to hold them in place. Carefully trace around each jar, then remove them. 

Add labels to your jars. 


Now grab those Ohuhus and start coloring! Fill each of the TRICK jars with something creepy and each of the TREAT jars with something tasty. You can color first and then outline in black, or outline first and then color. Both work. Obviously, you could also sketch your ideas with a pencil first. When you've filled your jars, you can add lids and stoppers. Or not. I toyed with the idea of leaving the lid off the spiders and putting them all over the page. 
 

The last step is coloring the background, which really makes the jars pop. I used a single Ohuhu pen to make the wood paneling. You can get great variegation by laying down different amounts of ink. 


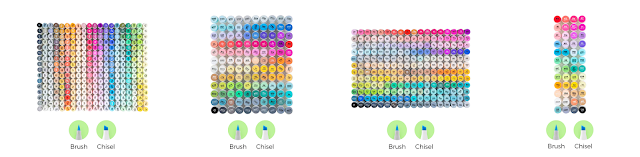
If you're seeing this on the day I published it, Amazon has an AMAZING sale on Ohuhu markers right now! Check out all the different styles and sets. I've never seen a better price on alcohol markers, and Ohuhu makes some of the best.

10/10/23

BYSS World Series 2023: Senior Sunrise

It's October, which means that the Bash Your Scrapbook Stash World Series is back! I'm on the Scrappin' Banshees team again. We just completed our first game and I'm really happy with my contribution. Layouts like these are basically the reason I do challenges. Without a challenge prompt, it would have looked completely different. I love the creative push.

Senior Sunrise (affiliate link)


The layout tells the story of Trevor's Senior Sunrise. The senior class met at the football field at 6:00 am for games, donuts and cocoa, and to watch the sun rise on their senior year. They'll hold a Senior Sunset at the end of the school year. Such a fun tradition! 

For this game, we had four elements to include (1 point each), then a fifth element to earn the grand slam (2 additional points). 


Using one or two photos was easy for me, as was including a Project Life card. The other elements were more challenging. I added enamel dots to my journaling card, make a faux PL card by using a chevron stencil and a corner rounder, and used mists to make the ombre on the title. 

Go Banshees!

10/9/23

deRosier US Tour Puzzle

Remember the custom puzzle I put out for our 50 State Party? It's a 1000-piece puzzle. Because it has a lot of text, I fully expected that we'd finish it, or at least get close, during the 4+ hour party. Nope! Not even close. Even with multiple people working on it, the puzzle was less than 10% done when the last guests left. It turns out that I accidentally designed a REALLY challenging puzzle. 

It took me a good two weeks putting in a few pieces here and there when I had time. To complete the solid black areas, I had to sort by shape and try them one by one until I got a fit. Not my favorite way to puzzle, but it was SO satisfying to finish.  


There are quite a few things I could have done to make the puzzle easier. Obviously, a lower piece count would do the trick. Instead of a solid black background, any kind of gradient (even a subtle grey one) would have made a huge difference. Adding a contrasting frame, alternating the colors of the rows of text, or simply putting dashes or dots between each state name, would result in an easier puzzle. But easy isn't always the goal. I got a lot of satisfaction out of completing this challenging puzzle. 

As I mentioned in the original post, this came from puzzleYOU. The quality is superb. I absolutely love the thick pieces. They feel great in my hand and interlock beautifully. I'm already thinking about my next puzzleYOU puzzle... I think it's going to be inspired by this!