12/8/22

Paper-Pieced Sloth Card

I love sloths. I've seen them at zoos, of course, but I've also seen them in the wild in Costa Rica. They're awesome and the subject of my sixth project in my series based on crowd-sourced responses to ten questions. 

Sloth tied with kangaroo and giraffe for "Name an interesting animal." Giraffe crafts are common; we have a bunch on Fun Family Crafts, four of which are mine. We don't have any sloth or kangaroo crafts, so I checked other places. I found that kangaroo crafts are easier to find than sloth crafts, so I went with the sloth. 


Paper-Pieced Sloth Card


Materials:

  • cardstock or construction paper (white, blue, green, black, tans and browns)
  • scissors
  • glue

Steps: 


I started by making a white card base, then set it aside. I cut blue cardstock to make the card front, then went through my scraps to find green for the leaves and different browns and creams for the sloth and the branch. 
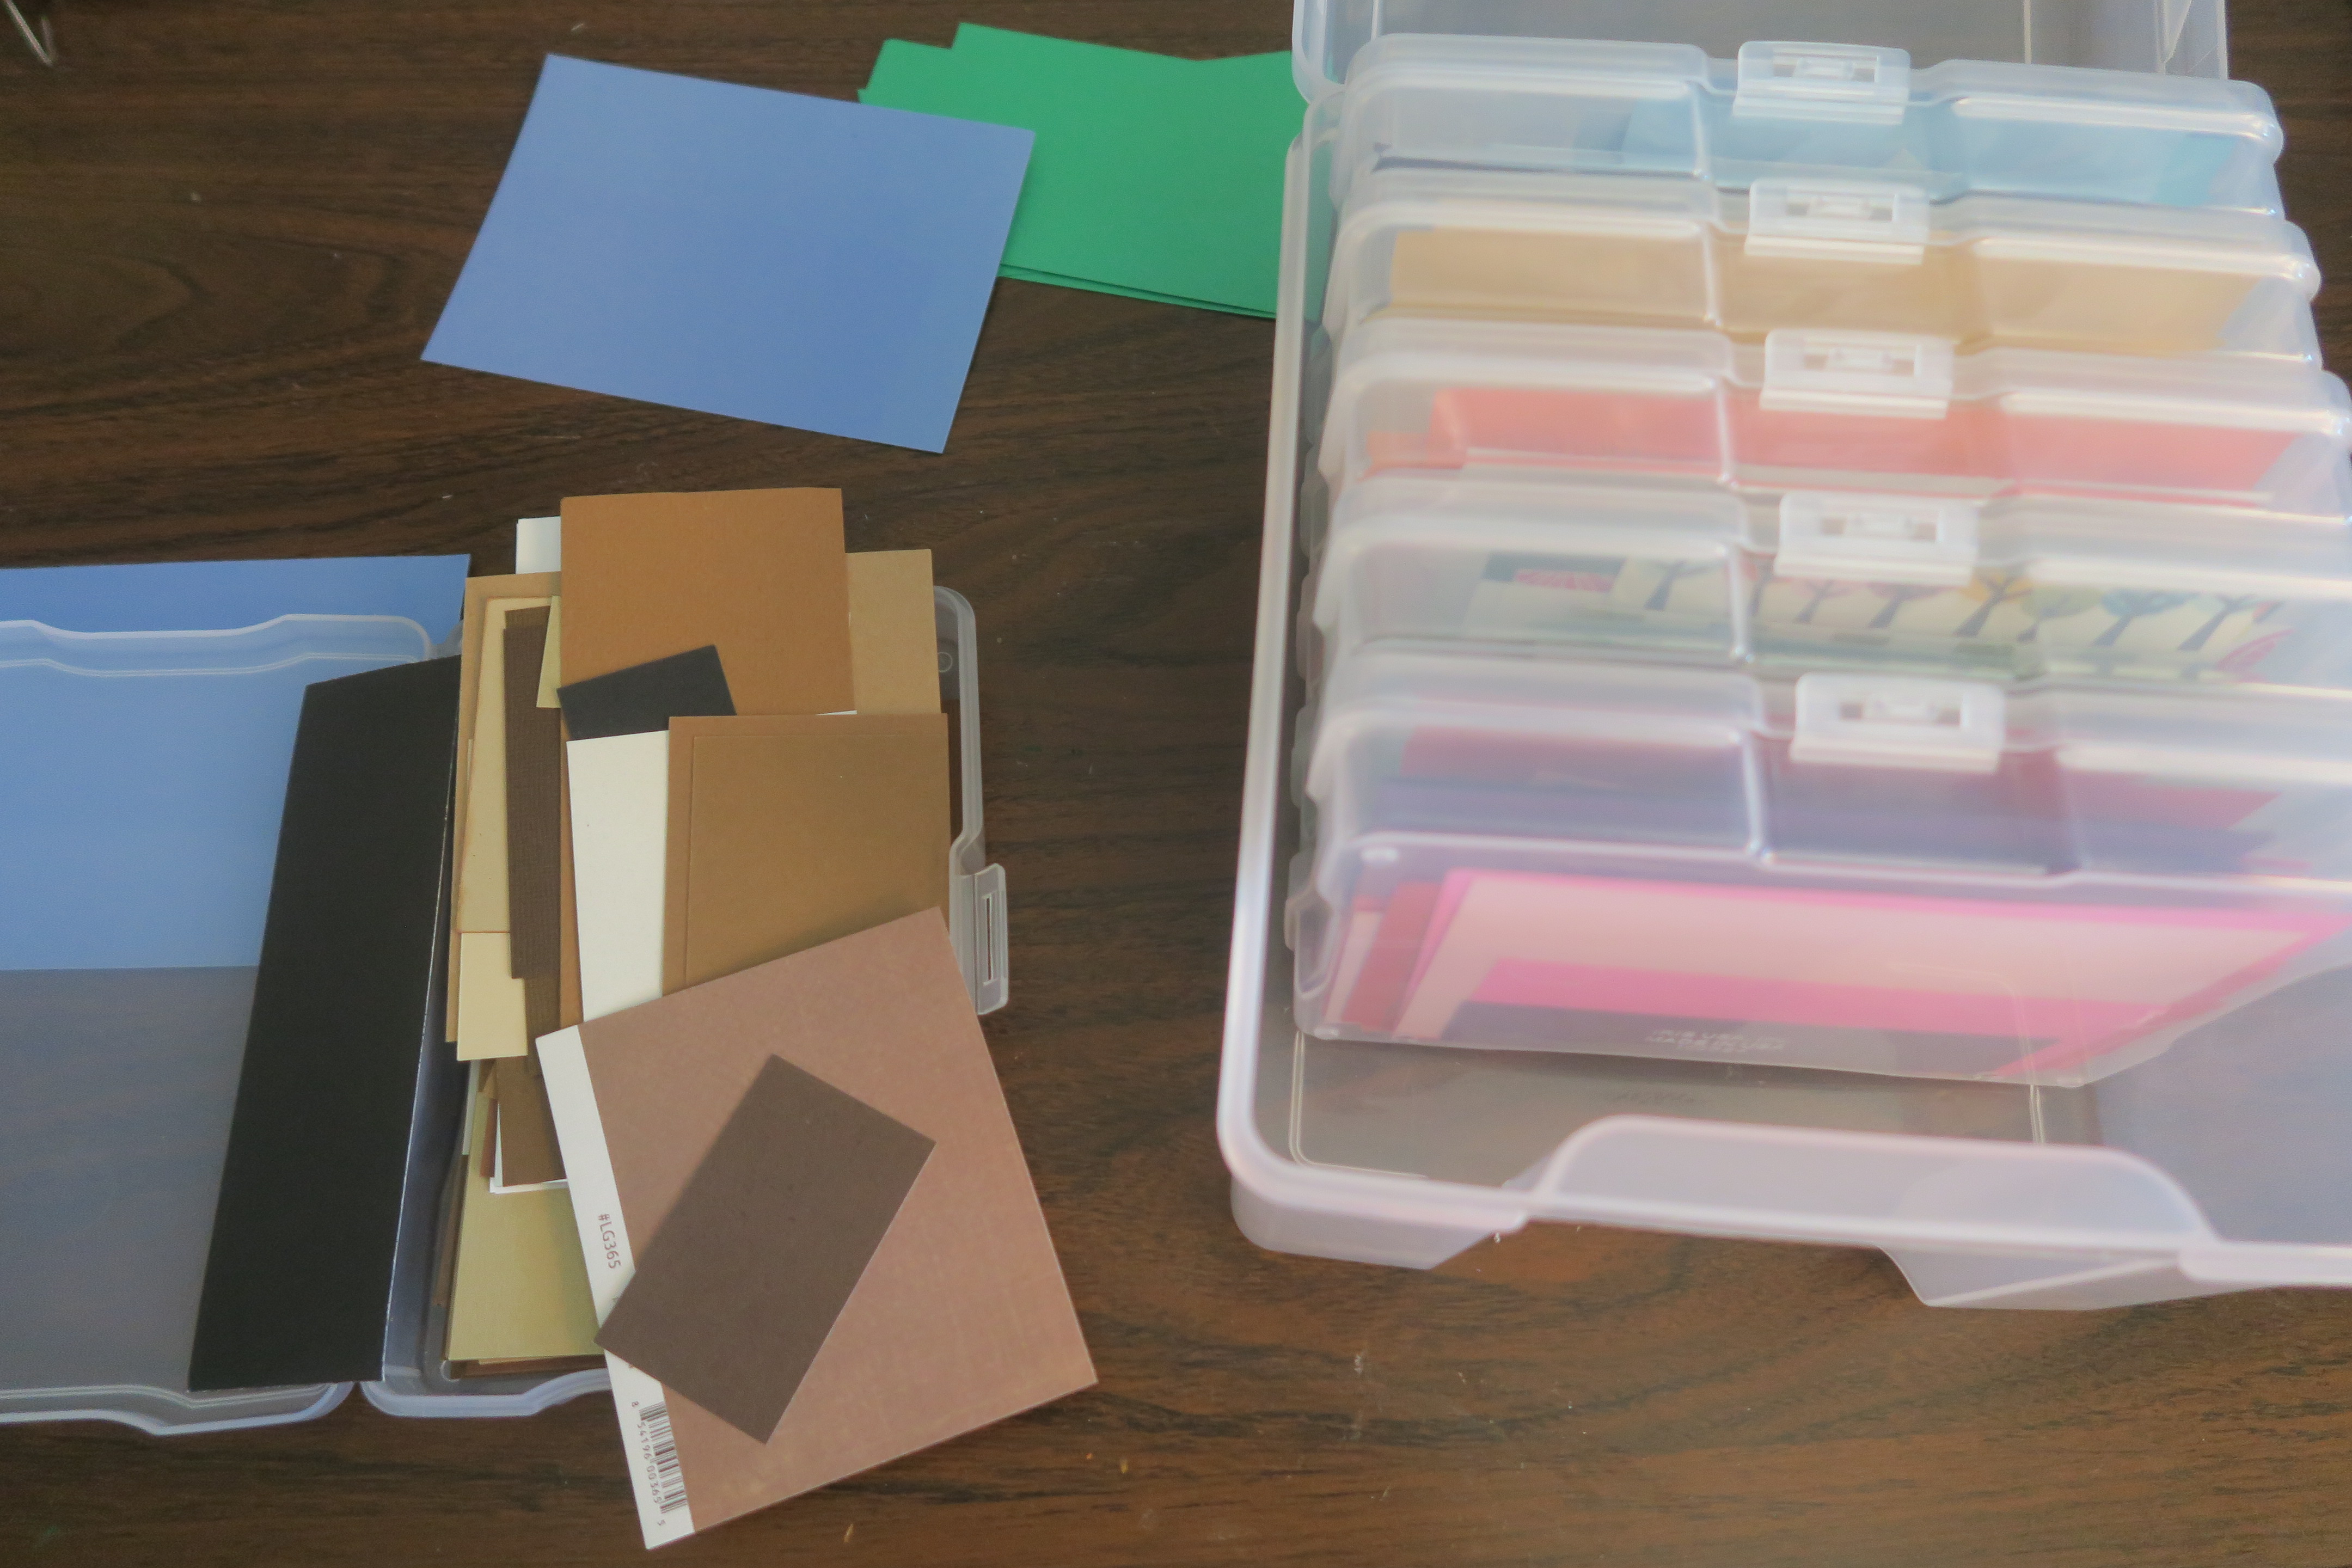

I picked a medium brown rectangle and cut two thin rectangles off the long side for the arms. I rounded off one end of the remaining piece to make the sloth's head. Then I chose a darker brown and cut a branch. I cut out some green leaves, then tackled the sloth's claws (3 on each arm).


I used these National Geographic photos (specifically #4) for my reference. Following the photo, I cut a cream-colored face, then comma-shaped eye markings, a nose, and a mouth from dark brown. I added black eyes.
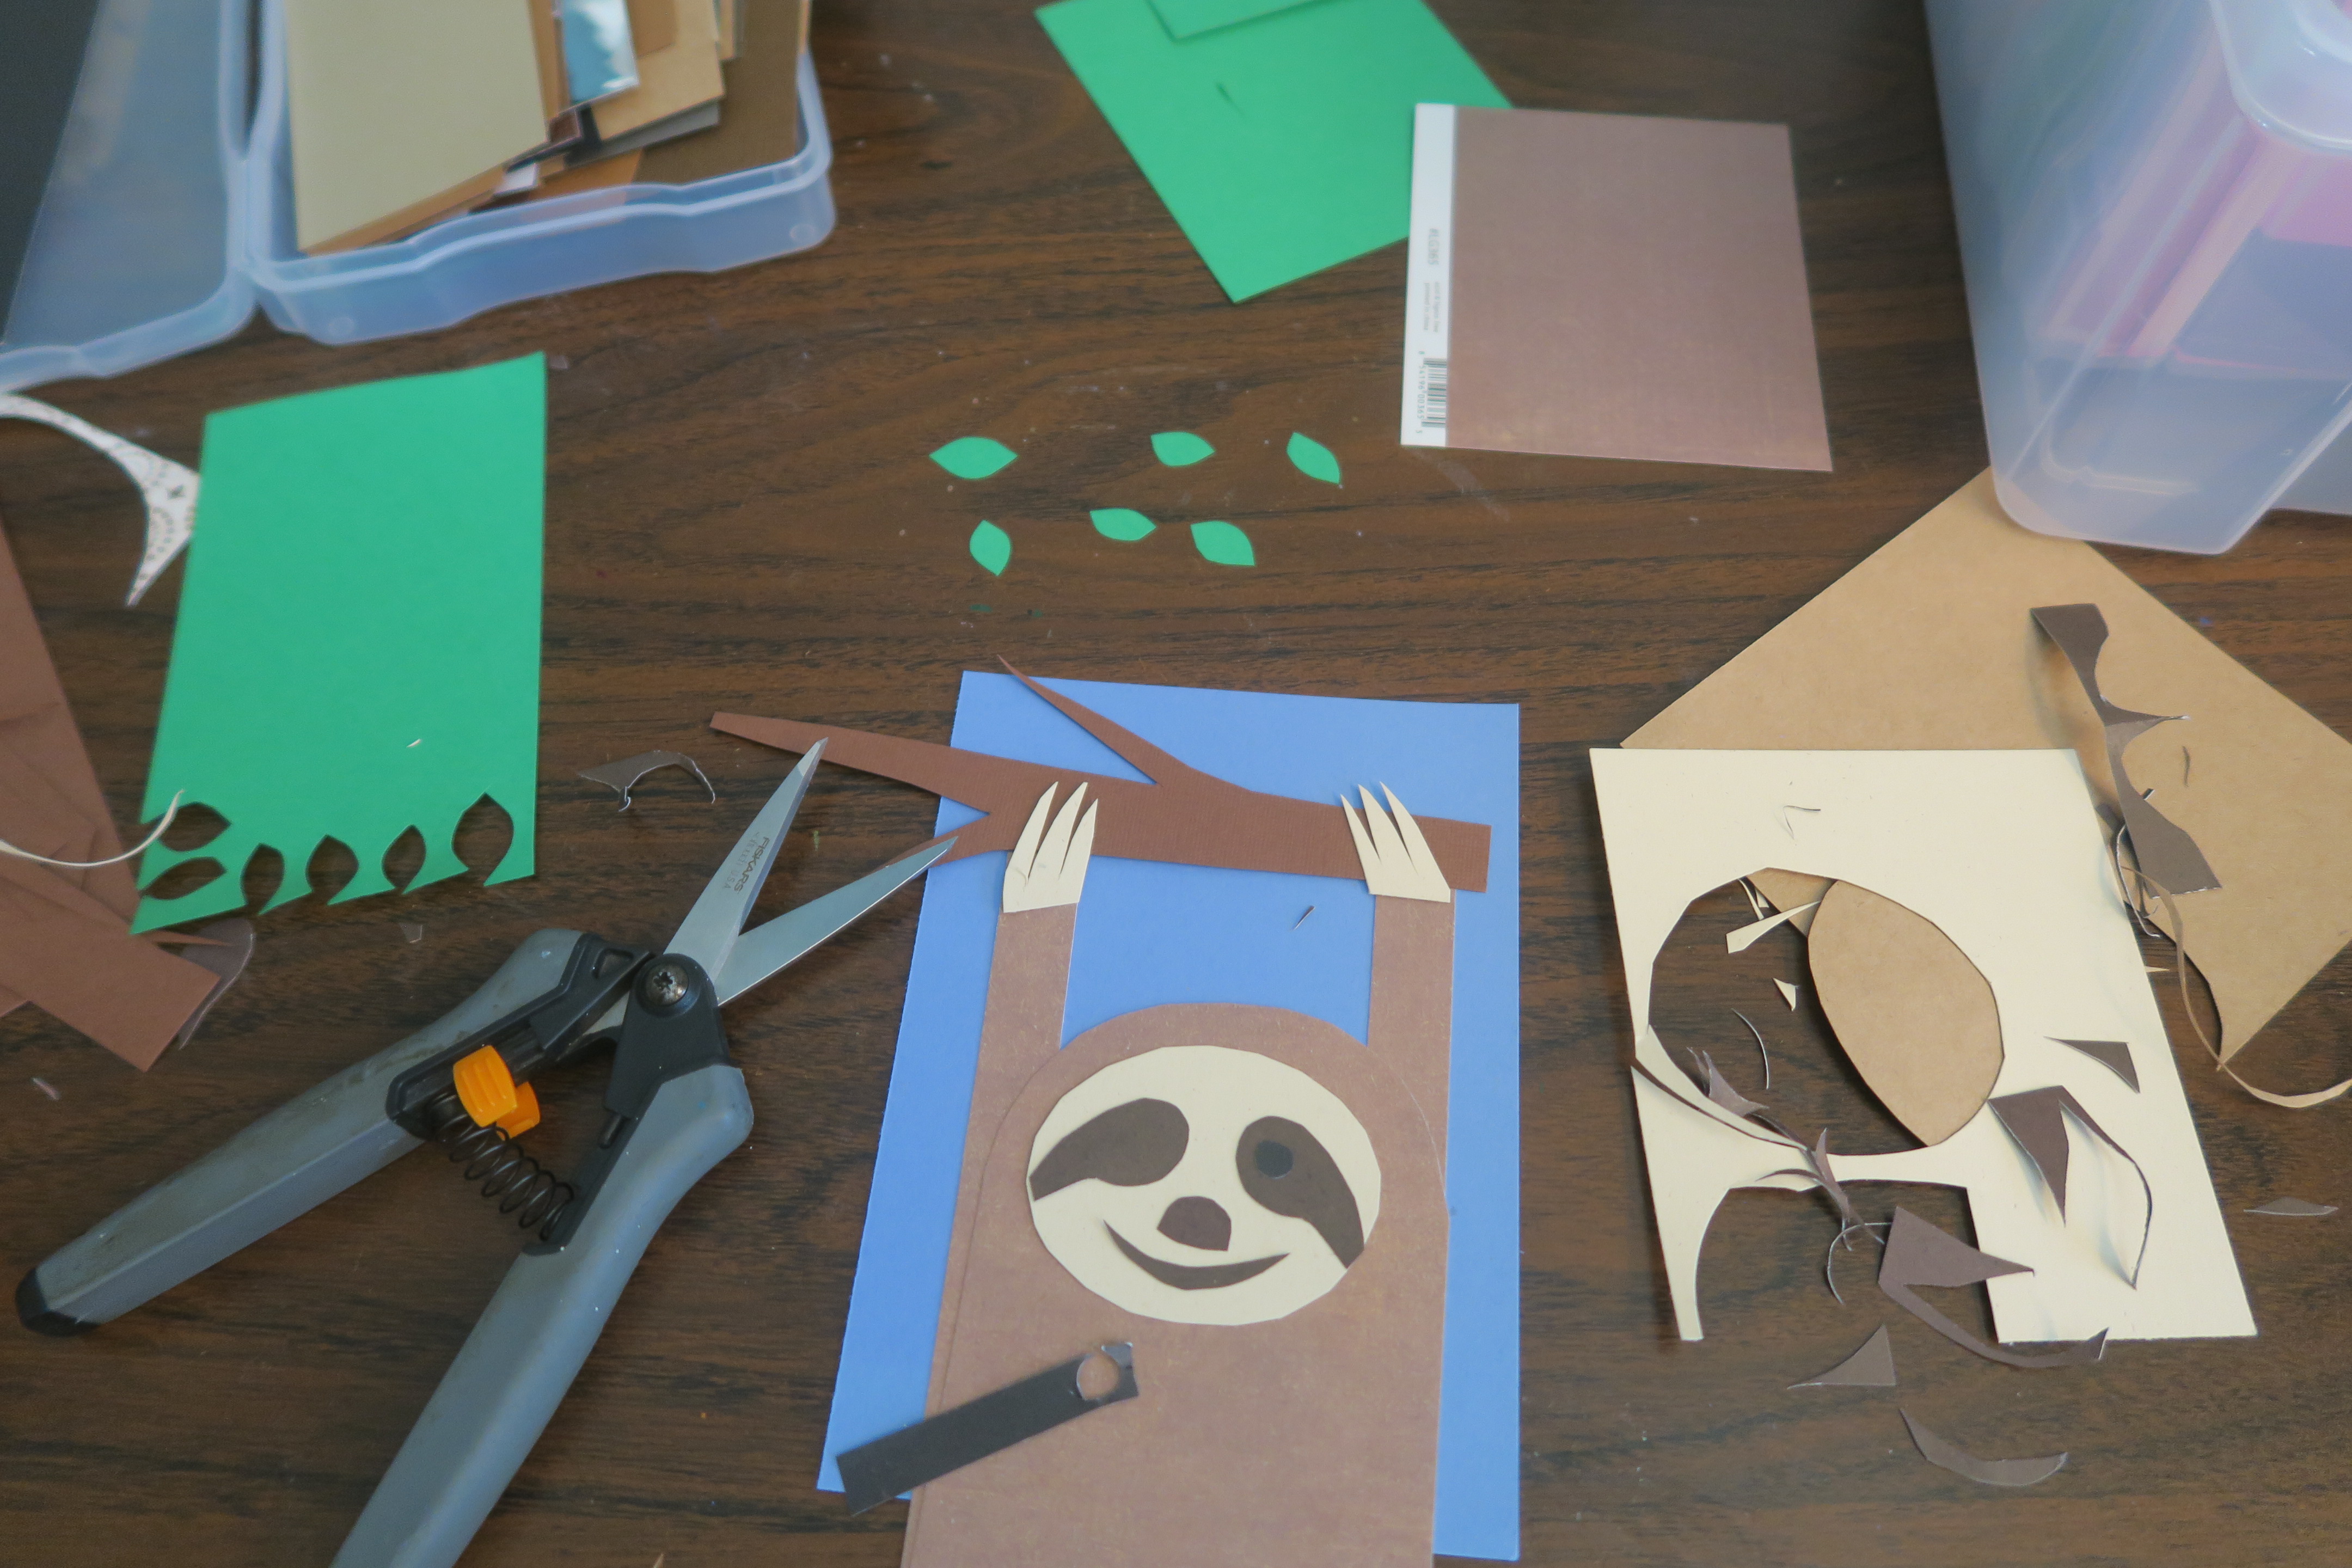

Once everything was cut, it was time to assemble. I glued all the face pieces in place, then used a white gel pen to add tiny catchlights to the eyes. I glued the face to the body, then moved the body out of the way so that I could glue the tree, arms, and claws. Then I added the body. I trimmed off the excess that hung off the edges, then folded the leaves in half to give them dimension and glued them to the branch. Finally, I glued the card front to the base. 
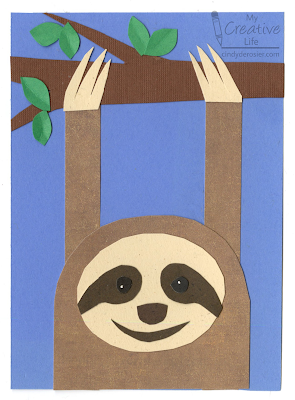

I haven't added a sentiment to my card yet, but there are lots of possibilities. Send a "Hang in there" card to someone who is struggling, or a "Sorry I was so slow..." card for a belated birthday. Anyone would appreciate "Keep Smiling." For someone who is working toward a goal, remind them that "Great things take time."

12/7/22

Halloween 2022

I already shared this year's Halloween costume, where Steve and I dressed up as a "Spaghetti Western." Here's the scrapbook page from our Halloween festivities. 

Halloween 2022 (affiliate link)

I paired a photo of Steve and me in our costumes with a group picture of the six of us around the fire pit, roasting marshmallows. I added three pieces of patterned paper (2 color blocks and the green sliver), grounded it with a border sticker, then decorated with more stickers. Everything on the page is from the same collection except for the number stickers. It's rare that I do that; as simple as they are, most of my pages have at least four manufacturers represented. This really simple page from 2011 (!) has ten manufacturers. I should try that challenge again and see how many I can use. 

12/6/22

Candy Cane Magazine Mosaic

Today's project is the fifth in my series based on crowd-sourced responses to ten questions. This one asked respondents to name something kids like. The top answer was candy, which is what I chose to inspire my project. Just like with yesterday's Picasso, I put a holiday spin on this craft. There are no shortage of candy cane crafts at Fun Family Crafts, plenty of which are mine, but a candy cane was perfect for some mosaic techniques I wanted to try. 


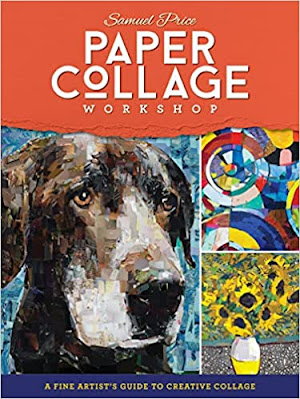
I just finished reading an excellent book, Paper Collage Workshop, by Samuel Price (affiliate link here and below). True to its name, this book feels very much like a workshop, leading the reader through the absolute basics first before progressing to increasingly difficult skills and projects. Check out the detail in this dog portrait. Wow. 


All of the projects toward the back of the book are way (WAY!) beyond my level, but that's fine. I picked up a lot of tips and tricks from Price that I used on my simple candy cane. And I am inspired to eventually try more advanced projects. 


Candy Cane Magazine Mosaic


Materials:


Steps:


Draw a candy cane on the paper. Color in the red stripes, then outline the candy cane with green. No need to be perfect. This will all be covered. And, at least in my case, it still won't be perfect. But no matter!


Go through the magazine to find some large white areas. Cut out the white in the shape of your candy cane. You can do this freehand or by putting the magazine page on top of your sketch and tracing. You will probably use 4-5 different pieces to cover the whole candy cane. Paint a thin layer of glue on the candy cane and place the white pieces where they go.  

Now look through the magazine and pull out sections with red. You may get lucky and find a gardening magazine about tomatoes, as I did. If not, check ads. Lots of then have red since it's attention-grabbing. Cut out the red stripes to fit the shapes, then glue them in place. This is a bit tedious, but again, there's no need for perfection. Here's how mine looked at this point: 


Fill in the background with green. Again, the gardening magazine was great for this; I found a two-page spread that was almost entirely solid green. After I cut out the text and photos, I had a great amount of green to use. I started with cutting pieces to butt up against the candy cane to define its edges and cover my white and red mistakes. Then I just worked my way outward with random squares. 


When the glue is dry, paint a final coat of paint over the entire surface to seal it.  Other than dry time, the project took me about an hour. Obviously, the size of your project and the size you decide to cut your collage pieces will determine how long it will take you. Enjoy!

12/5/22

How to Draw Santa, Inspired by Picasso

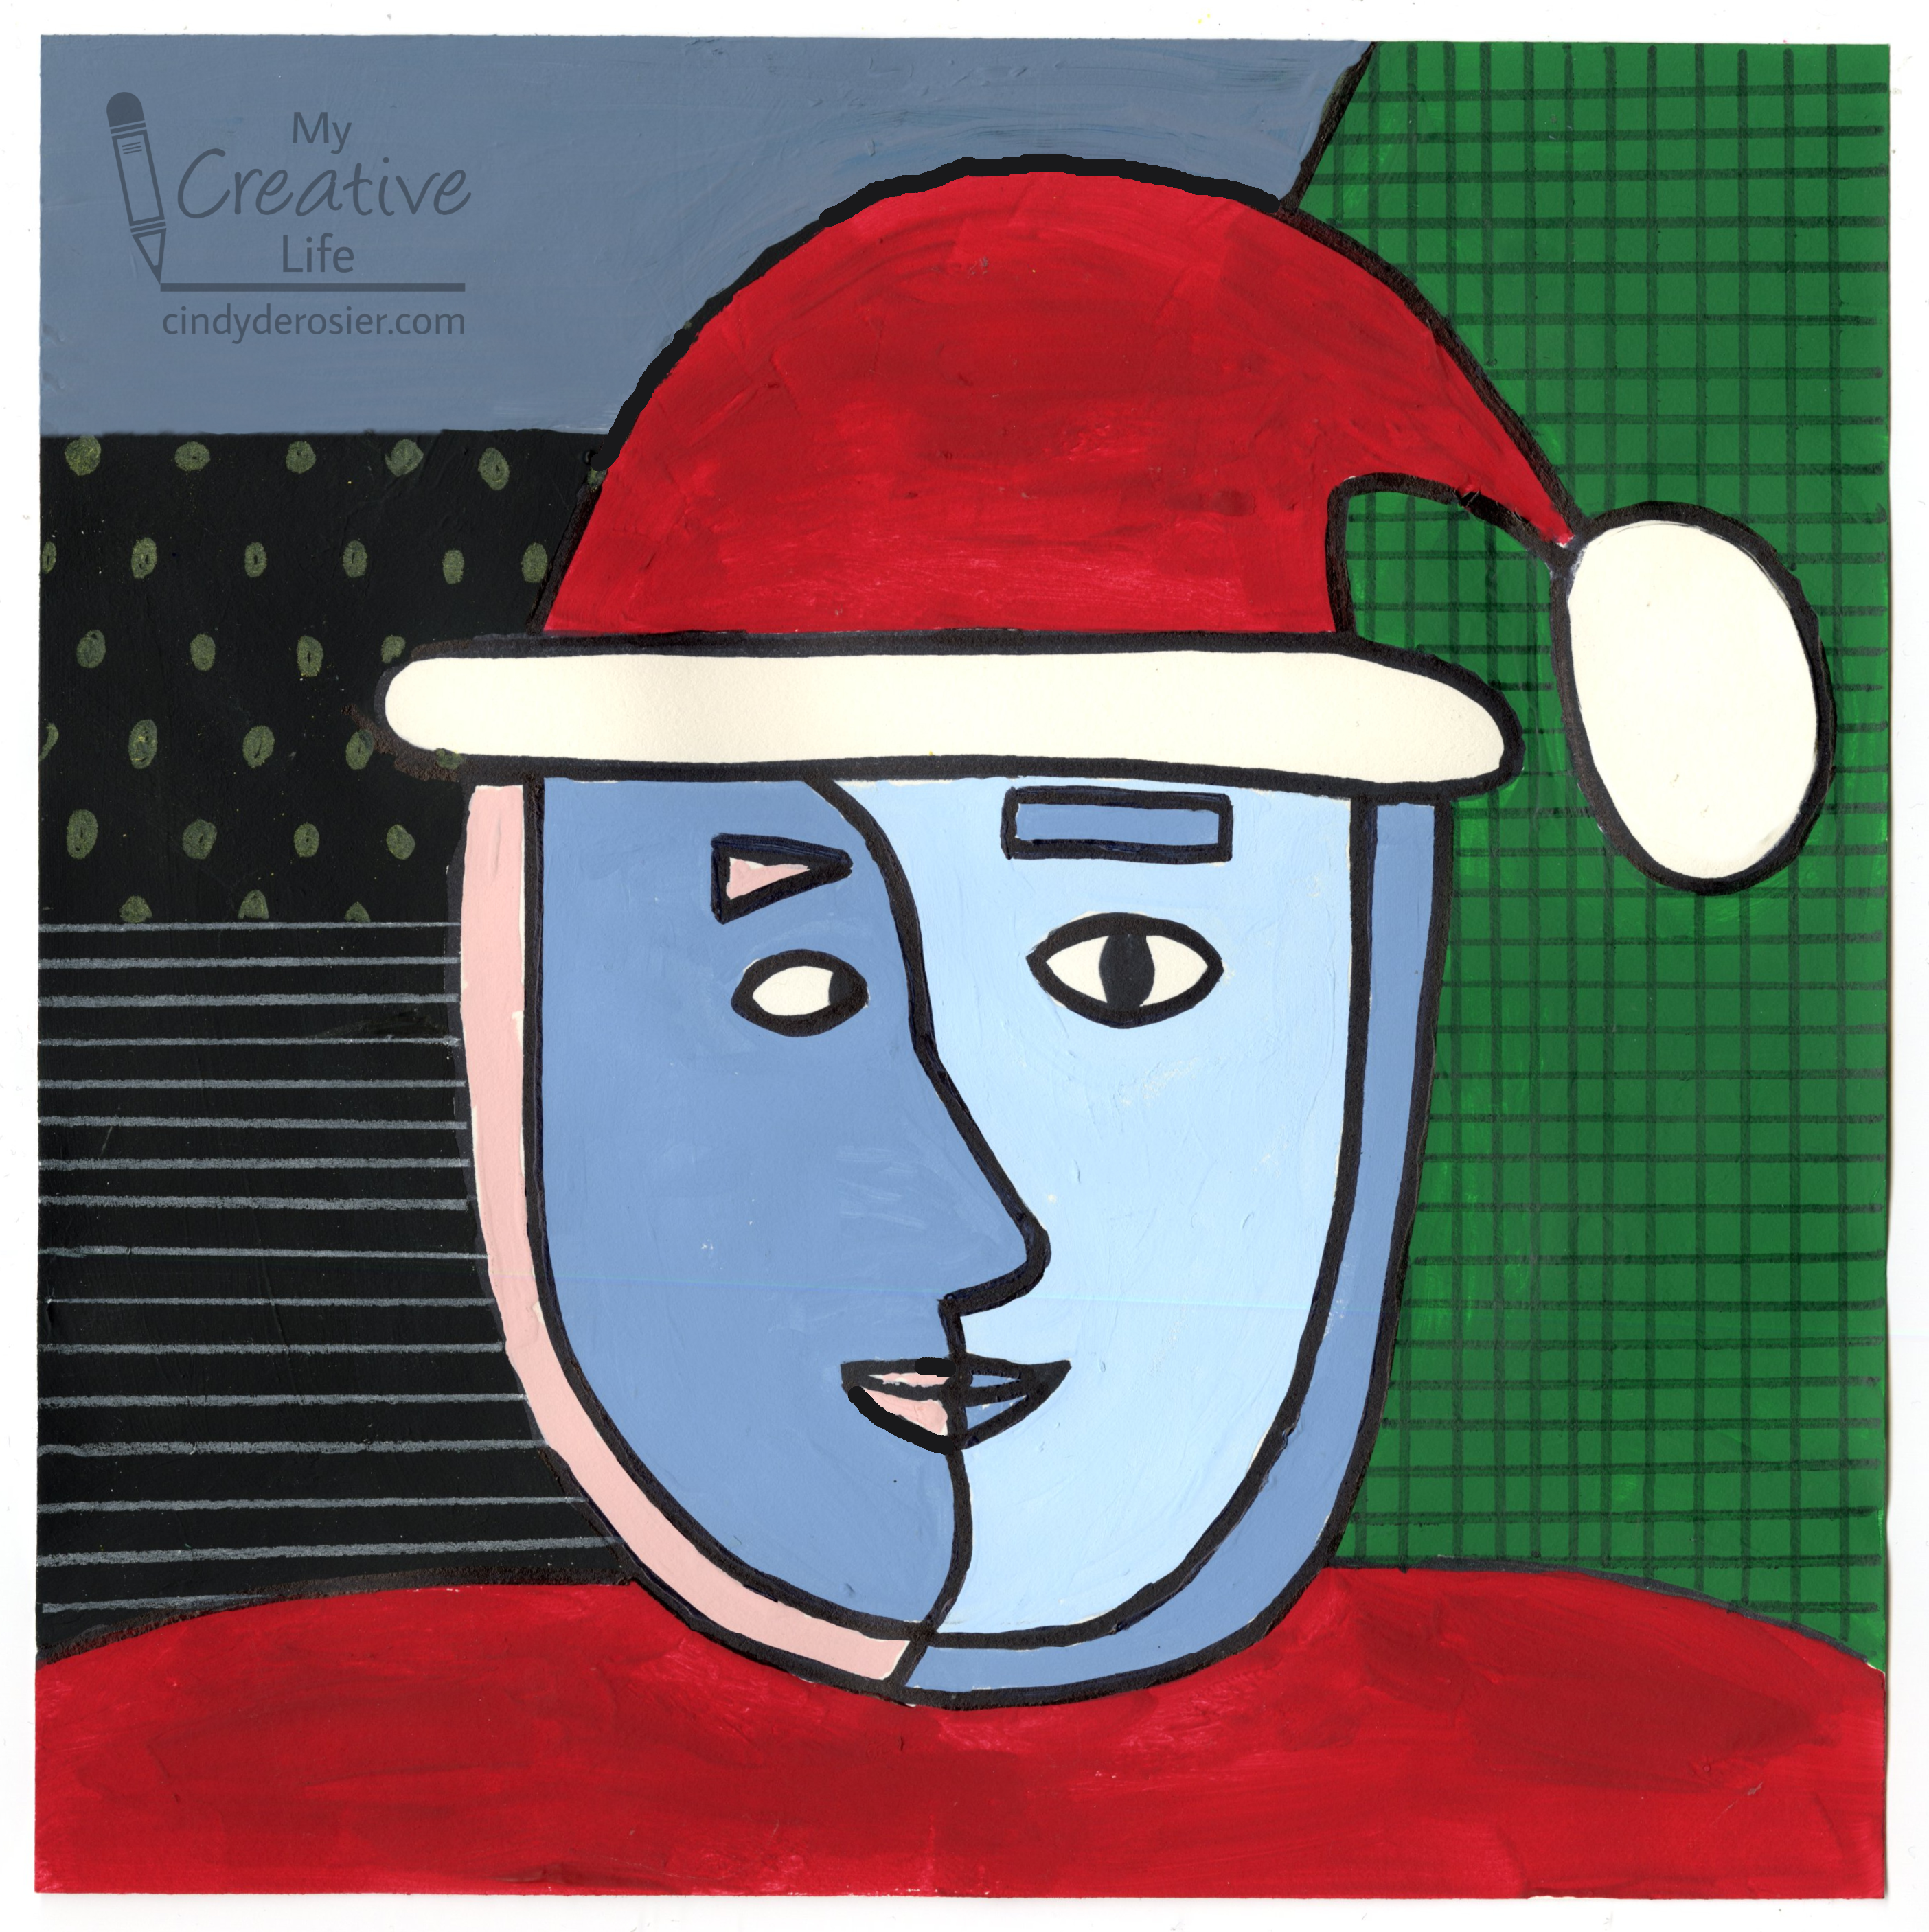
Today's project is the fourth in my series based on crowd-sourced responses to ten questions. For this one, I asked my friends to name a famous artist. The top answers were Van Gogh, Monet, and Picasso. We already have 10 kid-friendly crafts inspired by Van Gogh at Fun Family Crafts, but only one each that is Picasso-inspired and Monet-inspired. I chose Picasso and put a fun holiday twist on it. 


Santa Painting, Inspired by Picasso


Materials: 

  • paper
  • colored pencils
  • Sharpie
  • acrylic paint

Steps: 


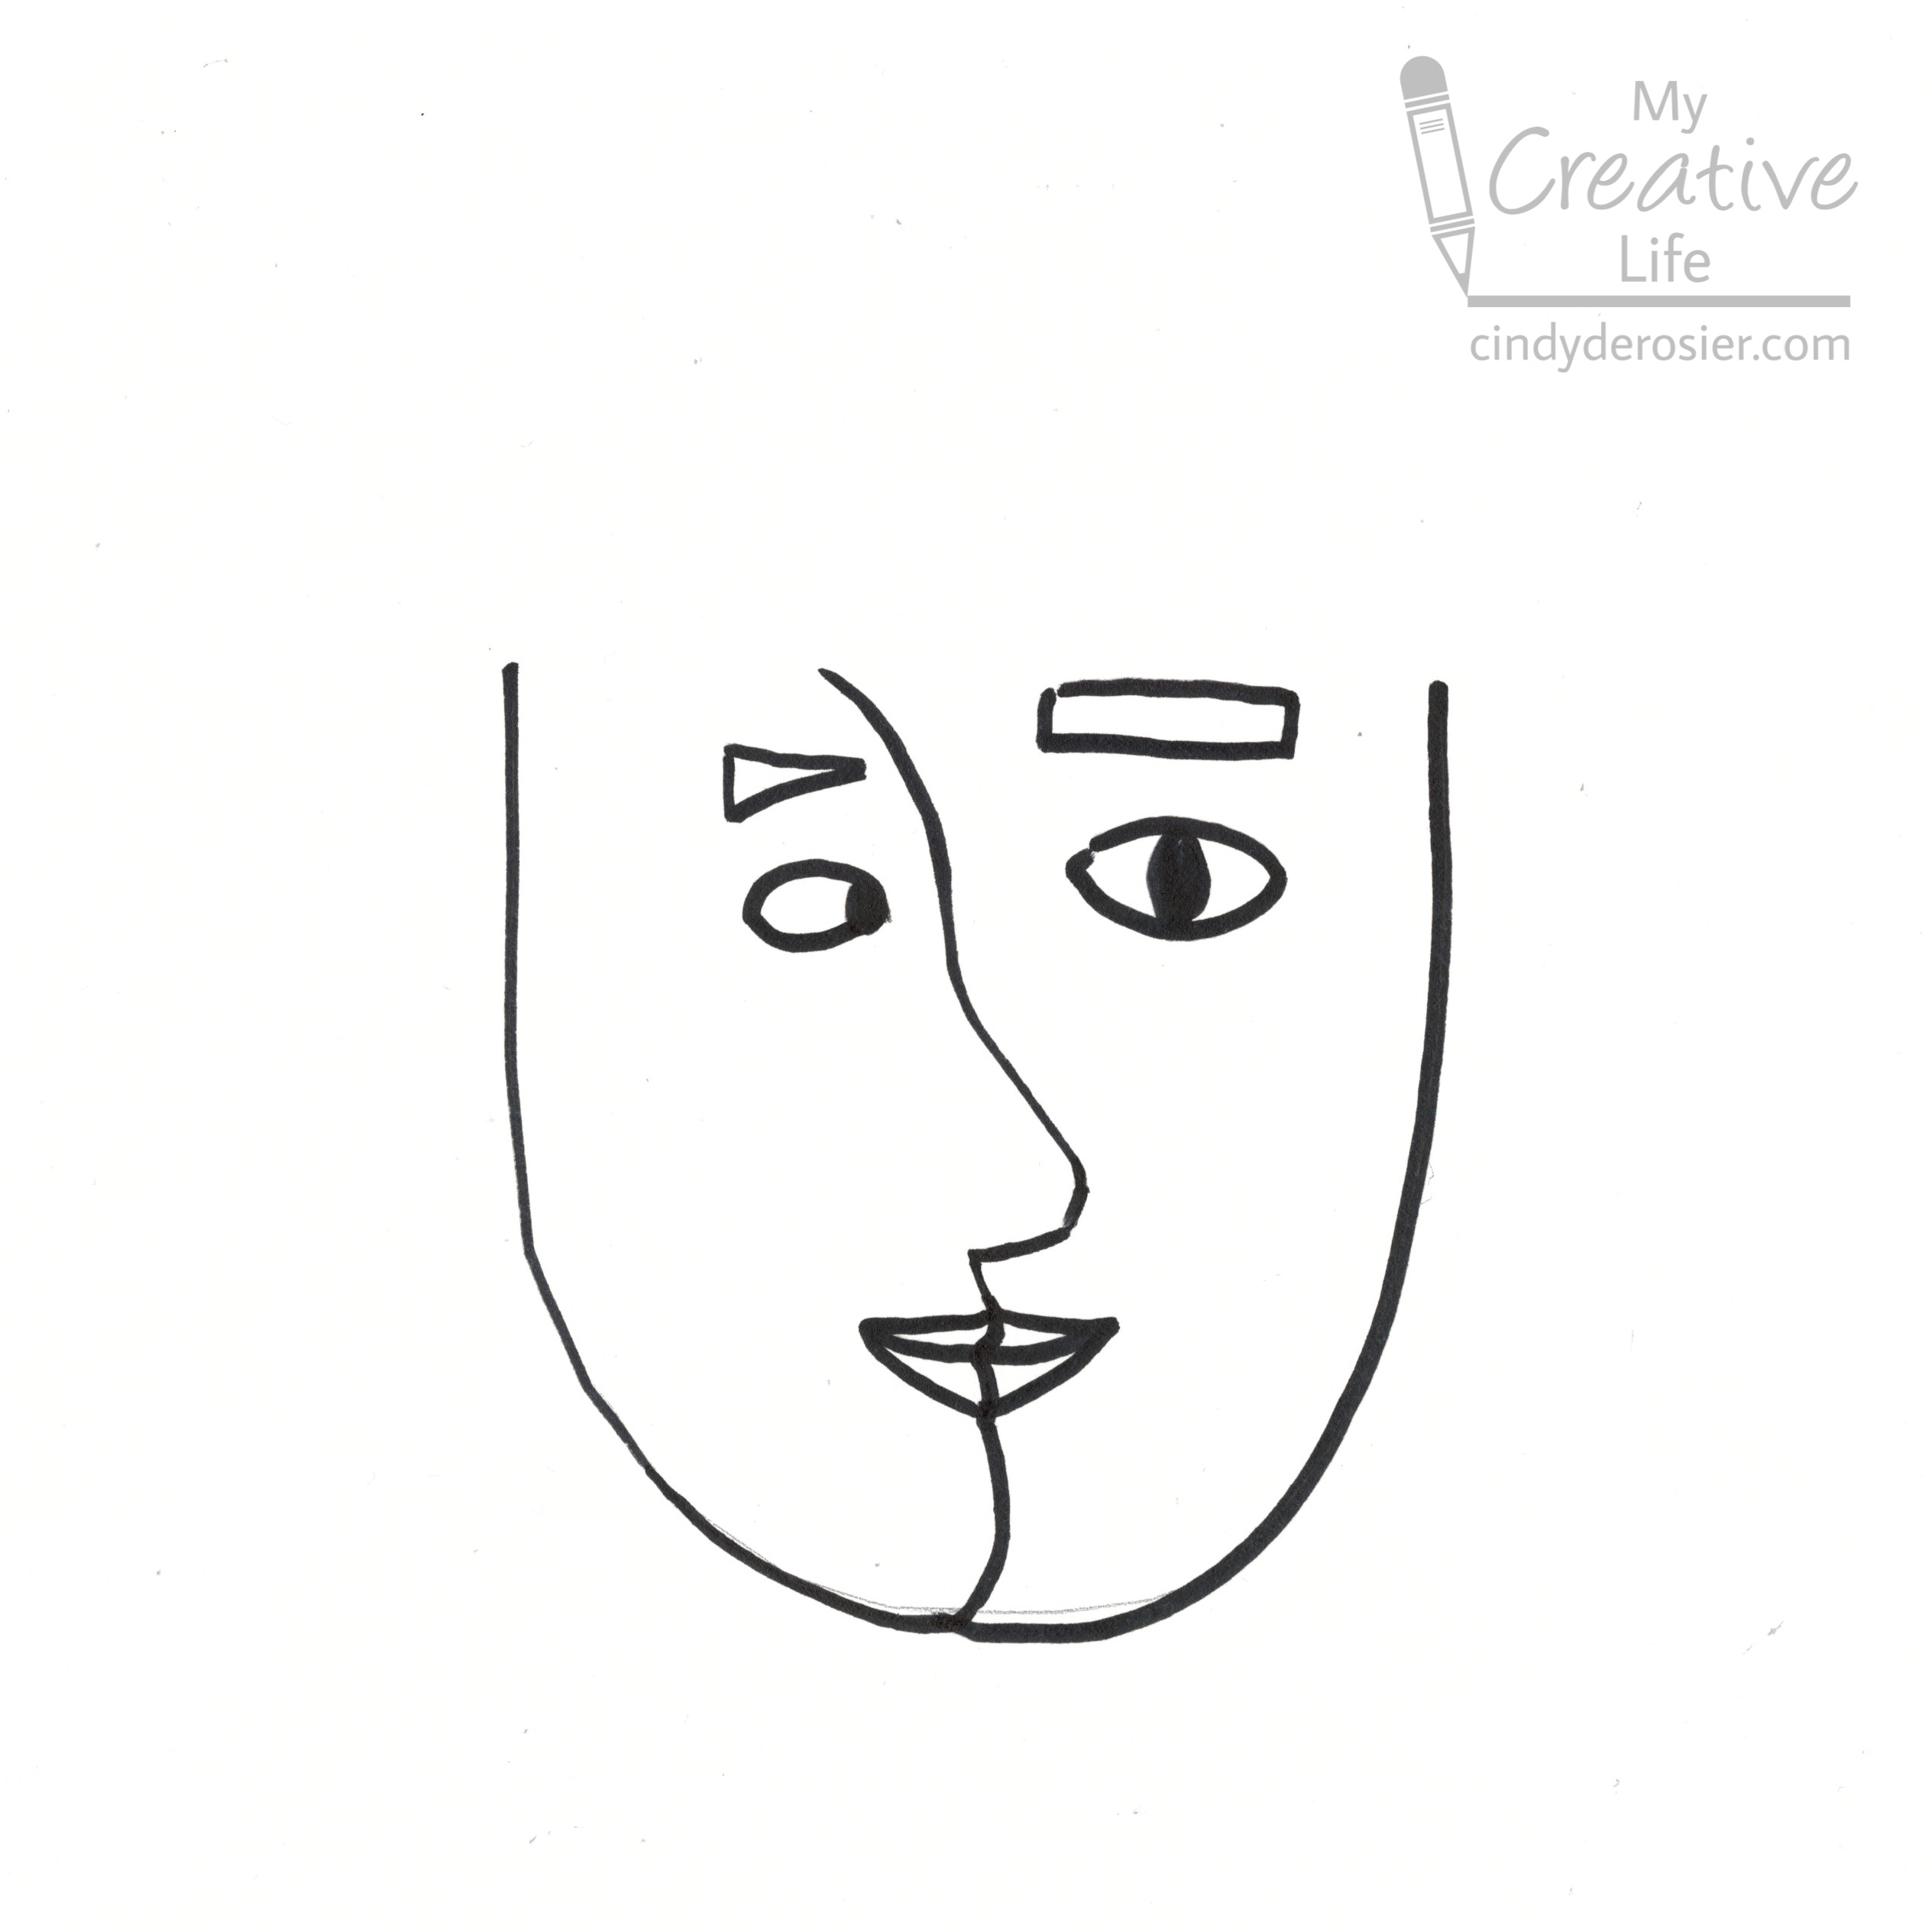
Lightly draw a U with a pencil in the center of the paper. On the left side of the U, draw a side view of a person looking to the right. Trace over your drawing with a Sharpie. 


On the right side of the U, draw a face that is looking forward. Trace it with Sharpie. 
 

Draw a second U just outside the border of the first U. This is Santa's beard. Then add the trim of his hat on top of his head. Draw the hat and the pom pom. Finally, give Santa some shoulders. I forgot to scan my paper at this point, but I think you'll be able to get the gist from the completed picture.


Now, paint. I started with the face, choosing two cool blues and a pale pink. Then I painted the red hat and suit. Then I painted three swaths of color in the background: green on the right, a blue-grey on the top, and black on the left. 

When all the paint was dry, I traced over the black lines with a Sharpie, then used colored pencil to add the grid on the green and the lines and dots on the black. 

It's a very simplified interpretation of Picasso's style. It's also a simplified version of Santa! I thought about including his mustache and making his beard shaggier, but after looking at a lot of Picasso's work, neither fit the style. Since the prompt was Picasso and not Santa, I went with the less hairy version of St. Nick. I like it. 

12/1/22

Pantone Color of the Year 2023

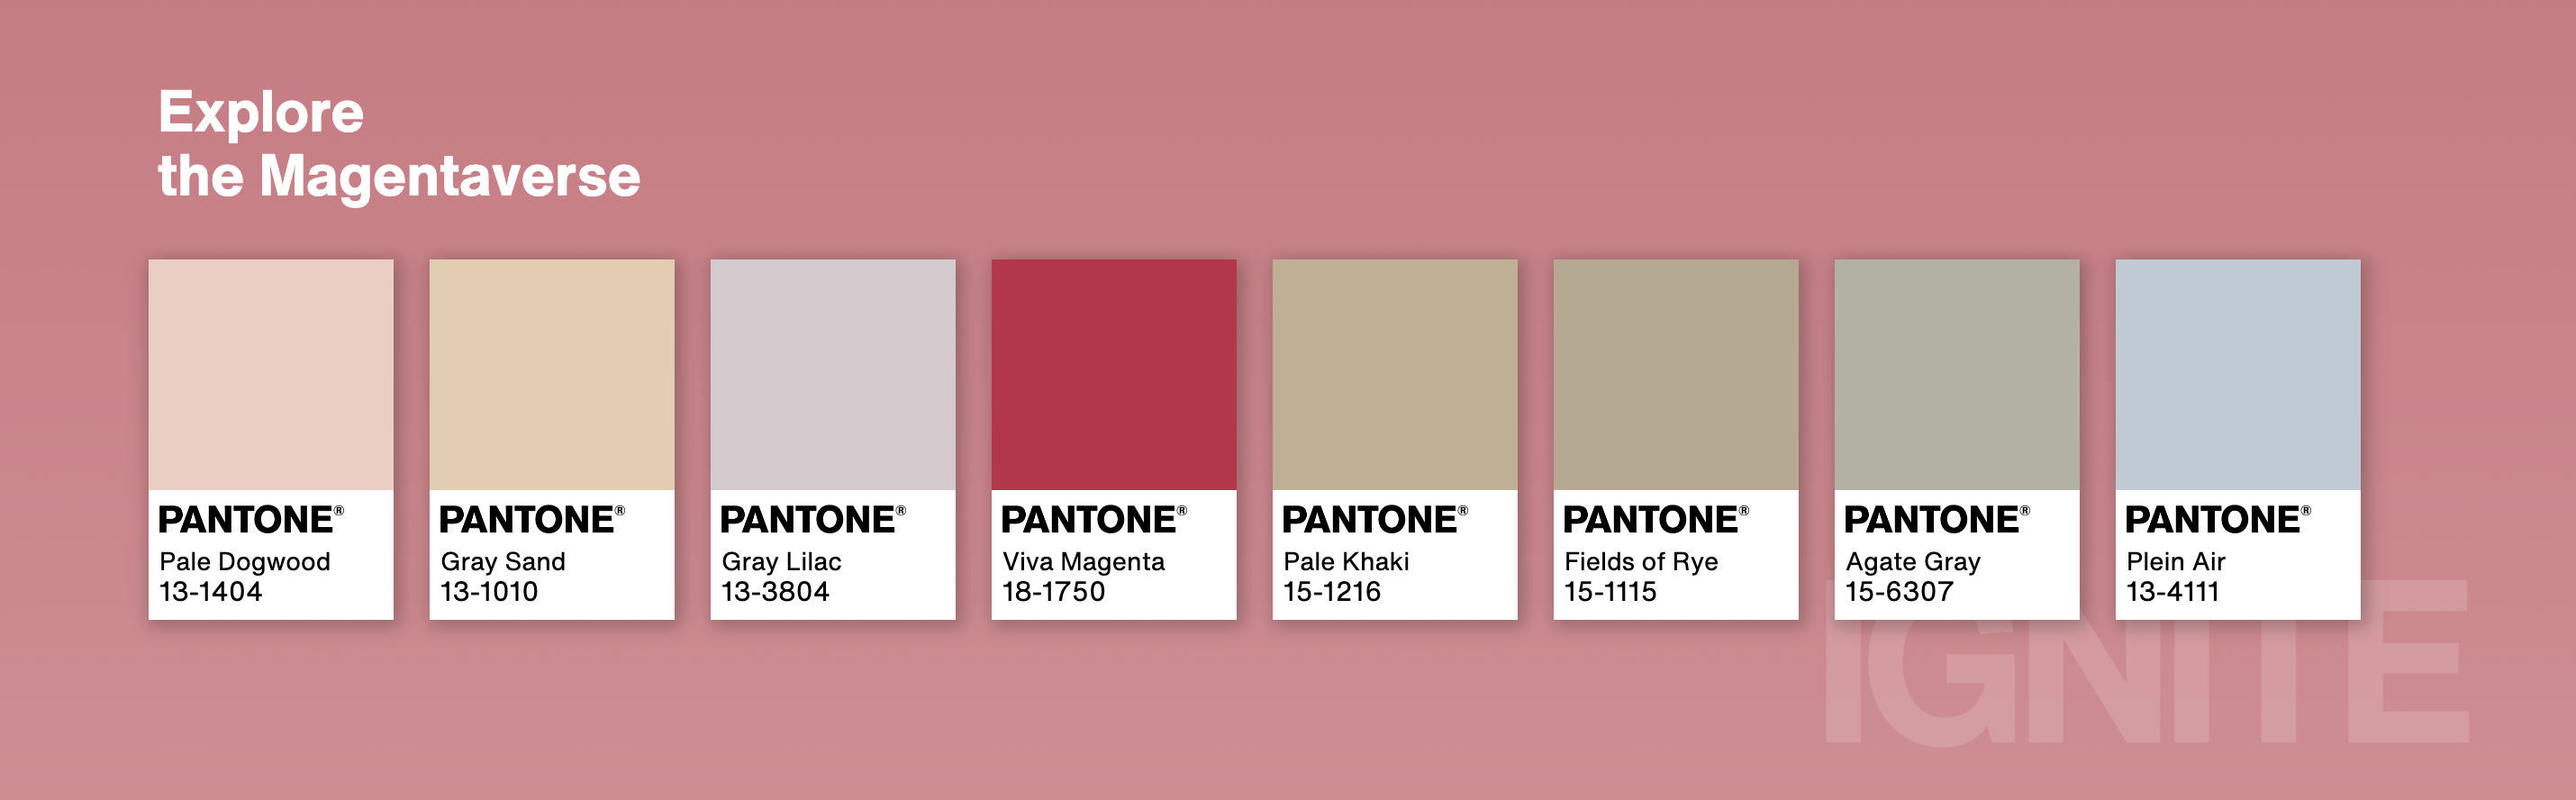
Last year, Pantone didn't reveal their 2022 Color of the Year until December 9, so I was caught off guard when the 2023 COTY was announced today, December 1. Say hello to Viva Magenta, "an unconventional shade for an unconventional time."


Among other things, it's described as "a pulsating color whose exuberance promotes a joyous and optimistic celebration... self-expression without restraint... audacious, full of wit and inclusive of all." 


Pantone also announced a partnership with Motorola, who debuted the Edge 30 Fusion in Viva Magenta. They encourage everyone to "Explore the Magentaverse." 


My thoughts on Viva Magenta? Meh. Don't love it, don't hate it. We haven't had a red since 2007's Chili Pepper, so we're due. Frankly, as long as they don't repeat the 2016 and 2021 nonsense a third time, I won't complain no matter what the color is.   

What are your thoughts about Viva Magenta? Let me know in the comments.