9/7/23

How to Throw a 50 State Party: the Invitation, Guest Book, and Decorations

When we met our family goal of visiting all 50 states, I had already started planning a party to celebrate. I wasn't sure of the details, but I knew I wanted it to have a 50 States theme. I love a good party theme (scroll all the way down to see past themed parties I've thrown) and "50 States" is a GREAT theme. It's completely different than a patriotic party, which is focused on the USA as a country. A 50 States party focuses on the individual states within the country. I'm happy to report that it all came together and we had a wonderful time! Affiliate links below - thanks for supporting my site.


How to Throw a 50 State Party


The Invitation:


I love hosting dinner parties, but I wanted the 50 State Party to include more people than I'm comfortable having over for dinner. I also wanted it to be more casual so that I could just enjoy the party instead of focusing on cooking. I settled on a Sunday afternoon, open house style, and invited around 30 local friends who have been following our travels. This is the invitation I sent: 


I used the final graphic from our year-by-year progression GIF, then added the party information to it. I thought it was self-explanatory, but I can see how someone might have thought we were having a 50th birthday party (I'm 51 and Steve is 47). Oops! I should have clarified on the invitation that we were celebrating visiting all 50 states!


The Guest Book:


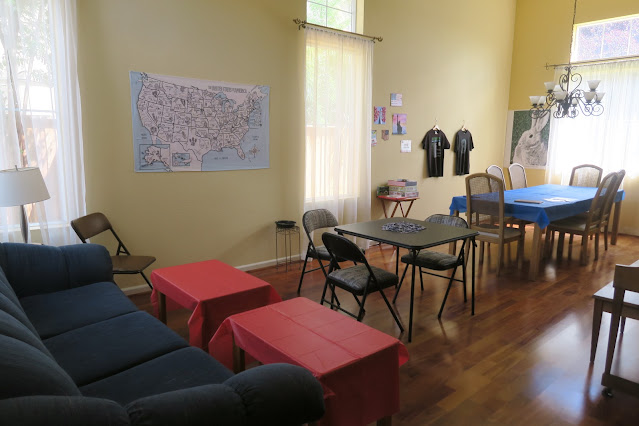
I wanted a way to document which of the 50 states our guests had visited. My solution was to create a "guest book" of sorts, in the form of a US map tablecloth that I hung on the wall. The tablecloth comes with pens, so I asked each guest to write their name in each state they'd visited. It's big enough that multiple people could write on it at the same time. 


It was so fun to learn which states everyone had visited. All of our guests had been to California (obviously), but the only other two states that everyone had visited were Arizona and Hawaii. All but one person (the youngest) had been to Nevada. Other states visited by most of our guests included Oregon, Idaho, and Colorado. The majority had been to Maryland and Virginia, due to their proximity to Washington D.C. The only state that no one had visited (except the three deRosiers, of course) was North Dakota. 


The Decorations: 


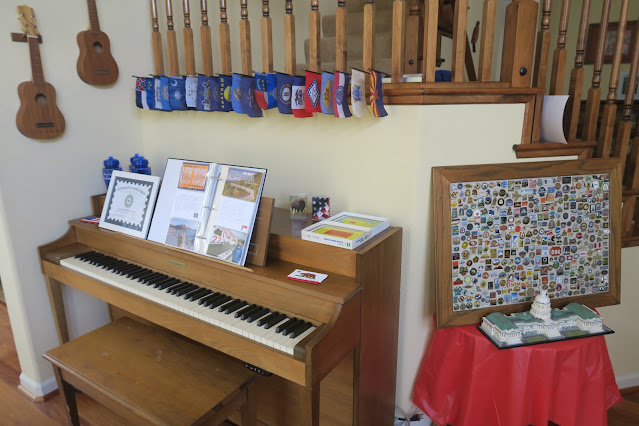
Finding patriotic party supplies is easy, but I wanted to decorate with what we already had on hand. I moved Steve's pin board and Trevor's US Capitol LEGO to a small table across from the front door. I lined the stairs with Trevor's collection of state flags. On the piano, I put my homemade patriotic coasters, state flash cards from my teaching days, some mini puzzles, Trevor's 50 State Album, and the certificate we got when we joined the Best for Last Club


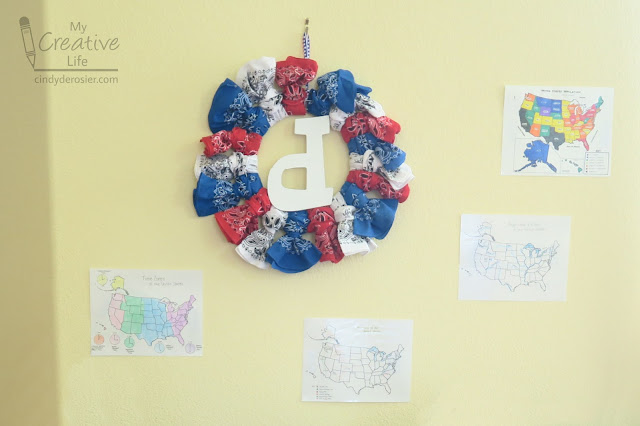
On the wall by the door, I hung a "little d" wreath that Jonna brought us. It began life as a "capital P" wreath, but she moved the hanger to make it perfect for the deRosiers. I surrounded it with reference maps from my teaching days. We used these for one of our games. 


I put the tablecloth map on Trouble's wall. It's heartbreaking to type that; I miss him so much. His StickTogether portrait is still hanging on the back wall of the dining room. 


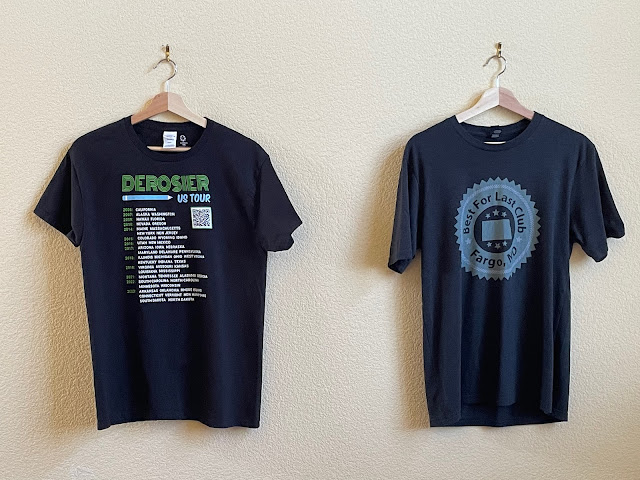
Anyway, between the map and the portrait, I hung two of our 50 state t-shirts. (We were wearing the third.)


Next to them, I hung some of my patriotic crafts, as well as some of my California crafts


I left plenty of empty space so that our guests could hang their projects. Tomorrow I'll tell you about that activity, along with the 50 State games and puzzle we did. 

9/6/23

US Travel Pin Display Board

When we travel, Steve buys a lapel pin at every single location that sells one. As you can imagine, his collection is pretty big. He stores them on a framed corkboard that hangs in his office. 


These are just the pins from the United States. He has a separate (much smaller) collection for travels outside the US. We recently reorganized the pins so that they are grouped by region. We placed the pins on the board in the same location as their geographical location in the US. So you'll find Alaska in the upper left corner, Maine in the upper right, Florida in the lower right, and Hawaii in the lower left. It's not perfect, but if you're looking for a specific pin, you know where to start looking. 

Here are some pins from Alaska, Washington, Oregon, Idaho, Montana, and the Dakotas. They represent a lot of good memories, like our visits to Icy Strait Point, the Idaho Potato Museum, Chihuly Garden and Glass, and Powell's Books.


I love that the pins are little pieces of artwork. Some even have moving parts. You can move the elevator up the arch leg of the St. Louis Arch, and the rocket from The Perot moves too. 


It's so cool to look at the pins and see all the places we've been. Since the New England trip was just a few months ago, those are fresh in my mind. But we visited Geppi's Entertainment Museum and Living History Farms during separate trips in 2017. 


Steve's board is about as full as it can get. Since we have no intention to stop traveling, not to mention all of his non-US pins no longer have a home, it's time to get a new cork board. I had no idea there are so many options! Aren't those hexagon boards fun? I like that you can theoretically keep tiling them together until you have as many as you need. 


9/5/23

Canada Goose in Flight

My friend Brenda (of meteorite fame) was recently at my house for a marathon craft day. She's a middle school English teacher who will also be teaching one period of art this semester. She spent the day working on lesson plans and making samples. Among the materials she brought was a well-worn Canada goose craft from her days teaching elementary in the 90's. She is planning to adapt it for her middle-schoolers. I did my own adaptation.

This is mine: 


This is Brenda's original:


Her goose started with the two main body parts cut from a manila folder. She used a black marker to color the head and tail, then a brown crayon to color the top half of the body. She cut white paper to make the belly and the marking on the face. Then she tore pieces of brown construction paper and glued them to the back and wings. 

I started by using scratch paper to make a template for the two body parts. I wanted to be able to cut them from a single sheet of 12x12 black cardstock. (Affiliate links here and below). When I got them the size and shape I wanted, I traced my templates with a white colored pencil and then cut the pieces out. 


I flipped the cut pieces over (so that any stray colored pencil marks wouldn't show). Then I used Folk Art acrylic to paint the belly and part of the face white. 

While that was drying, I tore some brown packing material into strips. Gotta love free craft supplies! I used a brown ink pad to swipe ink along the left side of each strip. Then I started tearing the strips to make the individual feathers for the wing. I glued them in place with tacky glue


I finished up the wing, then added feathers to the goose's back. This is how the two pieces looked when I was done. 


All that was left was to glue the wing piece onto the body, then add a googly eye


I've shared a Canada goose project before - way back in 2014. It was Trevor's choice for G in our Cursive Project. Good memories. 

9/4/23

Trevor's 17th Birthday

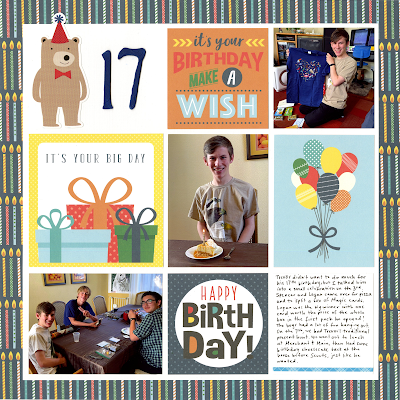
Trevor's 17th birthday fell the day after finals and the end of his 11th grade year. He had a big Scout trip that weekend and then we left for 16 days in New England. With all that was going on, Trevor didn't want to have a party. Instead, he opted to have two friends over for pizza and games. They had a great time and it was just what Trevor wanted. 

17th Birthday (affiliate link)

I only took one picture of Trevor and his friends. I used that, along with pictures of his birthday cheesecake and new t-shirt, to make this page. It was fun using so many different elements in the spaces that would normally be filled with photos.  

9/1/23

In My Sketchbook: Doodles on Paint Swatches

Here's the latest in my sketchbook


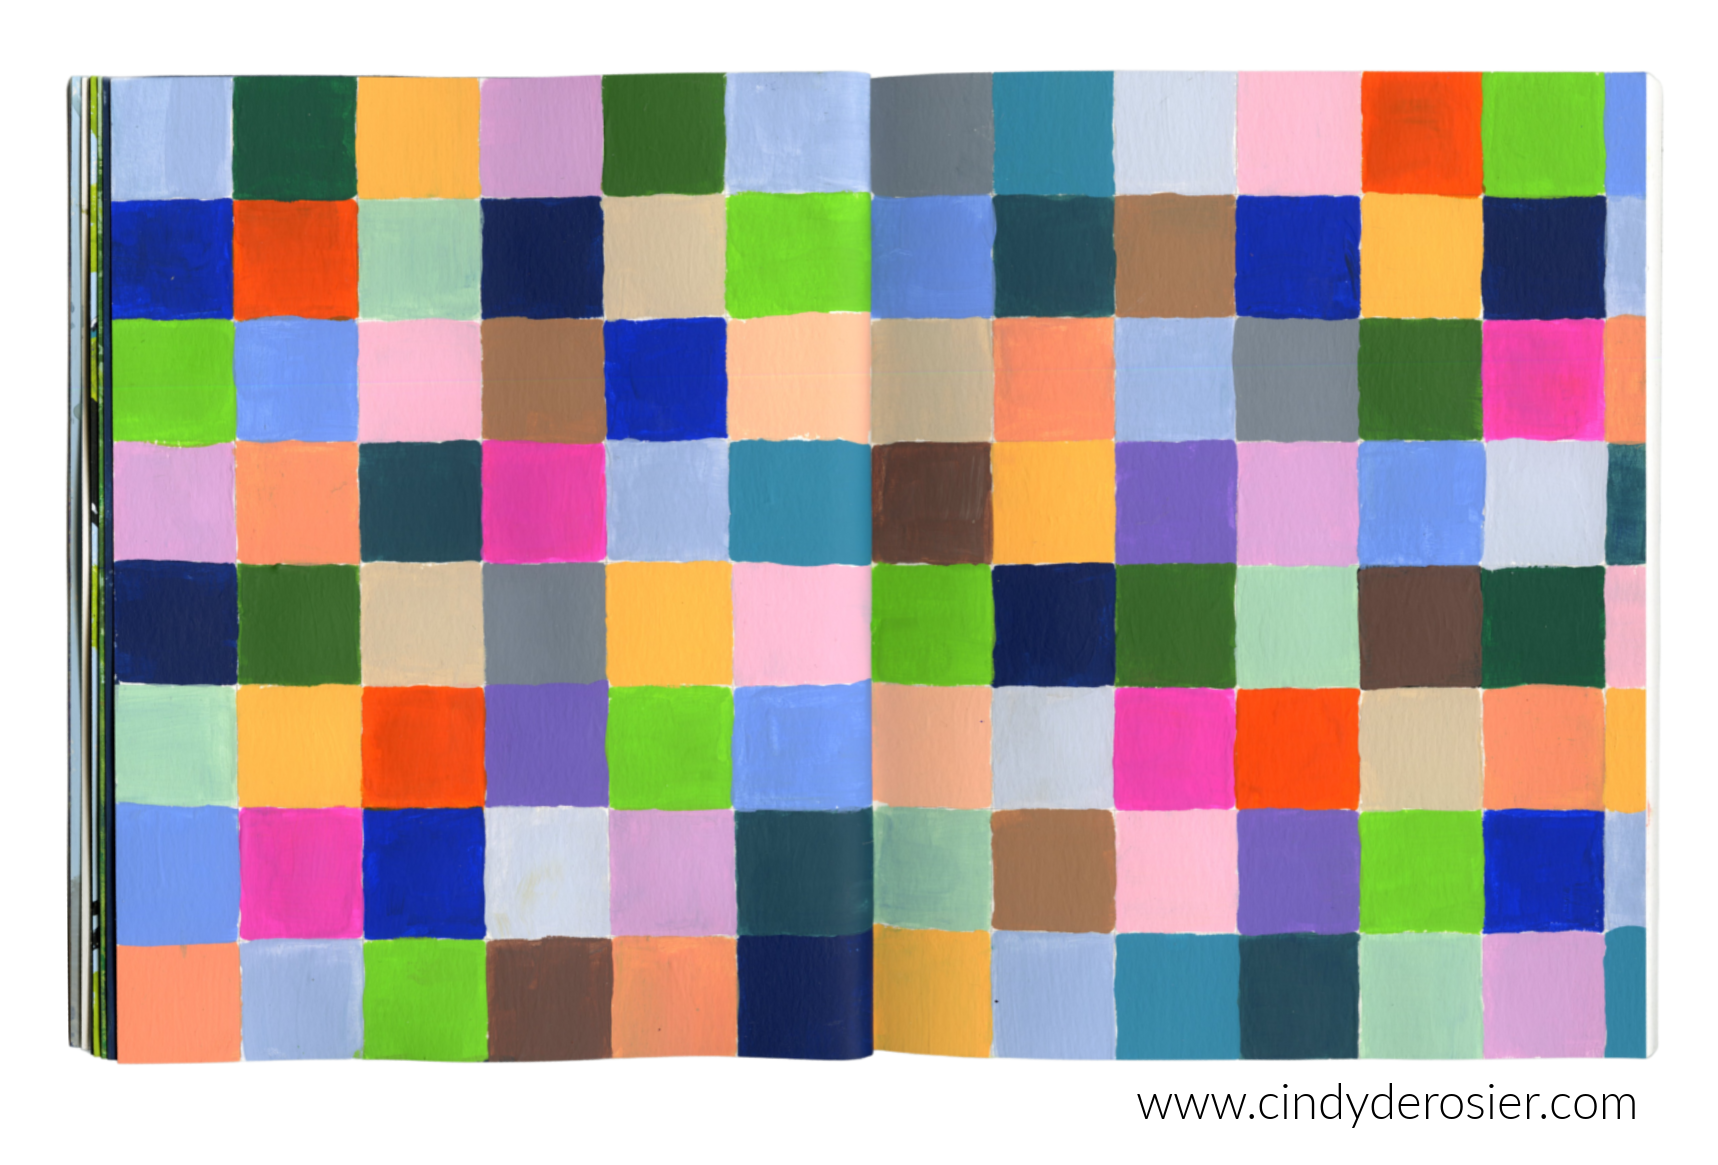
I used a pencil and a ruler to make a grid, then filled in each square with one of the newest Folk Art paint colors. Aren't they pretty?


When the paint was dry, I added doodles to each square using a coordinating paint marker or colored pencil. Since I'm left-handed, I worked from right to left. I filled in the squares in the upper right with paint markers. I'd expected the paint pens to work really well on paint, but they didn't. So I switched to colored pencils, which produced much better results.  


When the doodling was done, I used a Sharpie to draw the grid lines to better define the squares. Sharpies work well on paint... until they don't. I had to use a second Sharpie to complete the lines. 


I had a lot of fun making this, and it was relaxing as well. And now, not only do I have my new paint colors swatched, but I have an idea of how they look with colored pencils. Plus, I have a reference for doodle ideas in the future.